
We explain our proven approach to air purifier motor repair for Singapore homes. Our focus is on safe, logical checks before any parts are changed. We set clear expectations so readers know what a professional diagnosis looks like.
First, we outline typical symptoms that point to a motor or fan fault versus those caused by restricted flow or incorrect settings. Then we describe what we inspect first and which checks can be done without opening the unit.
We list common tools and simple tests we use. Our aim is to restore clean delivery with minimal downtime while cutting the chance of repeat faults.
Safety is central: we follow strict mains‑power precautions used across Singapore. That keeps households safe and helps us reach reliable, lasting outcomes.
Key takeaways: We show a stepwise, safe process and explain what decisions professionals make during service.
How we diagnose air purifier motor and fan problems in Singapore homes
We begin each call by confirming the unit’s basic function: it must draw room air, pass that air through a filter and return cleaner air to the room. Stable, motor‑driven airflow is central to that job.
What normal operation sounds and feels like: at steady speeds the fan should give a smooth hum and consistent flow. We compare this baseline to the behaviour at low, medium and high settings to spot irregularities quickly.
Common faults we see in Singapore include a low whining from the base, distinct clicking when the unit oscillates (seen on some Dyson models) and a rhythmic “wha wha wha” noise (reported on models like the Winix C535). These patterns often point to imbalance, worn bearings or load changes on the rotating assembly.
We separate electrical failures (no start, intermittent power or sudden stops) from mechanical issues (rubbing, wobble or obstructions) before opening the casing. Often poor performance traces back to a clogged filter or dust build‑up that restricts flow and makes the motor work harder even when the rotating parts are healthy.
Quick triage we perform: confirm intake and outflow, compare noise across speed settings, and note whether symptoms change after cleaning or replacing the filter. We document speed, mode and room conditions so the fault can be replicated reliably prior to any intervention.
Safety checks before we start any repair
We begin with a short safety routine to reduce risk and protect the unit and the homeowner. This ensures every step that follows is controlled and reversible.
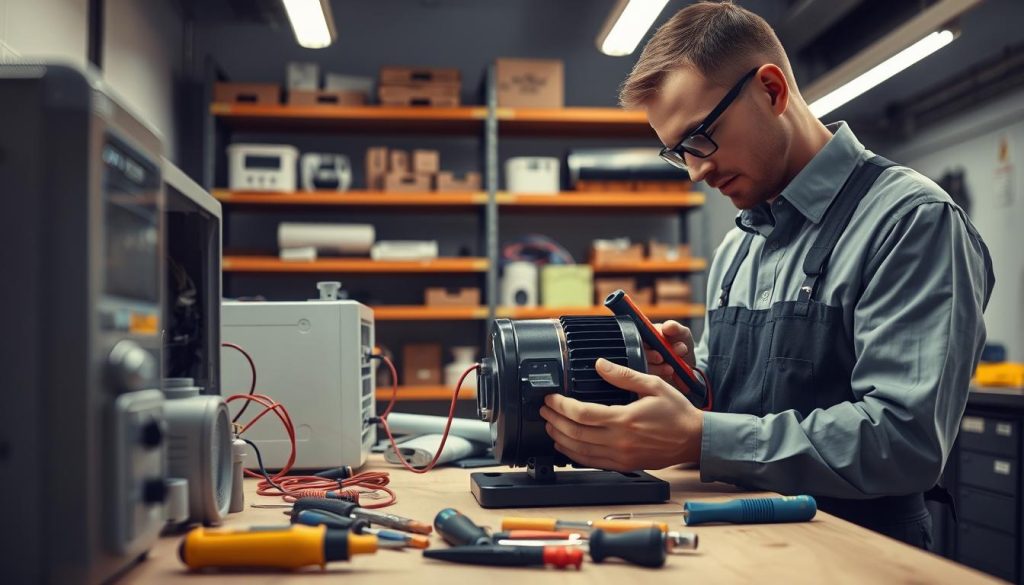
Power precautions
We unplug the device and test the outlet. We do this first because safe work starts with removing power and avoiding any live mains exposure.
Allow time for internal components to discharge after unplugging. Some boards can hold charge even when the unit is off.
Work area and handling
We make sure the work area is dry, well-lit and uncluttered. That reduces the chance of lost fasteners or accidental damage to clips and wiring.
Warranty and tamper risks
Check for stickers and sealed screws before opening. Hidden screws under rubber feet or torn stickers often indicate tamper indicators. If the unit is still under warranty, opening it may void cover, so we advise contacting authorised support.
- Unplug and verify the outlet before any hands-on checks.
- Document assembly with photos to avoid reassembly errors.
- If we suspect a power-supply fault or burnt parts, we treat the job as higher risk and seek specialist tools and experience.
Troubleshooting basics that often prevent unnecessary replacement
We begin with simple, no‑tool checks to separate user settings and supply issues from real faults. This saves time and avoids needless part changes.
Confirming power and settings
First, confirm power at the wall socket and that the unit is properly plugged in. Check modes, speed and any timer settings. Some modes reduce output and mimic a failing unit.
Filter inspection
Remove and inspect the filter for clogging, odour or visible loading. Light dust may be cleaned; heavy loading needs replacement to restore flow.
Why this matters: a clogged filter raises resistance and forces the fan to work harder, reducing delivery even when the motor is fine.
Fan and airflow checks
Look for obstructions in the intake and outflow paths. Where accessible, do a free‑spinning test to spot rubbing or stiffness.
Exterior cleaning and impact checks
Clear dust from grilles and vents to reduce long‑term strain and heat. Inspect the casing for cracks, misaligned panels or scraping sounds after a knock or drop — these often indicate shifted internals and visible damage.
- Confirm power and controls before any hands‑on work.
- Clean or replace the filter as required.
- Escalate to internal inspection or professional service if rubbing, persistent noise, or visible damage remains.
| Check | What to look for | Simple fix | When to escalate |
|---|---|---|---|
| Power & settings | No power, timers off, low mode | Reset outlet, change mode | Intermittent supply or tripped fuse |
| Filter | Dust build‑up, odour | Clean or replace | Damaged or heavily loaded filter |
| Fan path | Obstruction, rubbing | Remove debris, free‑spin | Persistent stiffness or scraping |
| Exterior | Cracks, misalignment | Realign panels, tighten clips | Cracked housing or internal shift |
For step‑by‑step cleaning that complements these checks, see our cleaning guide.
Air purifier motor repair: step-by-step access and inspection
We follow a fixed, safe sequence to access internals and spot supply or rotating assembly faults. First, we gather tools and mark fasteners so reassembly is straightforward.
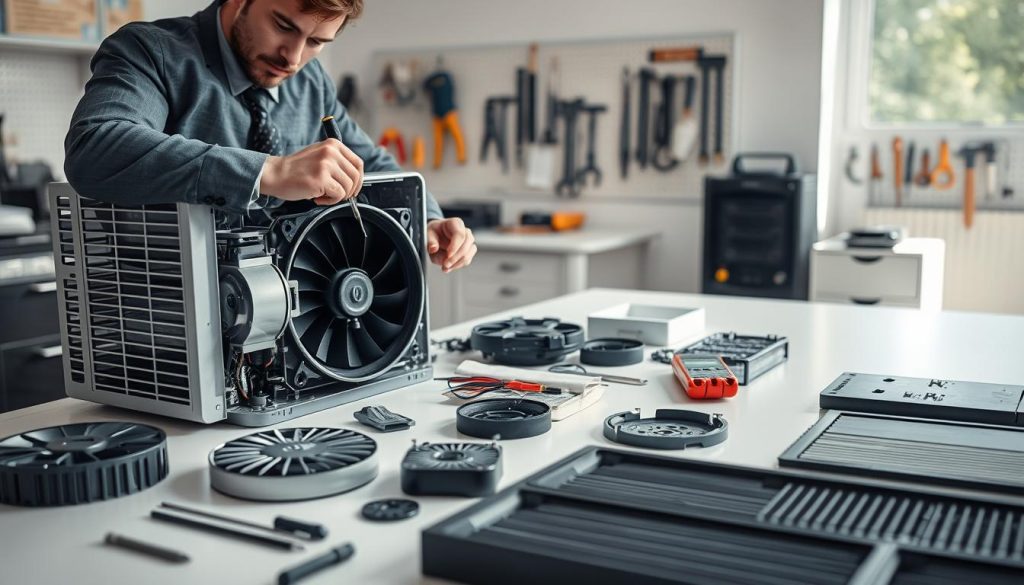
Tools we prepare
Essential items: a screwdriver set for hidden screws, a multimeter to check voltages, plus a soldering station and desoldering pump for component work.
Access and panel removal
Remove the filter through the rear door first; this often reveals the screws that hold the casing. Then flip the purifier and free the bottom cover by removing screws hidden under the rubber feet. Note any warranty sticker before you disturb it.
Power module inspection and testing
We inspect the board that converts 230V power to the expected 24V rail. Bulged electrolytic capacitors or electrolyte residue are clear signs of failure. A bench test with a multimeter confirms the 24V output before reconnection.
Make sure capacitors are discharged safely—they can hold roughly 300V—allowing adequate time for discharge. After careful reassembly we restore power and verify normal boot, stable running and absence of unusual noise or heat.
Repair or replacement: choosing the right fix for the motor, module, or fan
Our decision balances reliability, cost and downtime. We favour a targeted fix when it offers a quick return to service and low risk of recurrence.
When soldering a loose capacitor is practical
Resoldering is sensible if a capacitor has simply lifted from its pad and the board tracks remain intact. In those cases we replace the component and tidy solder joints to restore expected 24V output.
When to choose full board or motor replacement
Replacement is safer when there are repeated cut-outs, visible overheating, or electrolyte contamination across the board. We also opt for a swap if the assembly has stressed nearby parts and downtime would be frequent after a partial fix.
Motor replacement differs: noisy bearings, seized shafts or abnormal current draw point to changing the drive unit rather than component-level work.
Connector compatibility and final checks
Match voltage, pinout and locking tabs before fitting any replacement. Confirm wiring polarity and bench-test the board for 24V before installation.
Before closing, ensure no dust near the fan path, the filter seats correctly and cables cannot rub moving parts.
- Initial power-on at low speed.
- Listen for odd sounds and monitor for smell or heat.
- Only then return to normal modes.
Conclusion
strong, In closing, we summarise a diagnosis‑first workflow to help restore reliable performance.
Validate symptoms, rule out filter restriction and dust loading, and only then move into internal inspection. This order saves time and reduces the chance of unnecessary parts changes.
Safety remains central: isolate the unit from the mains, respect stored charge on boards, and avoid opening any device that shows warranty seals or torn stickers.
Most performance issues turn out to be airflow related. Persistent noises, failure to start or unstable operation usually point to the power module or the drive assembly.
If routine checks do not restore stable air delivery, arrange a professional assessment. For guidance on whether a unit can be fixed or needs replacement see can an air purifier motor be.

