

We explain what sensor care means and why it matters for daily comfort in our homes in Singapore. Dust can block a detection element over time and skew air quality readings, so periodic attention keeps measurements steady.
In this guide we share a practical, model-agnostic method that mirrors common manufacturer advice. We use simple household tools and safe steps that avoid liquids on the detection part and avoid disassembly beyond removing the cover.
After we finish, we expect steadier readings, fewer unexplained fan speed changes and more reliable automatic mode behaviour. We also remind readers to check their user manual first, since locations of the detection unit vary by model.
Later sections cover why sensor care affects performance, what to prepare, the step-by-step method, and related filter and pre-filter upkeep. For a complementary, detailed guide on routine maintenance, see our detailed guide.
Why sensor care matters for clean air and accurate air quality readings
Keeping the sensing element clear ensures the machine reacts to real changes, not to blocked or biased signals. A well‑working air quality sensor tells the unit when to raise or lower fan speed. That automatic response keeps airflow steady and avoids sudden ramps.

When dust builds up, readings can drift. A biased quality sensor may report worse or better conditions than what we actually see. The result is a device that runs harder than needed, or stays quiet when it should respond.
In Singapore, high humidity, haze episodes and renovation dust raise particulate loads. On some models, Blueair notes the air quality sensor sits at the back, below the top filter drawer, so placement affects exposure.
- Accurate detection supports consistent comfort at home and helps maintain clean air with less fuss.
- Signs of inaccuracy include unexpected fan speed changes and readings that don’t match what we observe.
- Keeping the detection unit clear is a low‑effort step that yields more trustworthy numbers on displays or apps.
For deeper background on how systems work, see air purifier systems.
What to prepare before air purifier sensor cleaning
Before we begin, a short checklist helps us work safely and avoid accidental damage to the unit. Follow these basic steps so the task goes smoothly.
Power and safety checks
Switch the air purifier off and unplug it. Wait until the fans stop before touching any cover or panel. This reduces risk and keeps small parts from moving.
Where we will work
Choose a bright, well‑ventilated spot and lay a clean cloth underneath to catch dust. Keep the unit out of bedrooms if anyone is sensitive to particles.
Tools we recommend
- Vacuum with a brush attachment for exterior dust and panel edges.
- A soft brush for stubborn dust on grills and plastic parts.
- Clean, dry cloths to wipe surrounding surfaces.
- Cotton swabs to gently touch the sensing area if needed.
Do not spray liquids into vents. Avoid applying moisture directly to the sensor and never force a stiff clip or panel. If a cover feels stuck, consult the user manual first.
| Tool | Use | Tip |
|---|---|---|
| Vacuum (brush head) | Remove loose dust from panels and pre-filter area | Use low suction and keep nozzle slightly away from grills |
| Soft brush | Dislodge dust on plastic grilles and small clips | Work gently along seam lines |
| Cloth | Wipe surrounding surfaces and catches | Use dry, lint‑free cloths only |
| Cotton swab | Very light touch on the sensing opening | Ensure hands and tools are dry in humid climates |
Air purifier sensor cleaning: our step-by-step method
Follow this straightforward procedure to restore reliable readings without complex tools or disassembly.
Switching the unit off and unplugging it
We always switch the air purifier off and unplug the mains before we touch any panel. This prevents fan movement and keeps small parts still while we work.
Vacuuming visible dust from the sensor cover
We locate the detection area — for some models this sits behind the top filter drawer — and inspect for obvious dust. Using a gentle vacuum setting, we remove loose debris while keeping the nozzle slightly away from openings.
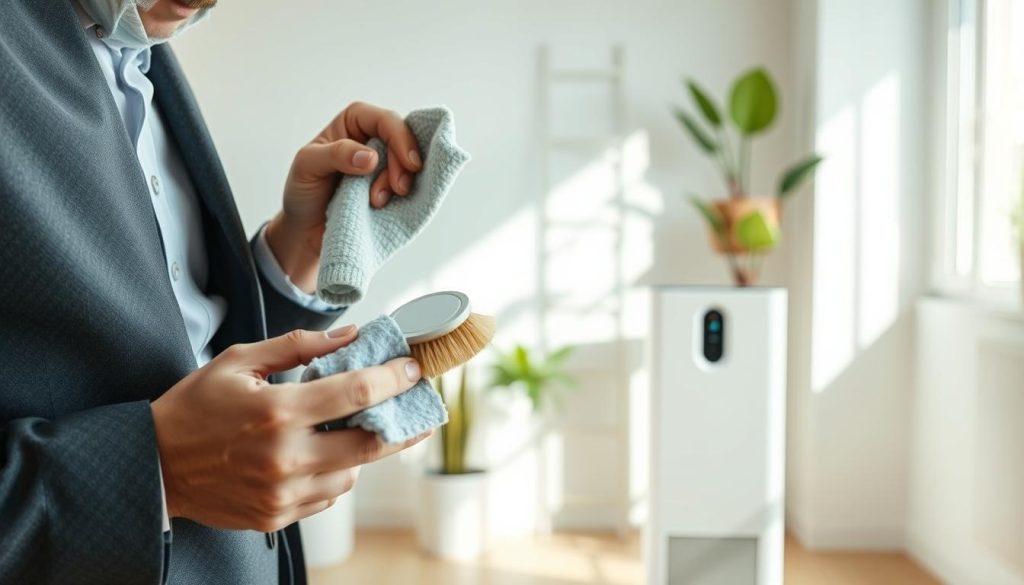
Removing the cover carefully
Pinch and lift the cover where clips hold it. We disengage clips without bending plastic and place the cover to one side on a clean cloth.
Cleaning the sensor gently with a dry cotton swab
Using a clean, dry cotton swab, we touch the sensing opening with light strokes. We avoid water or solvents and keep pressure to a minimum.
Reattaching the cover, restoring power, and confirming normal operation
We snap the cover back into place so the fit is even. After plugging the purifier in, we turn it on and check that indicators and app readings stabilise after a short period.
- Safety first: power off and unplug.
- Inspect: look for obvious dust.
- Remove and clean: vacuum outside, then swab inside gently.
Related maintenance that supports better air quality in Singapore
Pairing sensor attention with filter care gives the best long‑term results. Routine work around panels and filters reduces dust inside the unit and helps readings stay accurate.
Wash the washable pre-filter monthly
We switch the unit off and unplug it before removing the panel. Press the two clips, pull out the pre-filter and rinse under a running tap.
Use a soft brush if the mesh is heavily soiled. Then air‑dry the pre-filter fully before reinstalling it; trapped moisture can cause odours in humid Singapore.
Know which filters need replacement
Many main filters are replacement‑only. HEPA, activated carbon and multi‑care parts often cannot be washed or vacuumed and must be replaced when indicators light up.
Codes vary by model: F0 commonly flags pre‑filter care, while others use C7 or numeric markers (2, 3, 4) to show replacement is due.
Cadence, parts and help
Philips recommends we clean the air quality sensor every two months and more often in dusty or humid conditions — or during haze, renovation or heavy pet shedding, and if we run the unit all night during sleep.
- Check the user manual and “Find manual” online for model specifics.
- Source original parts from the official webshop and confirm part numbers.
- If readings stay erratic after maintenance, contact support with model details and steps taken, and review app history for anomalies.
Conclusion
A simple, repeatable routine preserves reliable readings and reduces unnecessary runtime. We power off and unplug, remove exterior dust, open covers carefully, use a dry cotton swab on the sensing opening, then reassemble and test operation.
Why this matters: accurate sensor readings help the purifier respond correctly, which supports steady indoor conditions and better sleep when we run the unit overnight.
Make this part of broader upkeep: keep to filter replacement schedules and wash the pre-filter monthly where applicable. We aim to check the sensor about every two months and more often during haze, renovation or in humid conditions.
If problems persist, consult the user manual, verify parts are seated properly, and contact official support. For tool tips and a detailed maintenance guide, see the Lura wet & dry vacuum guide.

