

We start by setting sensible expectations. A gentle hum from a unit is often normal in day-to-day use, but a sudden change in tone or volume can signal a problem. We note this early so we do not ignore a sign that may affect performance.
When our purifier grows louder over time, it usually points to airflow restriction, vibration, or a developing mechanical fault. These issues can reduce cleaning effectiveness and are worth checking sooner rather than later.
Our approach is practical and safe for a flat in Singapore. We outline simple checks we can do without specialist tools: quick safety steps, basic cleaning, reseating panels and tightening accessible parts.
We focus on common, user-maintainable actions and avoid unsafe disassembly. Spending a small amount of time on routine care helps keep the unit quiet and maintains clean air in the home.
Takeaway 1: Recognise normal sounds and act on sudden changes.
Takeaway 2: Try safe, at-home checks first; seek support if the problem persists.
Why our air purifier sounds louder than usual
A rise in audible activity is often a signal that filters, fittings or airflow need attention. We treat a steady, low hum as normal, especially at higher fan speed settings.
Normal operation versus unusual patterns
Normal: a soft fan hum that grows with speed. Unusual: rattling, buzzing, high whine or grinding that changes in tone or appears at all settings. These patterns suggest debris, a mis-seated filter or a worn motor.
How fan speed and modes change sound
Mode changes and auto settings can make the device surge as sensors react. Night mode usually lowers speed and helps reduce audible output.
Common causes we can spot fast
Look for debris at the intake, clogged filters, loose panels and airflow turbulence from tight placement. Hard floors and tiled rooms in Singapore can amplify the effect.
| Cause | What you hear | Quick check |
|---|---|---|
| Debris near fan | Rattling or clicking | Inspect inlet and clear obstructions |
| Clogged filters | Louder hum at all speeds | Swap or clean filters and pre-filters |
| Loose panels | Vibration or buzz | Tighten screws and reseat covers |
| Airflow turbulence | Choppy sound | Move unit 10 cm from walls or furniture |
Air purifier noise fix: our step-by-step checks and quick repairs
Before any troubleshooting, we power down and let moving parts come to rest for a clear inspection. This keeps us safe and makes faults easier to spot.

Power down safely
Turn the unit off and unplug it. Wait a minute so the fan stops spinning and capacitors discharge.
Remove filters and covers correctly
We follow the manual when opening the compartment to avoid bending clips. Remove the main filter and any pre-filter carefully.
Make sure any protective bag or plastic is fully removed from new items — trapped film can restrict airflow and raise noise quickly.
Clear dust and check the fan area
Inspect inlet and outlet paths and gently vacuum or brush dust from the fan housing where accessible.
Small debris, pet hair or objects can unbalance the fan and load the motor, causing rattles or a high whine.
Reinstall, tighten and test
Re-seat filters in the correct orientation so tabs and gaskets align. Tighten accessible screws and reseat panels to stop rattles on hard floors.
Restore power and test across low, medium and high speed. Note if the problem appears only at one setting — this detail helps support teams.
If the issue persists, stop further tinkering and contact the brand’s customer support for guided service. We save time and avoid creating new problems by escalating when basic cleaning and checks do not resolve the issue.
Placement and room factors that amplify noise in Singapore homes
Where we put the device often changes how loud it feels, even when the hardware is fine. Small flats with tiled floors and bare walls tend to reflect sound. That reflection can make any running fan seem louder.
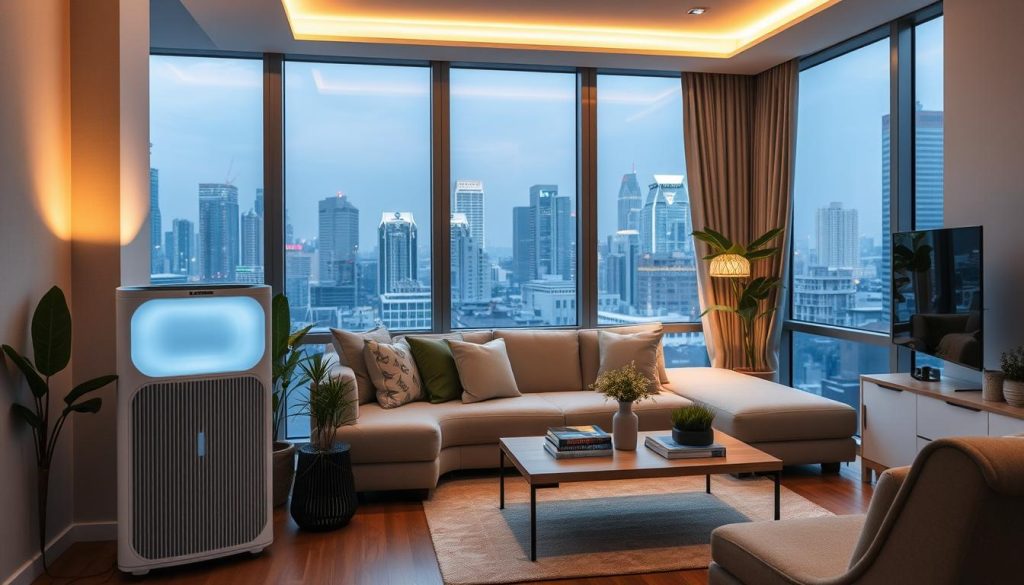
Give the unit breathing space
Keep at least 10 cm from walls, curtains, sofas and cabinets. This clearance reduces turbulence and stops sound from bouncing straight back into the room.
Reduce echoes and stabilise the device
Hard surfaces increase perceived volume. Adding a rug, curtains or a fabric chair absorbs reflections and calms the room.
Place the unit on an even, stable surface. A thin anti-vibration mat can cut resonance from wobble on tiles.
Improve airflow and coverage
Position the unit away from obstructions so filtered air circulates freely. When airflow is unobstructed, we can often run lower fan speed for the same result.
| Issue | Effect | Quick action |
|---|---|---|
| Too close to wall | Amplified sound, reduced airflow | Move 10 cm out |
| Bare tiled room | Strong echo | Add rug or curtains |
| Uneven surface | Vibration, rattle | Use stable stand or mat |
| Blocked inlet | Higher fan load, quicker filter clog | Clear dust and keep clear |
When noise signals deeper problems and we should get support
If the unusual sounds persist after our checks, the issue is likely sealed inside the unit and requires expert care.
We draw a clear line: do not open sealed sections. Tampering can be unsafe and may void the warranty. Instead, stop and contact support if basic cleaning and panel checks do not help.
Warning signs to stop using the device
- Red flags: grinding, persistent loud buzzing, a fan that sounds as if it is striking something, or sounds that continue after reseating filters and panels.
- Immediate stop triggers: burning smells, visible damage, intermittent power or abnormal heat — these may indicate an electrical problem.
- Rapid deterioration: a failing motor or damaged fan assembly can worsen fast; running the unit may turn a minor problem into a costly repair.
Document what you hear and when it happens. Note the fan setting, mode and whether the issue appears in different rooms. That record speeds up diagnosis with customer support.
Follow the brand’s official troubleshooting first, then contact customer support or a qualified technician for sealed, internal faults. If the device is under warranty, use authorised service channels (Green Vista Living; Blueair guidance).
Conclusion
, We usually find that maintenance and placement explain the majority of unwanted sounds. Strong, clear airflow, correctly seated filters and a stable position in the room are the three fundamentals for a quieter unit.
Keep filters on schedule, clean intakes often and reseat panels carefully. Power down, inspect, clean, reinstall the filter and tighten accessible parts, then retest across settings.
Room acoustics in Singapore flats can make things seem louder; move the unit away from walls and use soft furnishings or a thin mat to reduce vibration and echoes.
If problems persist, stop further DIY and contact customer support (Green Vista Living, Blueair, IQAir). See our detailed troubleshooting guide for next steps.

