

We set clear expectations about what home maintenance can achieve and what it cannot. Lab tests showed some methods only partly restore capture and others can harm the media. We keep this practical for flats, HDBs and condos in Singapore.
Our routine aims to limit dust spread, protect indoor air and keep the unit efficient. We tested two paths: care for non-washable hepa filter elements, and safe rinsing for washable types.
We outline risks we managed: damage to the media, re-releasing trapped particles, and moisture that can cause odour or mould. Manufacturer advice always guided our steps.
This guide is actionable. We explain why vacuuming gave small gains and why washing can reduce capture, so readers know when to replace rather than attempt repair.
Why HEPA filters matter for indoor air quality in Singapore homes
Local conditions make filtration important. Our climate, cooking habits and periodic haze mean homes collect fine particles quickly. Good particulate capture reduces visible dust and invisible irritants that trigger allergies.
- Particles around 0.3 microns — pollen, fine dust and pet dander.
- Urban soot and kitchen fumes that settle as particulate air indoors.
- Allergens that worsen sneezing and respiratory discomfort in sensitive households.
What happens when a filter clogs
We saw clogged units lose airflow and overall cleaning performance. Fans speed up, energy use rises and noise becomes more noticeable.
Clogging also traps moisture and odours. In humid conditions this can create a mould risk if the media stays damp.
“Visible surface dust understates the problem — deep-loading in the media is what truly limits efficiency.”
| Issue | Observed effect | Home impact (Singapore) |
|---|---|---|
| Reduced airflow | Lower particulate capture | Longer run times, higher energy demand |
| Higher fan speed | Increased noise | Perceived poorer comfort in flats |
| Moisture retention | Musty odours / mould risk | Health concerns in humid months |
Next step — before we attempt any maintenance, we must confirm the filter type. Identifying washable versus non-washable media guides safe handling and avoids damage. For related routine care of household filters, see our short guide on a pet vacuum filter: pet vacuum filter maintenance.
Know your filter before you clean: washable vs non-washable HEPA filters
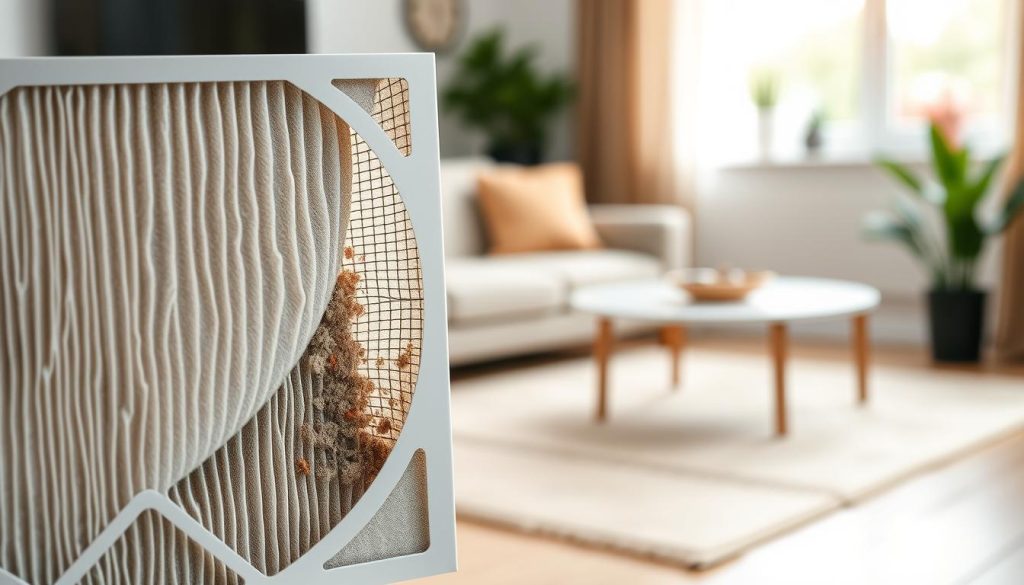
Identifying whether a filter tolerates water is the single best step before any maintenance. We start by checking the label, the product manual and the manufacturer guidelines for clear instructions.
How we confirm the type
Look for explicit wording: “Washable”, “Rinseable” or “Do Not Wash”. We treat that label as the final authority, even if online tips conflict.
Why non-washable filters and water don’t mix
Many designs use delicate fibres. Exposing a hepa filter to water can deform the media, leaving permanent loss of capture and long-term damage.
“A wet filter may feel cleaner on the surface but often loses its ability to trap fine particles.”
- Non-washable does not mean unmaintainable — we use dry methods instead.
- Kitchen aerosols and humid storage in Singapore make adding moisture risky.
- Correct identification protects warranty and prevents avoidable breakage.
| Label | Recommended action | Risk if ignored |
|---|---|---|
| Washable / Rinseable | Follow manufacturer instructions for rinsing and drying | Low if instructions followed |
| Do Not Wash | Use dry maintenance: vacuum, tap, brush gently | Water exposure → media damage, reduced capture |
| Unlabelled | Check manual or manufacturer support before proceeding | Risk to warranty and performance if assumed washable |
Next, we gather the correct tools and set a safe work area so the actual maintenance is effective and controlled.
Tools and set-up we use for safe, effective cleaning
We start by listing the exact kit we relied on and why each item mattered. This keeps the work controlled and limits dust spread in Singapore homes.
Essential tools
- Vacuum cleaner with a gentle attachment for low suction work.
- A soft-bristled brush to loosen surface particles without stressing fibres.
- A lint-free cloth to wipe the frame and keep the media dry.
Safety first
We always power off and unplug the unit before accessing the filter. We wore gloves and a dust mask because handling can release trapped dust debris briefly.
Where we cleaned
When possible, we worked on a balcony or near an open window. If outdoor access was not allowed, we chose a well-ventilated room and placed a bin or bag nearby to collect debris.
| Check | Why it matters | Action |
|---|---|---|
| Filter cool and dry | Prevents mould and damage | Wait until unit has been off for 30 minutes |
| Access panel seal | Ensures correct airflow after reassembly | Inspect gasket and clips before starting |
| Time available | Allows airing parts if needed | Allocate 20–30 minutes for a single filter |
Make sure you use vacuum cleaner settings gently and avoid hard contact with the media. Next, we cover the step-by-step method for non-washable filters so the routine stays repeatable and safe.
Air purifier HEPA cleaning for non-washable filters: step-by-step
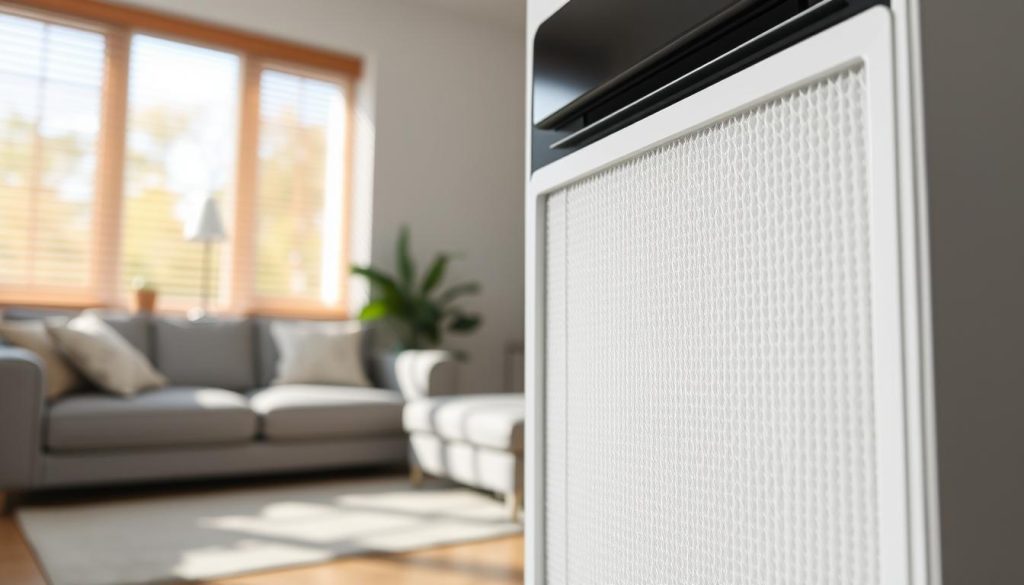
We begin by powering down the unit and removing the element with care to avoid bending the media. Always unplug first, then use tabs or handles to lift the filter straight out. Do not twist or squeeze the panel; the particulate air matrix is delicate.
Inspect the element
Check for tears, heavy discolouration or persistent smells. Any of these signs usually mean replacement is the safer option. Damaged media cannot be restored by dry work.
Release loose debris
If the manual permits, tap gently on the frame to dislodge loose dust debris. Keep taps light — the goal is to free surface particles, not to jar the fibres.
Vacuum with care
We used a low-suction setting and a soft attachment. Glide the nozzle in even, light passes across the surface. Do not press hard; pressing can deform the filter and reduce capture.
Brush stubborn spots
After vacuuming, a soft brush removed remaining pet hair and trapped particles at the edges. Work in one direction and focus on corners where build-up lodges.
Final wipe and assessment
Wipe only the exterior frame with a barely damp lint-free cloth and keep the filter media dry. Good enough looks like less visible surface dust and no loose debris. If heavy loading persists, follow our how to clean a non-washable HEPA advice or opt for replacement.
Can we wash a HEPA filter? What testing shows about water and performance
We tested whether water restores capture and found outcomes that surprised even experienced engineers.
Short answer: rinsing a filter with water can raise airflow but often reduces particle capture. Smart Air engineer CK measured flow with an anemometer and then used a laser particle counter focused on 0.3‑micron particles. Results showed higher flow but a marked drop in capture efficiency.
Why higher flow can mask worse performance
When a filter loses its fine-fibre structure, more air passes through. That feels like an improvement, yet fewer particles are trapped. The practical effect for Singapore homes is more airborne particles remaining in the room despite faster circulation.
When “rinseable” still needs care
If the manufacturer labels a filter as rinseable, follow the manufacturer guidelines exactly. Materials, coatings and construction vary, so detergents, soaking or high‑pressure sprays can change filtration quality and void warranties.
“Higher airflow is not the same as better filtration — capture efficiency defines overall performance.”
Next: the washable path requires gentle rinsing and thorough drying to protect efficiency, especially in humid conditions.
If your HEPA filter is washable: how we rinse, dry and avoid damage
We made no assumptions: the element’s tag and the manual told us whether water was safe.
Confirm washable status before any rinse. If the manufacturer’s instructions do not say ‘rinseable’ we do not use water. This step protects warranty and prevents permanent damage.
Rinse gently with cold water
We rinsed both sides with a gentle stream of cold water. We never scrubbed the filtration surface; scrubbing can warp fibres and reduce capture.
We avoided harsh brushes, strong jets and detergents. Stop rinsing when runoff looks visibly clearer rather than chasing a spotless white finish.
Air-dry completely to prevent mould
Drying is non-negotiable. In Singapore’s humidity a damp element can grow mould and smell musty.
We dried the element in a clean, shaded, well-ventilated spot with good airflow. Drying can take many hours or a full day depending on conditions. We did not use heat sources such as hair dryers because they can cause warping and long-term damage.
“Follow the manufacturer’s guidelines; materials and drying times vary between models.”
Once fully dry, we inspected the frame and reassembled the unit. Next we monitored performance and seals to ensure the purifier returned to safe, sealed operation.
Reinstalling, monitoring and deciding between cleaning vs replacement
Correct reinstallation and post-checks decide whether service will deliver lasting benefit. We always follow label arrows and the unit’s instructions when seating the element so the flow goes through the media, not around it.
Correct orientation and sealing
We align the filter using the arrows, press it flush into the frame and secure clips or fasteners. Make sure the access panel gasket lies flat to prevent bypass and leaks.
Quick power-on checklist
- Ensure the element is fully dry if rinsed.
- Check the frame is seated and no gaps are visible.
- Confirm clips and seals are tight before switching on.
Monitoring after reassembly
After restart we listen for new noises, sniff for persistent odour and watch airflow changes. These simple checks show whether the maintenance improved performance or masked a deeper issue.
When indicators and surface build-up guide replacement
We use filter indicators where available and pair them with visible surface discolouration or tearing. If an indicator still signals replacement, or odour persists, we prioritise replacement rather than repeated maintenance.
Vacuuming: limited gains, occasional harm
Our testing found vacuuming raised airflow by under 10% and particle capture by less than 1% on average. In some units it slightly harmed filtration, so we treat vacuuming as a cautious, last-resort step and never press the nozzle hard.
Recommended maintenance rhythm for Singapore homes
Homes with pets, frequent frying or haze exposure need checks every 1–2 months. Lower-load homes can inspect every 3–6 months. Replace when odour, discolouration or damage appear, not just by calendar.
“If cleaning no longer improves quality or the element is damaged, replacement protects long-term filtration efficiency.”
Conclusion
To finish, a clear decision flow — identify the filter type, follow the correct method and then monitor — keeps outcomes predictable. Identifying washable versus non-washable filters is the single most important step before any maintenance.
In Singapore’s humid climate, complete drying is vital. A damp filter can quickly create odour or mould risk, so allow plenty of time in a ventilated spot.
For non-washable units we favour gentle dry removal of surface dust and debris. Where the manufacturer permits rinsing, use cold water, avoid scrubbing and air‑dry fully.
Our tests found washing can raise flow but often reduces particle capture, and vacuuming usually gives only small gains. Keep a simple monitoring routine and use indicators where available.
Next step: replace the element when routine care no longer restores acceptable function, or consult the Lura wet & dry vacuum guide for safe maintenance options.

