
We set clear expectations: this short guide shows how we keep our air purifier running safely and efficiently in humid Singapore homes.
Neglect can cut performance, spread odours and even re-release trapped particles. We follow manufacturer notes from Germitrol and Levoit and use the filter indicator as our primary source of truth.
In practice, maintenance means regular checks, sensible cleaning and simple tracking. That stops stale air, reduced flow and needless breakdowns.
We explain common filters — pre-filter, HEPA and carbon — and why each needs different care. Good upkeep is not optional if we run the unit long hours with air‑conditioning.
Read on for a practical schedule, safe filter handling, external and internal cleaning, airflow checks and straightforward troubleshooting so we protect air quality at home.
Why air purifier maintenance matters for clean indoor air in Singapore
We rely on regular care because tropical homes place extra strain on equipment. High humidity, frequent air‑conditioning and episodic haze raise particle loads and encourage microbial growth in filters.
Re-contamination is a real risk. When filters saturate they can shed dust, allergens and pollen back into our rooms. This “re-entrainment” defeats our goal of clean air and can return visible dust and symptoms.
How overloaded filters spread dust and odours
Captured organics break down over time. When a carbon layer is full it stops adsorbing gases and smells can return as musty or stale odours.
Efficiency, airflow and energy costs
Clogged media restricts airflow and reduces real-world CADR. The unit must run longer to reach the same result, which raises consumption and heat.
Shortened lifespan and stressed components
Blocked flow forces the fan and motor to work harder. That extra strain accelerates wear and can lead to earlier repairs or replacement.
- Singapore conditions increase filter loading and microbial risk.
- Overloaded filters may release trapped particles back into rooms.
- Saturated carbon stops removing smells and gases.
- Restricted airflow lowers performance and raises energy use.
- Neglect shortens the unit’s lifespan and strains components.
| Issue | How it appears | Consequence |
|---|---|---|
| Filter saturation | Musty odours, visible dust | Reduced cleanliness and comfort |
| Restricted airflow | Lowered CADR, longer run times | Higher energy use and heat |
| Motor stress | Unusual noise, overheating | Shorter lifespan, repairs |
| Carbon exhaustion | Return of smells and gases | Loss of odour control |
Our manual is essential for model‑specific intervals and safe access. For hands‑on cleaning methods we follow proven procedures; see cleaning guidance with a wet‑dry vacuum for a practical approach.
Air purifier maintenance tips: a practical schedule we can follow year-round
A clear calendar for filter checks makes upkeep easy, even during haze season. We use a simple rhythm: quick checks weekly, light cleaning every two weeks and planned replacements by months and usage. This keeps quality steady without adding chores to our week.
Pre-filter care: Clean visible dust every 2–4 weeks. If dust is heavy, vacuum the mesh every 1–3 months rather than washing unless the manual permits it. Clean means dust removed and the mesh still breathable.
HEPA/main filter timing: Replace roughly every 6–12 months. Do not wash HEPA media — water and scrubbing damage fibres and change airflow resistance, which cuts capture efficiency.
Activated carbon: Swap carbon layers every 3–6 months or sooner when cooking smells or stale odour return despite normal fan speeds. Odour cues are a reliable early warning.
We pair the user manual and the filter indicator light with our own checks. Even if the light hasn’t changed, inspect filters at six months — pets, nearby roads or renovations can shorten filter life.
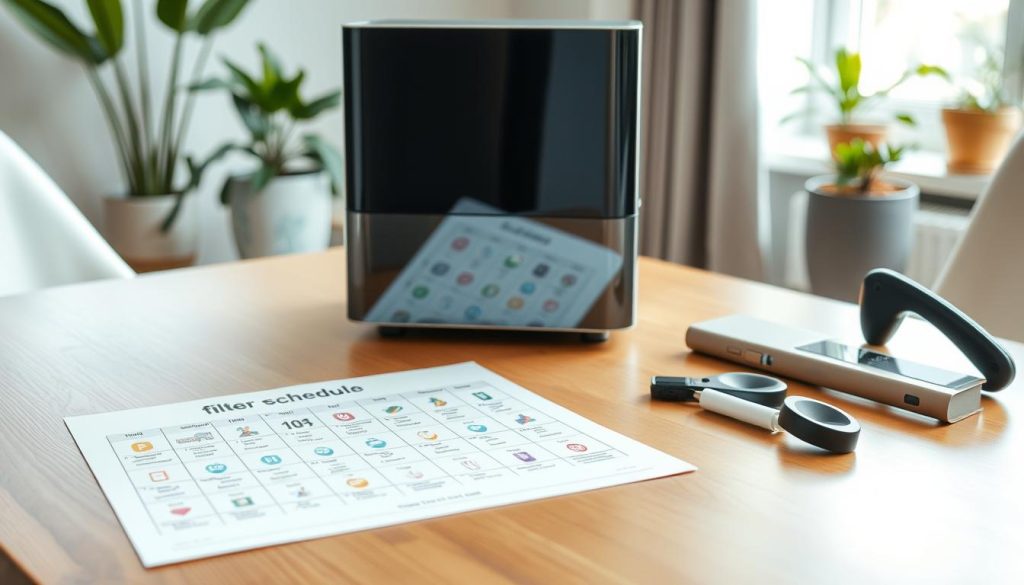
- Weekly: quick visual check for dust and airflow.
- Fortnightly: light cleaning of pre-filter and exterior vents.
- Every months: track install dates and note heavy‑use periods.
| Component | Typical interval | What to inspect | Action |
|---|---|---|---|
| Pre-filter | 2–4 weeks (clean), 1–3 months (vacuum) | Visible dust, clogged mesh | Vacuum or wash only if manual allows |
| HEPA / main filter | 6–12 months | Reduced airflow, visible darkening | Replace; do not wash |
| Activated carbon | 3–6 months | Return of odours, lingering cooking smells | Replace cartridge |
| Indicator & manual check | 6 months (inspect) / light as shown | Light status, airflow feel, smell | Follow manual; reset light after replacement |
How to change and handle filters correctly for safer air purification
Our routine for filter swaps focuses on safety, correct fit and clear tracking. We follow a simple sequence so the unit stays safe and room quality stays high.
Power and cooling: Always switch the unit off, then unplug. Give it ten minutes to cool, especially if there is a UV module fitted. This avoids electrical surges and contact with hot parts.
Remove filters gently
Open the casing slowly and slide filters out without shaking. Do this over a bin or outdoors where possible.
Do not tap or bang media. Seal used filters in a bag immediately to reduce exposure to dust, pollen and allergens.
Choose the correct replacement
Match model numbers and use manufacturer‑compatible parts. The wrong part can leak, fit poorly and reduce performance.
Keep hands clean or wear gloves, avoid touching the filter face and respect airflow arrows when fitting the new cartridge.
Reset the reminder and track usage
After replacement, reset the filter light only as the manual prescribes. We also note the date and runtime so heavy use is tracked alongside the indicator.
| Step | Why it matters | Quick action |
|---|---|---|
| Switch off & unplug | Prevents surges and contact with live parts | Power off, then unplug; wait 10 minutes |
| Remove without shaking | Reduces re-release of dust, pollen and allergens | Slide out slowly; seal used filter in a bag |
| Fit correct replacement | Maintains fit, airflow and capture efficiency | Match model numbers; follow orientation arrows |
| Reset light & log date | Keeps reminders aligned with real usage | Reset per manual; record install date and run hours |
Cleaning the exterior, vents and key components without damaging the purifier
Keeping the outer surfaces tidy is a quick, high‑impact part of our routine. We wipe the casing every 2–4 weeks with a microfibre cloth slightly dampened with water and a small amount of mild solution. Never let liquid drip into vents or openings.
If grills or inlet/outlet vents show dust, clear them gently so airflow and CADR stay intact. Blocked vents reduce the unit’s performance even when the filter is new.
For stubborn dust we use a soft brush or a vacuum hose attachment on low suction. Work along seams and around buttons to lift debris without scratching surfaces.
Clean sensors with a dry cotton swab or as the manual prescribes. A dusty sensor can misreport conditions and make the device run when it need not.
When fan blades and grilles are accessible, inspect them for hidden dust. Remove buildup carefully; trapped debris raises noise and lowers airflow.
“A simple wipe and sensor check keeps performance steady and extends component life.”
For hands‑on cleaning techniques we also follow related guidance such as easy steps on how to clean a vacuum, which helps with gentle dust removal around grills and seams.
Disinfecting the interior and verifying airflow after cleaning
Regular interior disinfection helps reduce mould and bacterial growth in humid Singapore homes. We do this periodically, usually every 3–6 months, or sooner when musty odours appear.
When interior disinfection is worth our time
We disinfect if the unit has run continuously in a closed room, if humidity is high, or if musty smells return. These signs point to microbial build‑up that harms indoor air and clean air goals.
Safe, effective disinfection steps
Remove filters first. Move them to a well‑ventilated area and wear gloves and a mask. Wipe reachable hard surfaces with the approved disinfecting solution the manual allows.
Never soak the system or let liquid enter vents. Allow all interior parts to dry fully before reassembling. This prevents damage and avoids encouraging further bacterial growth.
Verify airflow after cleaning
We run simple checks immediately after a deep clean. Hold a tissue near the intake; it should be drawn in. At the outlet the tissue should flutter with a steady stream.
Other checks include watching the filter light and, if available, using an anemometer. After reassembly we run the unit on high for 30–60 minutes to confirm steady flow and to clear residual smells.
“Disinfection protects air quality and keeps the system working as intended.”
| When to act | What to do | Why it matters |
|---|---|---|
| Humidity or musty odours | Remove filters, wipe interior, dry fully | Stops mould/bacteria and restores clean air |
| Continuous run in closed room | Disinfect every 3–6 months | Prevents microbial build‑up and odours |
| Post‑clean checks | Tissue test, monitor filter light, run high 30–60 min | Confirms airflow and system purification is effective |
For additional guidance on paired practices we recommend optimising your indoor air.
Deep cleaning, troubleshooting and safe part replacement
A thorough annual clean removes the hidden dust and grime routine wipes miss. We follow a clear checklist so the unit stays reliable and safe.

Annual deep‑clean checklist
Unplug first. Wait for cooling, then vacuum interior dust with a hose attachment. Wipe reachable surfaces and use a cotton swab with rubbing alcohol for tight crevices if the manual allows.
Ensure vents are clear, reassemble with filters seated correctly and covers closed, then run the unit on high for 30–60 minutes to confirm steady flow.
Red flags we must not ignore
- New burnt, sour or musty odours.
- Rattling or buzzing noises.
- Poor circulation across the room space despite normal settings.
Specialist parts and safe disposal
UV lamps and some components often need replacement every months or annually. Always follow the indicator light and the manual.
Turn off, unplug and let modules cool before touching UV assemblies. Some lamps contain mercury; use designated disposal centres rather than household bins.
| Action | Why | Quick check |
|---|---|---|
| Vacuum interior | Removes hidden dust and debris | Hose, low suction, avoid electronics |
| Run high 30–60 min | Verifies airflow and clears smells | Tissue test at intake/outlet |
| Replace UV/parts | Restores disinfection and function | Follow light and manual; note date |
| Dispose safely | Protects health and environment | Take to authorised centre |
“Prompt action on smells, noise or poor flow prevents faults and extends lifespan.”
Conclusion
Simple habits—regular checks, timely swaps and gentle cleaning—protect indoor comfort. We keep to filter schedules: pre‑filter cleaning often, HEPA/main change at 6–12 months and carbon replacement at 3–6 months. Wiping the exterior every 2–4 weeks and periodic interior disinfection prevents mould and stale smells.
Make sure we combine the filter light with real checks: airflow strength, smell and visible dust. Always switch off and unplug before work, keep water away from vents, and bag used filters to avoid spreading pollen and allergens.
Action checklist: set calendar reminders for replacements, keep spare filters if we run units daily, and plan one annual deep clean to protect long‑term performance. Better clean air is earned by caring for the whole system—filters, flow paths and surfaces—so purification stays consistent.

