
Welcome. We introduce a practical guide for keeping an air purifier working well in Singapore homes and offices. This short guide helps us protect indoor air quality, energy use and unit lifespan.
Regular care matters. Filters trap dust, pollen, mould spores, pet dander and some bacteria, but neglected parts can turn into germ magnets. We explain routine tasks: pre-filter cleaning, HEPA replacement, activated carbon swaps, fan checks, vents and sensor care.
Singapore conditions—haze, humidity, traffic and renovation dust—change how often maintenance is needed. We set clear expectations: a purifier is not “set and forget”, and simple steps keep clean air consistent.
Below we outline why upkeep matters, provide a checklist, recommend service intervals for local conditions, show safe cleaning and filter replacement steps, and flag when to call a professional. By the end, we want you to have a repeatable routine and sharp warning signs to watch for.
Why regular maintenance matters for indoor air quality in Singapore homes and offices
In humid tropical climates like Singapore, small lapses in upkeep quickly affect indoor air performance. We must keep units clean so they keep removing pollutants and keep efficiency high.
How dirty filters can become a “germ magnet” for mould, bacteria and viruses
A neglected filter offers darkness, trapped nutrients and occasional moisture. These are ideal conditions for mould and bacteria to persist, and some viruses can survive longer in that environment.
When trapped particles re-enter indoor air through blow-by and re-entrainment
When filters are overloaded or not seated correctly, particles dislodge and return to the room. That blow-by defeats the point of filtration and worsens indoor air readings.
What clogged components do to airflow, energy use and clean air delivery
Clogged panels and blocked cartridges reduce airflow and lower CADR. Fans run harder, efficiency falls, and energy use rises. Over time this raises heat stress on motors.
Why odours appear when activated carbon becomes saturated
Activated carbon loses adsorption capacity when full. Gases and VOCs pass through and musty or stale smells appear even while the unit runs.
How neglect accelerates wear on the fan, motor and internal components
Dust build-up increases resistance on bearings and blades. Noise, vibration and premature failure become more likely without timely maintenance.
In short, regular maintenance is the simplest way to protect indoor air quality and extend unit life.
| Issue | What happens | Quick fix |
|---|---|---|
| Dirty filter | Mould and bacteria growth | Clean or replace filter monthly |
| Clogged components | Lower airflow and efficiency | Clear intakes and check seals |
| Saturated carbon | Odours persist | Replace activated carbon cartridge |
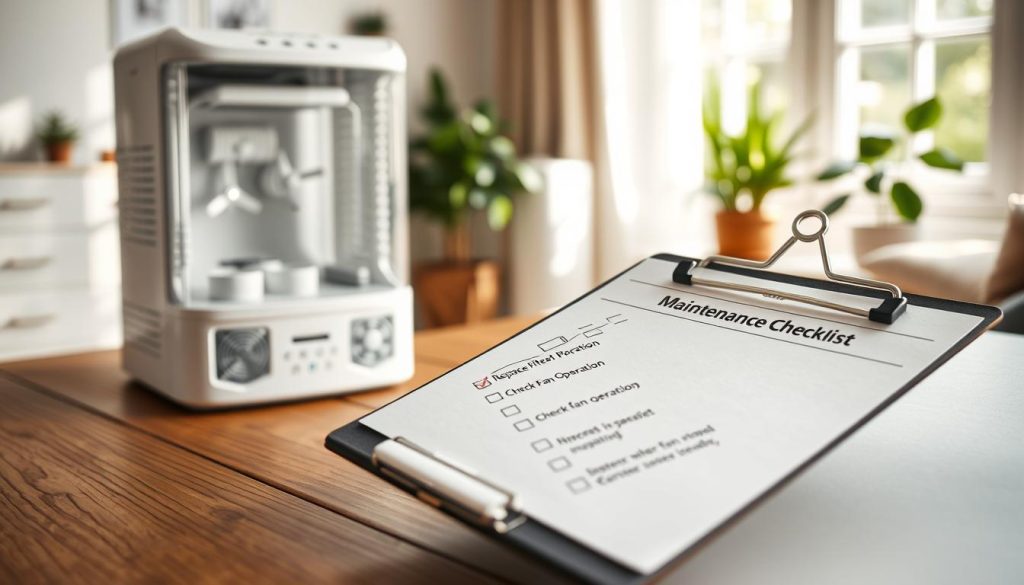
Air purifier service blog maintenance checklist for consistent performance
A short, repeatable checklist keeps performance steady and removes guesswork from routine upkeep.
We follow a practical schedule so the system keeps delivering stable air quality and longevity.
Pre-filter care
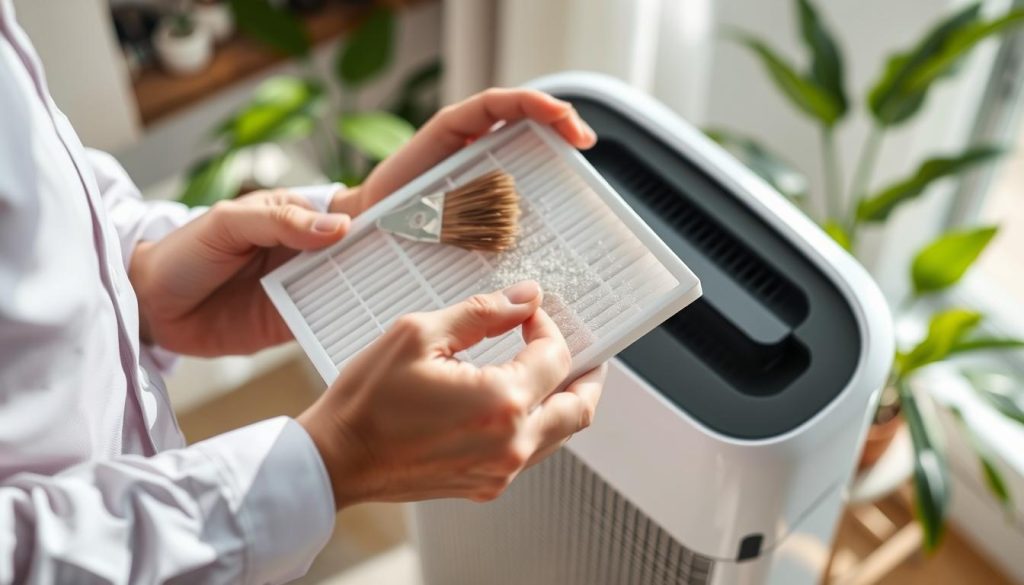
Vacuum or wash the pre-filter every 2–4 weeks or 1–3 months depending on dust levels. This reduces dust buildup and protects HEPA filters from early loading.
HEPA replacement timing
Most HEPA filters are not washable. Replace them every 6–12 months or sooner if you see visible loading or reduced airflow.
Activated carbon replacement
Carbon does not always look dirty. Replace cartridges every 3–6 months or when odours and VOCs linger despite normal operation.
Exterior, vents and casing
Wipe the exterior and vents with a soft microfiber cloth and mild detergent every 2–4 weeks. Avoid moisture entering openings.
Interior disinfection and sensors
In humid conditions, disinfect the interior every 3–6 months if musty smells or spotting appear. Clean sensors gently per the user manual to keep readings accurate.
Airflow checks and annual deep clean
Verify airflow with a tissue at the intake and exhaust. Reset the filter light after replacement as instructed in the user manual.
Once a year, unplug, remove filters, vacuum grilles and fan areas, wipe accessible internals and reseat filters before restarting.
| Task | Interval | Benefit |
|---|---|---|
| Pre-filter cleaning | 2–4 weeks or 1–3 months | Reduces dust buildup and preserves airflow |
| HEPA replacement | 6–12 months | Maintains peak particle removal and performance |
| Activated carbon | 3–6 months | Controls gases, VOCs and odours |
| Exterior & vents wipe | 2–4 weeks | Prevents debris build-up and cosmetic wear |
| Interior disinfection | 3–6 months (humid areas) | Deters mould and microbial growth |
Following this checklist helps us keep units running efficiently, lower running costs and extend lifespan.
How often should we service an air purifier based on dust, pets and usage hours
Rather than one‑size‑fits‑all timing, we judge upkeep by visible loading, smells and runtime hours.
Every months routines shift with local conditions. During renovation dust, haze episodes or nearby roadworks we bump pre‑filter checks and exterior wiping to weekly or biweekly. In quieter months, a monthly glance may be enough.
Every months routines that change with renovation dust, traffic haze and high occupancy
High traffic and construction raise dust and pollutants quickly. We increase pre‑filter cleaning and check filters more often in these periods.
Pet dander, pollen and cooking fumes: signs your maintenance schedule should tighten
Visible hair on the mesh, faster debris build‑up, persistent cooking odours or allergy flare‑ups tell us to shorten intervals.
When those cues appear, we step up carbon checks, inspect HEPA resistance and plan earlier replacement.
Continuous running versus intermittent use and what it means for filter life
Running a unit 24/7 gives steadier air quality but uses filters faster. If we run continuously, we watch the filter light, test airflow and budget for more frequent replacement.
- Practical rule: check filters every six months as a baseline and sooner if cues appear.
- Decision point: reduced airflow or lasting odours = time to replace.
For a detailed guide on timing and replacement, see how often to change filters.
Step-by-step cleaning and filter replacement without harming your purifier
We walk through a safe, repeatable process to keep our unit working well and to avoid accidental damage.
Preparing safely
First, we unplug the unit, allow it to cool and choose a dry, ventilated area for cleaning.
Follow the user manual for model-specific notes about sensor locations and washable pre-filters.
Removing and reinstalling filters
- Open the access panel and note filter orientation before removal.
- Handle filters gently to avoid shaking out trapped dust; place used filters in a sealed bag for disposal.
- Remove any protective packaging from new filters and seat them firmly. Misalignment can restrict airflow and reduce performance.
What to avoid
- Do not wash HEPA filters — washing damages the media and reduces efficiency.
- Avoid abrasive cleaners, strong chemicals and spraying liquids into vents or controls.
- Keep the unit clear of walls and curtains so intake and exhaust vents remain unobstructed.
Post‑service checks: run the unit briefly at a higher fan speed, confirm steady airflow and only reset the filter indicator after correct replacement.
For a practical vacuum‑assisted cleaning method, see this short guide on proper cleaning techniques: how to clean an air purifier.
When maintenance is not enough: troubleshooting and service issues to watch for
Some faults need more than routine care — prompt checks stop small problems becoming costly failures.
Overheating triggers
Clogged filters and blocked vents raise internal temperature. The fan and motor must work harder and may overheat.
Immediate action: power off, let the unit cool and clear clearance around intake and exhaust.
Power and plug problems
Inspect the cord and plug visually for damage. If operation is intermittent or tied to one socket, stop using that outlet.
Do not attempt electrical repairs; note visible heat or burn marks and seek professional help.
Noises, weak airflow and failing motor
Persistent rattles or reduced flow often mean debris at the fan, worn bearings or a failing motor. Replace filters and clean accessible internals first.
If noise or weak performance remains, call a technician to avoid further component damage.
Unresponsive controls and safety locks
Dust, moisture or misaligned covers can disable controls and lock safety interlocks. Gently reseat panels and clean contacts without using liquids.
| Fault | Likely cause | Immediate check |
|---|---|---|
| Overheating | Clogged filter / blocked vents / poor placement | Power off, cool, clear intake/exhaust |
| Intermittent power | Damaged cord / faulty socket | Inspect plug, try another safe outlet |
| Noise or weak flow | Debris, worn fan bearings, motor wear | Clean grille, replace filters, call technician |
Final note: timely diagnosis protects lifespan. If checks fail to restore normal performance, we should arrange professional repair to prevent costly failures.
Conclusion
Simple monthly routines deliver the biggest return for performance and running costs in Singapore homes.
Neglected filters invite microbes and re‑entrainment, reducing effectiveness and raising energy use.
Our simplest routine works: keep pre‑filters clean, schedule HEPA and activated carbon filter replacement, wipe exteriors and verify that the unit is actually moving air.
Humidity, haze and occupancy shorten intervals, so we adjust schedules to real conditions. Troubleshooting matters — overheating, electrical faults, odd noises or weak flow need prompt attention and likely professional service.
Next step: adopt the checklist as a monthly habit and consult this guide on timing for more detail: do I need an air purifier.

