
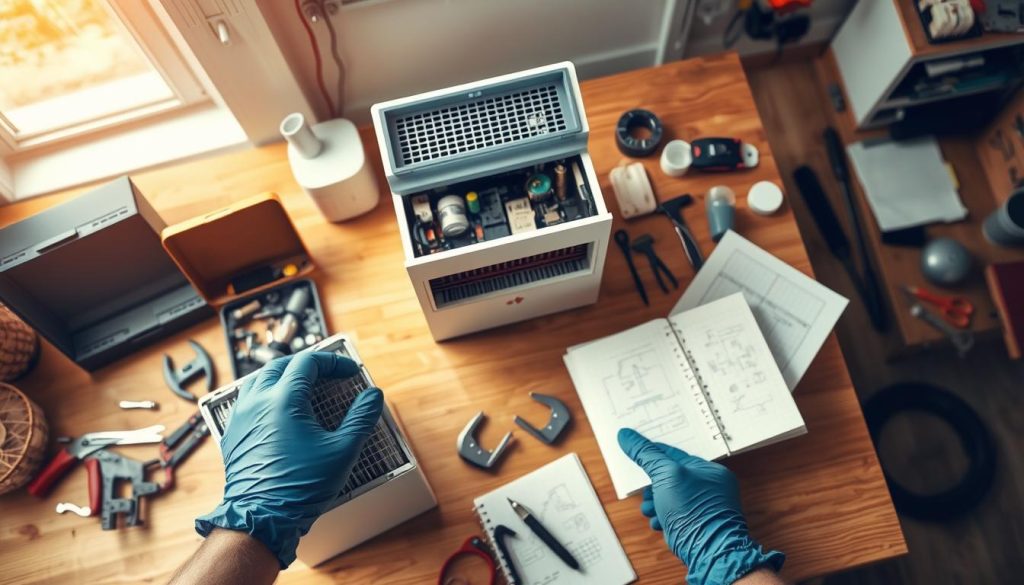
We take a practical, Singapore-focused approach to restoring flow and improving air quality in household devices. Our goal is to show simple checks that save time and money before any major work.
Many units that seem “dead” or show flashing lights are affected by basic faults. These include outlet or cord problems, clogged filters, sensor lockouts and a blown slow‑blow fuse. We explain how to observe symptoms and isolate the system safely.
We set clear expectations: some actions are safe for most owners, others need more confidence with electronics or a trained technician to protect warranty and safety. Our step‑by‑step guide leads you through power checks, filter bays, fans, sensors and board inspection.
Preview of common fixes: filter seating errors, dust build‑up, simple electrical protection trips and sensor resets. Follow our structured approach and you will often restore performance without unnecessary part replacements.
What we check first before any air purifier repair
We start with a safety walk‑round. First, we unplug the unit and leave it untouched for a short period. Mains boards can retain charge even when off, so patience saves risk and time.
Safety basics
Capacitors may hold several hundred volts after shutdown; we avoid touching exposed mains areas or power modules until we are sure the charge has dissipated.
Warranty and tamper seals
We stop if a warranty sticker or tamper seal is intact. Removing hidden screws under feet can tear seals and void coverage, so we recommend manufacturer service in those cases.
Quick triage
Our fast check looks for burnt or ozone‑like smells, melted plastic, liquid marks and bulging components. If any of these signs appear, or if the plug arcs, we do not power the unit on again.
- Check for tracking or corrosion—Singapore humidity worsens dust-related faults.
- Note visible damage and record it before further work.
Tools and parts we keep ready for DIY fixes
We keep a compact toolkit on hand so routine diagnosis is quick and safe. This lets us confirm faults, protect sensitive components and decide if a part needs replacement.
Essentials
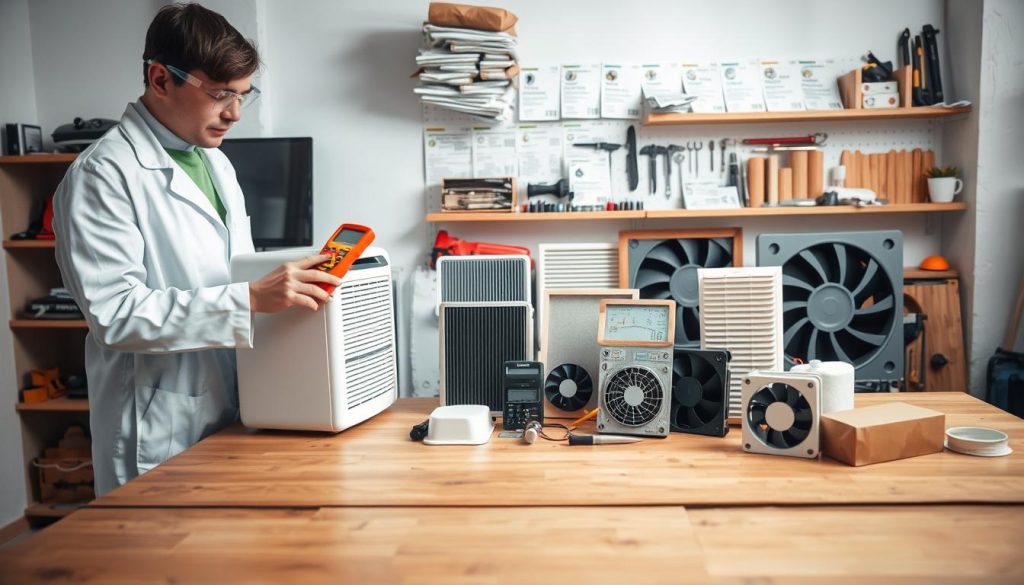
Our must-haves are simple and effective. A multimeter lets us check voltage and continuity. A set of screwdrivers matches security fasteners.
We use 90–99% isopropyl alcohol and lint-free swabs to clean sensor windows and contacts without leaving residue.
Handy extras
- Compressed air to blow dust from blower wheels and housings; used gently to avoid forcing debris deeper into filters.
- Needle-nose pliers, an ESD strap for board handling, and a tiny drop of light machine oil for safe lubrication where recommended.
Common replacements
On the shelf: a correct slow-blow fuse (often ~2A), suitable electrolytic capacitors with proper voltage and temperature ratings, and—when sensible—a mains-to-24V power module or full board replacement option.
Note: some models use keyed connectors that vary by revision. We always match connectors rather than force a fit to avoid damage.
Fast checks that solve most air purifier problems in minutes
We begin with simple, visible checks that often end the call. Do these first before opening any panels. They need no special tools and are safe in a Singapore home.
Outlet and power lead check
We test the wall outlet by plugging in a known-good lamp or phone charger. If that works, we then confirm the plug sits firmly in the socket. Loose pins or a wobble can mimic an electrical fault.
We inspect the power lead for heat marks near the plug and at the strain relief. A damaged lead gives intermittent contact and false fault signals.
Filter bay basics
Open the bay and make sure no plastic wrap remains on new filters. Even a thin film blocks flow and can trigger shutdowns.
Check HEPA orientation — the arrows must follow the airflow. A backwards HEPA causes poor performance and rapid dust loading.
Also verify the filter frame magnet lines up with the reed switch. Misalignment will show a “filter missing” error even when the cartridge is present.
Control lockouts and sticky buttons
We test for a child lock by holding the primary button for a few seconds. Brands vary, but a long press usually clears the lock.
Sticky buttons can be freed with a gentle clean around the bezel. Confirm the control panel responds before assuming a deeper electronic fault.
“Start external checks first — they fix most complaints without opening the unit.”
| Check | What to do | Likely outcome |
|---|---|---|
| Outlet | Test with lamp/charger; check plug fit | Confirms mains supply or loose plug |
| Filter bay | Remove wrap; confirm HEPA arrows; align magnet | Restores flow; clears filter error |
| Controls | Hold button to unlock; clean sticky keys | Re-enables panel; avoids unnecessary fixes |
Air purifier DIY repair tips for power problems
When a unit shows no signs of life, we follow a strict sequence to isolate the source. This keeps work safe and efficient in a Singapore home.
Unit completely dead: testing the supply and internal fuse
Step 1: verify the outlet by plugging in a known working lamp or charger. If that passes, inspect the cord for frays or heat marks and confirm a snug plug fit.
Step 2: open the service bay and locate the slow‑blow fuse on the power side. We continuity‑test it with a multimeter and replace only with a like‑for‑like slow‑blow item.
Do not bypass a fuse. If a new fuse blows immediately, stop and suspect a shorted capacitor or bridge rectifier on the board rather than replacing fuses again.
Powers on then shuts off
Short shutdowns often point to undervoltage protection or a misread filter bay sensor. We reseat the cartridge, check the reed switch or sensor window, and confirm supply voltage before deeper work.
Lights on but fan silent
First, rule out child‑lock and confirm controls respond. Next, perform an impeller free‑spin test to find hair or debris jamming the rotor.
If the impeller spins freely but the fan still will not start, treat it as a motor feedback or Hall sensor issue. We inspect connectors, test the sensor signal lines, and avoid forcing the motor if the feedback is missing.
- Follow our ordered step sequence to avoid cascading faults.
- For sensible maintenance guidance see our maintenance checklist.
- For careful cleaning of fan housings consider the wet/dry vacuum method shown at Lura.
Fixing weak airflow and “no air” output
We start this check by seeing whether the unit moves the same volume of air with no media fitted.
HEPA and pre-filter issues
First, remove the pre-filter and HEPA and compare flow. If output improves with the filter removed, the HEPA is likely clogged or installed backwards.
Do not soak or submerge HEPA media. Wetting the media ruins capture efficiency and can cause odour and mould.
Blower wheel dust build-up
Thick dust on the blower wheel reduces output and adds load to the motor.
We clean the wheel with a soft brush and short bursts of compressed air, taking care to keep debris away from the clean-side filters and sensor ports.
Uneven airflow and mechanical checks
Uneven flow often comes from loose housing screws, rubbing shrouds, or bent impeller blades.
We inspect mounting points and gently correct minor blade bends. Severe warping can unbalance the rotor and harm long-term quality.
“Remove the filters first — it quickly shows whether the restriction is media or mechanical.”
| Symptom | Quick check | Likely cause |
|---|---|---|
| Low flow | Run with no filters | Clogged or backwards HEPA |
| Weak fan output | Inspect blower wheel | Dust build-up on wheel |
| Uneven vents | Check screws and shrouds | Loose housing or bent blade |
Troubleshooting noise, vibration, and humming from the fan motor
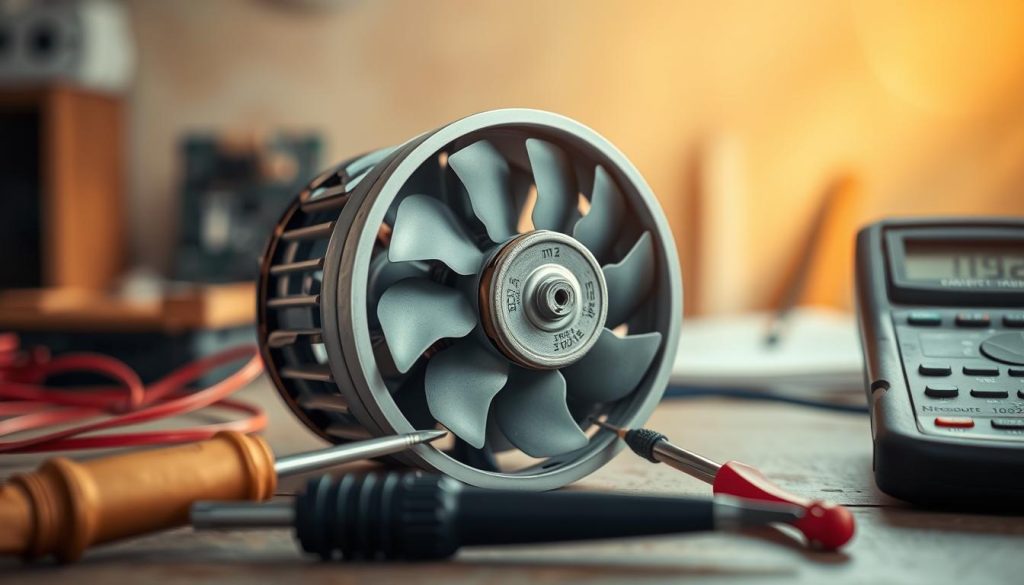
Listening carefully at start-up, during oscillation and through speed changes helps us separate bearing faults from panel resonance. We use sound as the first diagnostic tool before dismantling housings.
Clicking during oscillation and whining noises: what we inspect first
We separate mechanical noise from electrical hum by noting when the sound appears and whether flow changes with it.
First checks include loose fasteners, rubbing shrouds, trapped debris and panels not seated evenly. These cause rhythmic clicks or whining during oscillation.
Loud hum with no wind: locked-rotor bearings and careful lubrication
A loud hum with little or no flow often means a locked rotor or seized bearings. With the unit unplugged, we perform a gentle manual-turn test to confirm binding.
One tiny drop of light machine oil at bearing points, then manual spinning, can free a stiff motor. We avoid over-oiling as it attracts dust and harms long-term quality.
Balancing an impeller to reduce vibration and prevent recurring damage
Imbalance leads to vibration and premature damage. We re-seat the wheel, tighten mounts and correct minor blade bends to restore balance.
If binding persists or the motor overheats, we stop and recommend a motor replacement rather than continued running that risks board damage.
Resetting warning lights and restoring air-quality sensor accuracy
We focus on clear, repeatable steps when lights or displays give false readings after maintenance or movement.
Filter indicator won’t clear
Many reset routines vary by brand. First, use the correct long-press sequence on the reset button shown in the manual.
If that fails, power-cycle the unit for 60 seconds and try the hold again. We always confirm the indicator changes before closing the panel.
Interpreting flashing error lights
Count blink patterns and compare them with legends near the filter bay. A repeated three-blink code often means a missing cartridge; two fast blinks can signal a sensor fault.
If the pattern persists after reseating parts, a factory reset is our next safe step. We follow the manufacturer’s reset procedure rather than guessing.
PM2.5/laser sensor stuck on one colour
A frozen reading usually points to a dusty sensor window. We clean the port with 90%+ isopropyl alcohol and a lint-free swab.
Allow the window to air-dry completely before re-powering. This often restores trustworthy air quality reporting and prevents the unit running too hard.
“Clean sensors and correct resets give accurate readings and save unnecessary part swaps.”
| Symptom | Action | Likely result |
|---|---|---|
| Filter light won’t reset | Long-press reset button; power-cycle; confirm indicator | Light clears; panel shows normal state |
| Flashing error codes | Count blinks; check legend; perform factory reset if needed | False warnings removed; unit returns to service |
| PM2.5 stuck | Clean sensor window with 90%+ IPA; dry fully | Accurate readings; reliable air quality feedback |
When the culprit is the power board or module
A failed power module can look subtle: lights on the panel may still glow while the low-voltage rails that drive fans and sensors are absent. We move carefully at this stage because the module sits between mains and the unit’s electronics.
Spotting failed electrolytic capacitors
Visually, failed capacitors show bulged tops, split vents or a crusty residue that looks like spilled liquid. We never ignore a leaking part — electrolyte corrodes traces and causes recurring faults.
Testing rails safely
Before reassembly we bench-test the expected low-voltage output (many modules deliver ~24V). Tests expose mains, so we keep one hand clear of the chassis, use insulated probes and confirm the panel reads the correct rail voltages.
If you lack confidence with live testing, we recommend stopping and seeking trained assistance.
Replacing a damaged module
We photograph and label every connector, compare keying and pinout, then swap only when the match is certain. Replacement boards can arrive with lifted leads; small solder repairs are acceptable if the component and pads are correct.
When the fuse keeps blowing
A repeatedly blowing fuse usually means a board-level short — a failed rectifier, a shorted primary capacitor, or a bridged component. Do not bypass protection. Instead, isolate the short, examine damaged parts and consider a proper board replacement.
“Photograph, label, then test — methodical steps save time and prevent further damage.”
For careful cleaning and maintenance that supports long-term reliability, refer to our guide on how to clean an air purifier filter easily.
Repair or replace: how we decide what’s worth fixing in Singapore
We weigh the cost and risk before deciding whether to fix or replace a unit in a Singapore home.
- If the unit is under warranty or recently bought, we stop at non-invasive checks and contact authorised service.
- For older devices, a clear cost‑benefit check guides us—parts, labour and expected lifespan matter.
Quick fixes under 30 minutes
These low-risk actions often restore service fast:
- Correct filter seating and orientation.
- Clean sensor windows and remove dust from blower access.
- Replace an accessible slow‑blow fuse and free a sticky impeller with light lubrication.
When replacement is the wiser choice
We recommend replacement if board faults keep recurring, the motor windings show heat damage, or the housing is badly compromised. High local labour costs can also tip the balance.
Cost, time and maintenance
Compare parts cost plus labour against device age. If repairs exceed half the price of a new unit, replacement usually makes sense.
Simple routine to prevent repeat faults: clean pre‑filters monthly, keep vents clear, and change HEPA cartridges on schedule. Consistent maintenance reduces sensor drift, overheating shutdowns and premature fan wear.
For a fuller decision guide see when to repair vs replace.
Conclusion
A short, ordered checklist helps us spot simple faults before they escalate. Start with the outlet and cord, then check filter seating and controls. These actions fix most issues and avoid unnecessary work.
Only proceed to internal board and power checks if symptoms persist. If you see burn marks, leaking components or repeated fuse failure, we stop and seek professional service to avoid shock or further damage.
Prevention matters: regular dust clearance and timely filter changes keep flow steady and reduce false errors that mimic a bigger problem. Follow this flow and you will often restore a faulty purifier quickly and safely.

