

We explain what this DIY system is and why you might build one rather than rely on off‑the‑shelf solutions. In Singapore, fine dust, humidity and frequent renovations make airborne particles a real nuisance. Our project aims to capture dust efficiently while keeping costs low.
This is a water‑based capture approach that uses a bucket of water (and optional foam) to trap dust before it re‑enters our indoor air. We keep strong suction while protecting the motor and maintaining smooth airflow.
We outline two clear pathways: a full build with a cyclonic separator plus wet scrubber, and a quick shop‑vac conversion for fast results. The guide suits DIYers, workshop users and families fighting fine dust, but anyone wary of mains wiring should take care.
Success looks like visible dust settling in the container, reduced haze and smell, and a machine that stays simple to empty and reset. For a practical reference and step details, see our linked guide conversion walkthrough.
Why a water-filter vacuum improves dust control in Singapore homes
In Singapore’s humid, renovation‑heavy homes, trapping dust at source keeps indoor air clearer for longer. We use a liquid capture stage to reduce airborne fines and to keep steady suction during long cleaning jobs.
How water, foam and suction trap fine dust
Suction pulls dusty air through the liquid. Heavier particles collide with droplets or foam, bind and fall to the bottom. That means fewer fine particles escape back into our air.
When a shop vac setup beats dry filtration
Dry filters clog fast with renovation dust. A shop vac with a liquid stage keeps airflow higher for longer. A HEPA filter is still valuable as a final barrier, but it lasts longer when upstream capture reduces loading.
What to plan for
- Bucket capacity: larger means fewer emptying breaks.
- Hose and inlet: wider hose reduces pressure loss; inlet angle encourages swirl.
- Motor protection: splash caps, baffles or a simple screen stop carryover and screen the motor.
Next we show the best‑of‑both‑worlds build: a cyclonic separator for heavy debris plus a wet scrubber for fine dust.
How to build a homemade water filter vacuum cleaner using a cyclonic separator and wet scrubber
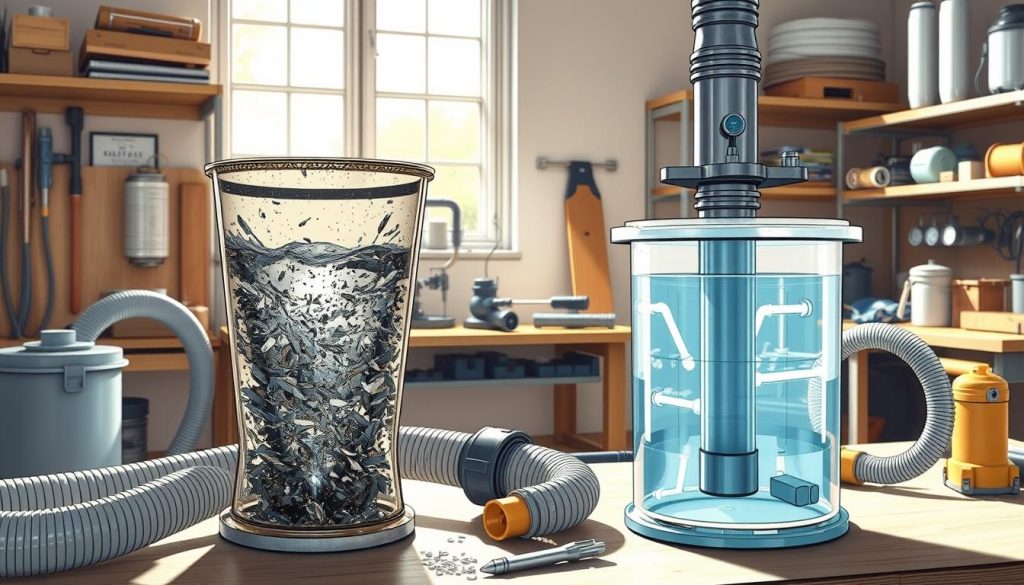
We combine a small cyclonic stage made from a 50‑CD spindle with a submerged scrubber to separate grit and trap fine dust before it reaches the motor.
Materials and sizing
Key parts: 1¼” PVC pipe and couplers, multiple 90° elbows, short tube lengths, a sealed bucket lid and a particle‑board disc.
Match pipe size to your hose and inlet so airflow stays smooth. Avoid sharp reductions; they cut suction and raise noise.
Building the cyclonic stage
Cut the black base from the CD spindle so a pipe passes. Remove the clear top and cut an oval inlet in the side.
Make a spiral ramp from a CD centre, tack it to the inlet pipe and glue gaps to keep air from bypassing the ramp. Glue the outlet and refit the black bottom.
Motor housing, mounting and wiring
Measure the motor, build a box slightly larger and wedge it with spacer blocks. Glue a PVC coupler to the inlet and seal every joint.
Drill a stepped hole for the switch and a cord hole with a wooden bracket for strain relief. Wire motor to switch and cord, keep connections inside the sealed box.
Connecting parts and wet scrubber
Screw a particle‑board disc to the bucket lid and glue a 1¼” coupler. Secure the cyclone and run short pipe and elbows to the motor box; add a small debris screen if you want extra protection.
Build the scrubber from two 1 ft PVC lengths and several 90° elbows. Fit a concentric bottle tube and a larger splash cap. Submerge the elbow pair about halfway into the bucket so captured material falls to the bottom.
Final adjustments and test
Balance water level and minimal soap to create just enough foam to bind fines without pushing bubbles to the motor. Check for leaks by listening for hiss, verify suction at the hose end and confirm dust settles at the bottom.
Simple shop vac water-filter conversion for quick results
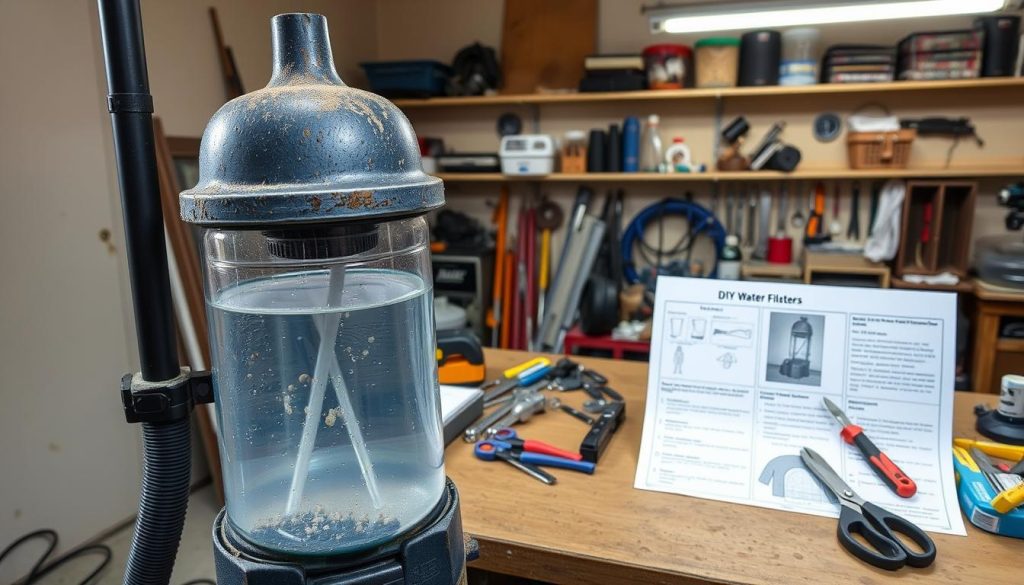
We present the fastest way to add a liquid capture stage to a shop vac for short renovation tasks. The idea is to trap fine dust in a low-level sump so the final filter and motor see less load.
Measuring the inlet and choosing ABS parts
Measure the usable width inside your host inlet; many units show about 1½” free even when the hose is 2″. The inlet shape is often angled to deflect debris, so check the actual open diameter.
Buy two 1½” ABS elbows and a short 1½” pipe length. This simple set of pieces keeps the assembly modular and easy to remove for cleaning.
Setting pipe height without blocking the top
Cut the pipe slightly shorter than the inside distance from canister bottom to the hose connection. Fit an elbow at each end and push the run into the canister.
Position the lower elbow close to the bottom so debris falls to the sump, but avoid touching the top filter area to prevent splashing toward the motor.
Filling, foaming and using for drywall dust
Add water to just cover the bottom elbow and put in a couple of drops of mild soap. Run the vac for a few seconds and check foam: a little bubble action helps capture fines; too much risks carryover.
Work in short sessions with drywall dust. Pause to check level and remove muddy slurry when it reaches mid-depth to protect suction and the motor.
| Item | Size | Purpose |
|---|---|---|
| ABS elbow | 1½” | Directs airflow to the sump |
| ABS pipe | Cut to canister depth | Adjustable insert; supports elbows |
| Water | Cover bottom elbow | Captures dust into muddy slurry |
| Soap (drops) | 2–3 drops | Creates light foam for capture |
Maintenance: Empty muddy water safely, rinse the canister and re-seat the ABS pieces. Verify suction before the next job.
For a short guide on keeping internal parts clean and prolonging motor life, see our note on how to clean a pet vacuum filter.
Conclusion
We finish by showing how a simple sump and sensible airflow choices cut dust recirculation and keep suction steady.
Choose the full cyclonic plus scrubber build if you want a durable shop system with good pre‑separation. Pick the quick shop vac conversion when time, budget or tools are tight.
Keep the motor path dry, seals tight and hose joins checked before every session. After heavy cleaning in Singapore’s humid homes, ventilate briefly and let the bucket and tube dry to avoid odour.
Optional: fit a HEPA as a final polish where compatible — it lasts longer after pre‑separation. Next time you use the unit, check for suction drop, odd noise or debris that has moved past the base stage.
Test after any change. With care and short trials, a well‑built shop vac system can be a reliable thing for controlling renovation dust and routine cleaning at home.

