

We offer a clear, practical start for Singapore homes that face mixed messes—tiles, rugs, balcony dust and the odd spill.
Our rule is simple: treat each task on its own. We begin with an empty drum and the right filter fitted for dry pickup. For liquids we remove the dry filter and swap parts as the manufacturer advises.
This guide covers the big picture steps from prep to pack‑away. We explain safe setup, everyday dry technique, wet mode for water and the do’s and don’ts that protect performance.
We flag common mistakes—wrong setup, wrong filter choice, rushing and a full tank—so our method avoids them. For further practical tips on liquid cleanup see wet dry vacuum.
Below we also answer the common query “how do you use a wet and dry vacuum cleaner” with simple, step‑by‑step advice tailored to real homes and real life.
Choosing the right wet dry vacuum setup for the job
Begin by matching the machine and its parts to the mess at hand. This step keeps results consistent and avoids unnecessary wear to the motor.
Understanding mess types
Dry pickup covers dust, crumbs, hair and renovation debris. We keep the filter fitted to trap dust and protect airflow.
Wet pickup covers water and other liquids. We remove the dry filter or fit the correct wet filter so the motor stays safe.
Attachments and accessories
We select heads by task: a flat head for floors, a wide nozzle for large debris and a brush for pet hair and upholstery. Narrow tools reach corners and gaps.
Quick checklist before switching
- Empty and inspect the tank; ensure no leftover dust or water.
- Power off, then unplug before changing hose, attachments or filter.
- Check seals and connections so suction remains steady.
Matching types to needs
| Home profile | Recommended tool | Filter action |
|---|---|---|
| Mostly hard floors | Flat floor head, wide nozzle | Keep dry filter fitted |
| Mixed carpet & rugs | Carpet nozzle, brush | Dry filter for dust; swap before any water |
| Pets or hair | Motorised brush, upholstery tool | High‑filtration dust filter |
| Frequent water spills | Flat wet head, wide suction | Remove dry filter or fit wet variant |
For detailed maintenance tips on filters and tank care, see our guide on cleaning with a wet dry model.
How do you use a wet and dry vacuum cleaner for everyday cleaning around the home
We begin each session by clearing the space so the machine can work without interruptions.
Preparing the area
- Pick up small objects that cause blockages and move light furniture for access.
- Plan a sensible route so the unit can pass freely through rooms in a typical Singapore flat.
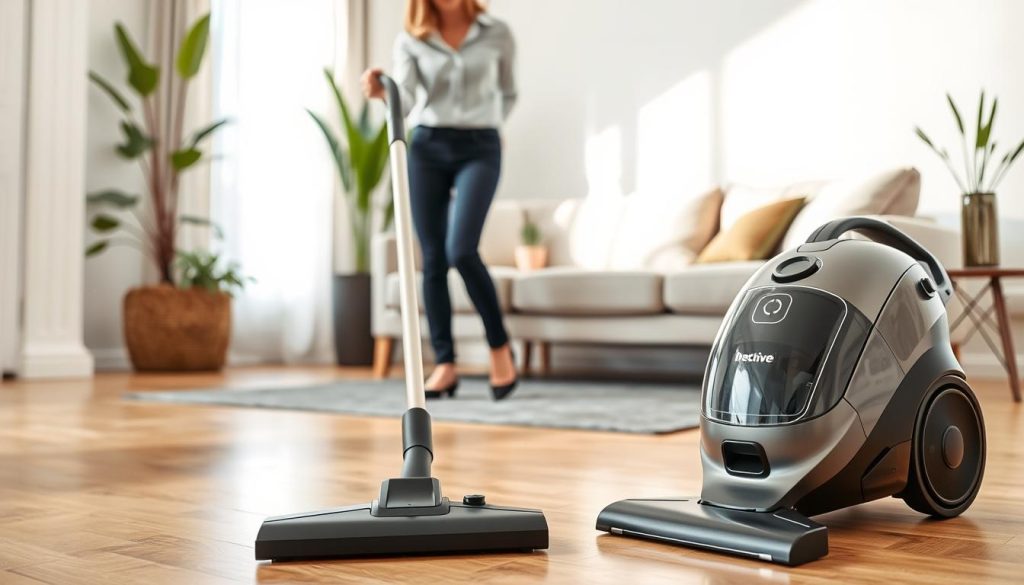
Dust first, then vacuum
We dust shelves, sofa arms and skirting ledges before powering on. This prevents loose dust from settling back on surfaces and lets our vacuum capture what lands on the floor.
Check bag, tank and airflow
Before switching on we inspect the bag or tank and the hose for obvious clogs. If the bag is about 50–75% full we replace or empty it to protect suction and air pathways.
Nozzles, technique and detail work
Match the nozzle to the surface: a hard‑floor head for tiles, a carpet nozzle for fibres, and an upholstery accessory for sofas and hair‑prone areas.
“Go slow, overlap passes and change direction — this lifts embedded dust rather than just skimming the surface.”
| Surface | Recommended nozzle | Quick tip |
|---|---|---|
| Tiles / laminate | Hard‑floor head | Work in straight, overlapping strokes |
| Carpet / rugs | Carpet nozzle | Slow passes, then cross‑grain for lift |
| Upholstery & corners | Crevice tool / brush | Focus on edges, seams and under cushions |
Using wet mode to clean up water and spills without damaging the motor
When facing pooled water, our priority is to protect the motor while clearing the area quickly. We set the machine to wet mode, remove the dry filter and attach the correct nozzle or tool for liquids before we switch power on.
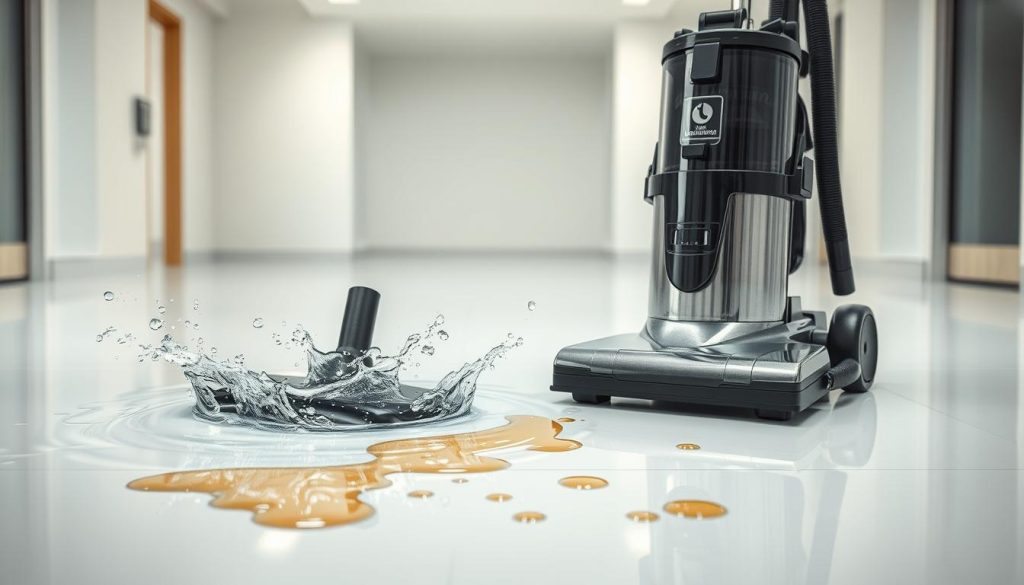
Setting for liquid pickup
Make sure the filter is the wet type or removed entirely. Keep the hose straight and select a flat nozzle to maximise suction and avoid splashes.
Outside‑in spill technique
We work from the outer edges toward the centre. This contains water, prevents spreading across dry areas and speeds removal.
When to pause and empty
Stop when the tank nears capacity or when suction drops. Power off, unplug, then carry the tank carefully to a drain. Overfilling strains the motor and harms performance.
Final drying and reset
After pickup we pat the area with a cloth or paper towels to remove residue. Rinse and dry the tank before refitting any filter for future dry work.
Do’s and don’ts that help us avoid clogs, odours and poor suction
Small habits prevent clogs, odours and the common loss of suction. We make quick checks part of every session so the appliance stays ready for today’s mess.
Maintenance habits that protect performance
Empty the tank or bag promptly after each job to stop smells and residue. Keep air pathways clear by wiping hoses and nozzles after use.
Clean attachments regularly and wash fine dust filters monthly. Let reusable filters dry completely before refitting. Replace HEPA filters every 6–12 months when needed.
For step‑by‑step filter guidance see our notes on filter cleaning and full maintenance tips at periodic care.
Common mistakes to avoid
Never pick up sharp glass — it can puncture bags and damage inlets. Avoid sucking wet dirt with dry nozzles and never attempt to collect hot ashes; these shorten motor life.
“Unplug before you open the tank or change a filter.”
For pet homes, clear tangled hair from brushes. A clean head keeps suction strong and saves time later.
Conclusion
Follow a simple sequence to protect parts, keep airflow strong and handle spills safely.
Keep dry pickup separate from liquid work by resetting the tank and fitting the right filter. That step prevents sludge, protects filters and keeps the cleaner smelling fresh.
Check the bag or tank level, clear air paths and pick the correct tool for each surface. Go slow for better lift of debris and dust; steady passes beat rushing every time.
For spills, set wet dry mode, work from the edge inward and pause to empty the tank before suction drops. Spend a few minutes rinsing and drying parts after cleaning to extend lifespan.
Match types to home needs, and a short routine will keep vacuums ready for every mess.

