

We explain what a proper deep service involves and how it differs from a quick tidy-up. Consumer Reports recommends cleaning your mattress twice a year, and many modern designs cannot be flipped, so rotation head-to-foot may be advised depending on the care label.
In this short guide we set clear expectations for time, drying and the need to follow labels. In Singapore, humidity can prolong drying and raise the risk of mould if we use too much water.
We outline the full workflow: strip the bed, vacuum, treat stains, deodorise, sanitise where suitable, dry thoroughly, then reset and protect the mattress. We also point out when a professional is the safer option.
This introduction flags the problems we solve — odours, stains, dust build-up and allergens — and shows how we aim to help you restore comfort for better sleep.
Why a clean mattress matters for sleep hygiene in Singapore
What sits under our sheets can shape the rest we get each night. In Singapore’s heat and humidity, sweat and trapped moisture make odours and dampness more likely. That affects how comfortable we feel and can worsen allergy symptoms.
Over time a mattress surface collects dust, dead skin and body oils. These small particles are food for dust mites and other pests. Pet dander and occasional accidents add to the problem and can lead to stains and smells.
We find that regular attention reduces mites and irritants that disrupt sleep. Routine upkeep and targeted treatments help remove build-up without soaking the bed. This lowers allergens and helps control lingering odours.
- Heat and humidity increase sweat retention and odour risk.
- Seams and edges can harbour dust mites and pests if ignored.
- Reducing dust and skin flakes helps allergy-prone sleepers breathe easier.
| Common deposit | Why it matters | How we address it |
|---|---|---|
| Dust and debris | Feeds mites; irritates airways | Slow vacuum passes across the surface |
| Dead skin and oils | Causes yellowing and odours | Spot treat and deodorise with baking soda |
| Pet dander and urine | Strong smells; allergen source | Enzyme spray for stains; ventilate to dry |
| Dust mites | Trigger sneezing and itch | Regular upkeep and encasements |
How often we recommend cleaning your mattress
We recommend a steady schedule so mattress upkeep fits into your normal home routine. A reliable timetable stops issues before they affect comfort and sleep.
A practical schedule: every six months as a rule of thumb
For most households, a deep clean mattress session every six months balances hygiene gains with the time needed to ventilate and dry the bed in humid Singapore. This frequency keeps dust and odour buildup manageable.
When to clean more often: allergies, pets and spills
We advise more frequent mattress cleaning if any of the following apply:
- Allergy or asthma flare-ups.
- Pets on the bed or regular accidents.
- Frequent night sweating or visible staining.
Immediate spot care after spills reduces the need for aggressive treatments later. Treat mattress hygiene as part of whole-house upkeep, not a once-a-year rush.
“A scheduled approach saves us time and keeps the bed fresh between full treatments.”
What we gather before we start mattress cleaning
We start by assembling a compact kit so the task runs smoothly and without unnecessary pauses. Being ready helps us work carefully and avoid over-wetting the mattress in humid Singapore.
Core kit for a home job
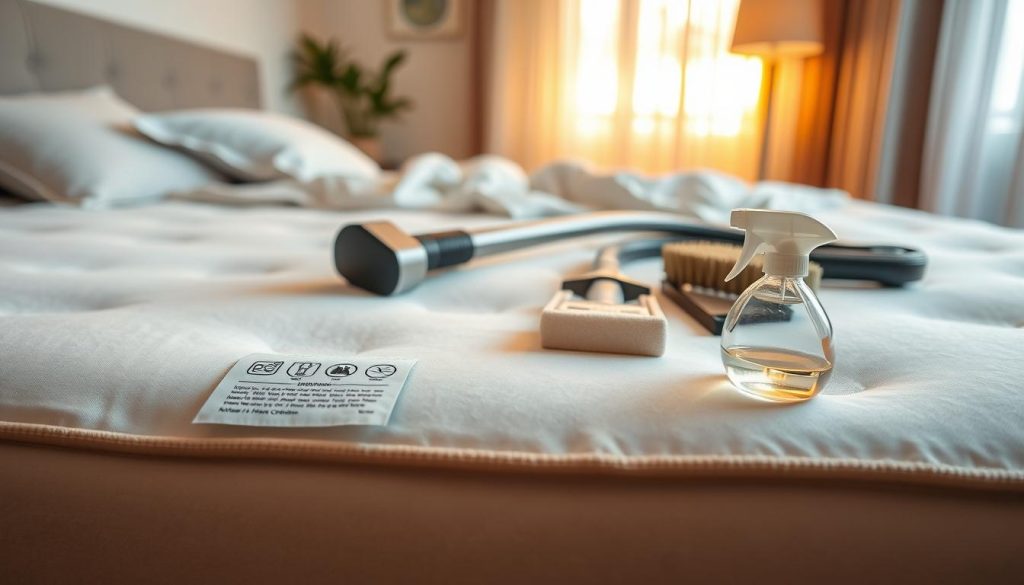
Vacuum cleaner with an upholstery attachment to lift dust from seams and edges. A small canister or handheld works if it has good suction.
Baking soda as our primary deodoriser — it absorbs moisture and neutralises odours.
A spray bottle, cold water and a few microfibre cloths let us apply solutions sparingly and blot without soaking the surface.
Optional helpers and safer liquids
White vinegar in small amounts and mild detergent for light stains. For pet issues, we recommend an enzyme cleaner that targets urine odour.
Attachments that make a difference
An upholstery attachment is one of the best upgrades; seams and piping trap the most debris. Rubber gloves and a spare cloth keep the process tidy.
For guidance on techniques that match your mattress type, see our link on how to clean a mattress.
Check your mattress care instructions and material first
Before we touch any product or tool, we always read the manufacturer’s care instructions. The label tells us which methods and limits apply to each mattress type. This prevents hidden damage and avoids unnecessary risk.
Memory foam: avoid excess water and steam
Memory foam soaks up water and traps moisture. We keep liquids to a minimum and never use steam, which can warp the foam.
Latex options: gentle approaches
Latex resists allergens but needs gentle care. We avoid hot water, steam and bleach to protect elasticity and natural properties.
Innerspring and hybrid models: when steam may work
Some innerspring and hybrid mattresses tolerate controlled steam if the care label allows it. We still prevent over-wetting to avoid internal dampness.
Organic wool: brush, don’t vacuum
Certain organic wool surfaces can be damaged by strong suction. For these, we use a soft brush to lift dirt and preserve fibres.
| Material | Risk | Preferred method |
|---|---|---|
| Memory foam | Retains water; sensitive to heat | Spot treat, air dry; no steam |
| Latex | Loss of elasticity with heat/chemicals | Gentle blotting; avoid hot water and bleach |
| Innerspring / Hybrid | Possible internal damp if over-wet | Controlled steam if label permits; limit moisture |
| Organic wool | Fibre stress from strong suction | Soft brushing; light vacuum setting if allowed |
Deep cleaning mattresses starts with stripping the bed properly
Before we touch a vacuum, we remove every layer from the bed so the whole surface is accessible.
Remove sheets, pillowcases, protectors and toppers so we can reach the entire mattress rather than only the visible centre.
Why protectors and toppers must be washed
Protectors collect sweat, dust and allergens even if the mattress looks fine. Washing them prevents recontamination when we remake the bed.
Wash bedding while the mattress dries
We start a wash cycle immediately so clean sheets and covers are ready once the mattress is dry and aired.
- Strip fully: sheets, pillowcases, protectors and any topper so edges and seams are exposed.
- Wash now: run bedding through a hot or allergen-cycle when suitable to reduce dust and mites.
- Air the surface: keep the bare mattress exposed as long as possible to aid ventilation.
- Treat the system: a clean mattress result depends on addressing the bed and bedding together.
We follow this routine because treating only the mattress while leaving contaminated bedding undermines the outcome. A simple start like this makes the later stages of our deep clean faster and more effective.
Vacuum the mattress surface thoroughly
Start with patience: fast strokes push dust around, while slow passes pull particles out of the fabric. We take our time and work in clear, overlapping lines so the tool lifts what lies under the fibres.
- We begin with slow, overlapping passes across the entire mattress to draw out fine dust and loose dirt.
- Next, we focus on the mattress surface and then move into seams, edges and corners where dust mites and bed bugs can hide.
- An upholstery attachment or similar attachment concentrates suction and agitates creases without harming fabric.
Vacuuming matters even if we plan to deodorise later. Removing dry debris first stops liquids from turning loose dust into sticky grime.
When possible, we vacuum both sides and the perimeter of the bed. Particles migrate from frames and slats, so this simple habit keeps allergens and mites under control between full sessions.
Spot-clean stains without soaking the mattress
When a spill happens, quick action protects the fabric and reduces long-term staining. We act fast and keep moisture to a minimum so the internal layers do not stay damp.
Fresh spills: blot, do not rub
We blot with a clean cloth to lift liquid. Rubbing pushes the stain deeper and wastes time.
Yellow stains from body oils and sweat
For yellow stains we use a little mild detergent mixed with cold water. Apply sparingly with a cloth in light taps, then wait and repeat if needed.
Pet urine and stubborn odours
We choose an enzyme cleaner for pet urine because it breaks down the source of odours rather than masking them. Test on an unseen patch first.
Rinse and dry correctly
We “rinse” by wiping with a damp cloth to remove residue, then blot dry to avoid trapped moisture. In Singapore’s climate we allow extra time to air the surface fully.
| Stain type | Recommended solution | Key caution |
|---|---|---|
| Fresh spill | Blot with a clean cloth; light detergent if needed | Do not rub; avoid over-wetting |
| Yellow stains (sweat/oils) | Mild detergent + cold water, applied sparingly | Repeat light cycles; limit saturation |
| Pet urine | Enzyme cleaner; follow manufacturer directions | Test fabric; ensure full drying to prevent mould |
Deodorise with baking soda for a deeper clean
A light dusting of baking soda across the surface helps draw out trapped moisture and smells. We use this as our go‑to deodorising step because soda absorbs dampness and neutralises odour compounds without heavy fragrance.
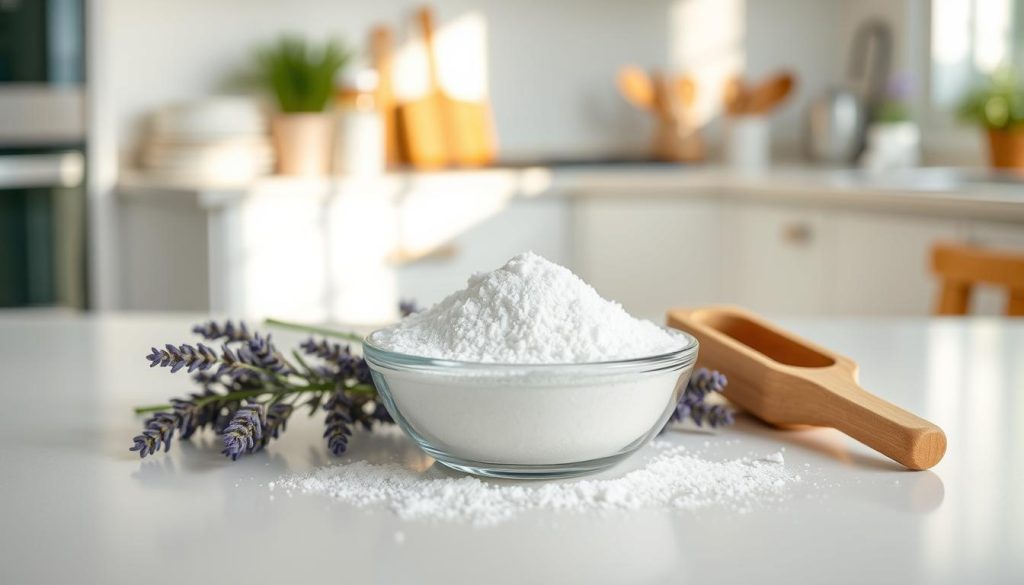
How we apply it: we sprinkle an even layer, focusing on seams and areas of sweat or lingering smell. For latex or delicate layers we avoid thick coverage and target problem zones.
How long we leave it on
For a quick refresh we leave baking soda for 30–60 minutes. For a more thorough result we allow 2–3 hours. In cases of strong odour or heavy soiling, 6–8 hours can help the powder do its job.
Vacuuming to remove residue
After dwell time we vacuum slowly and thoroughly. Multiple slow passes remove soda without leaving clumps that could irritate skin later.
Tip: deodorising works best after an initial vacuum and once any damp stain work has fully dried. For a full how‑to, see our guide on how to deep clean your mattress.
When we use steam or professional-style sanitising methods
When extra sanitising is needed, we may turn to steam as a conditional tool. Steam can help remove allergens, dust mites and bacteria without leaving chemical residues on the bed. We treat it as an optional step that supports our regular deep cleaning routine.
Why steam can reduce allergens without harsh chemicals
Steam works by heat and moisture to neutralise many common allergen sources. It gives us a way to sanitise the surface and reduce microscopic pests while avoiding strong fragrances or solvents.
How we steam safely
We hold the steamer a few inches from the fabric and use medium heat with long, even strokes. Move slowly and keep passes consistent. Stop immediately if the cover feels more than lightly damp.
An appropriate attachment or head cover helps limit over‑wetting and keeps steam spread even across seams.
When we do not steam
We do not use steam on memory foam or latex. These materials are sensitive to heat and water and risk permanent damage. For these mattress types we rely on spot treatment, airflow and baking soda instead.
Drying and resetting the bed in Singapore’s humid climate
A mattress that stays damp beneath the sheets invites mould; we must let it air out completely first.
Air dry completely before remaking the bed. We wait until the surface feels warm and dry to the touch. Trapped moisture is the quickest route to mildew in our climate.
Using ventilation and fans to speed up drying time
Open windows for cross‑ventilation and run ceiling or standing fans. Position a fan to move air across the mattress and shorten the drying time.
Plan the task during daylight so the mattress has maximum airflow and sunlight exposure where possible.
Check dryness with a cloth
Press and dab with a clean microfibre cloth. If the cloth picks up any cool dampness, leave the mattress uncovered until it tests dry.
Clean the frame and slats while the mattress dries
Use the drying window to dust and vacuum the bed frame and slats. Loose dust quickly returns to the mattress if ignored.
Vacuum crevices, then wipe wood or metal with a lightly damp cloth — not wet — and allow the frame to dry before replacing bedding.
“Only remake the bed when the mattress and frame are fully dry; that simple step prevents mould and keeps sleep healthy.”
| Task | How we do it | Why it matters |
|---|---|---|
| Air dry | Cross‑ventilation + fans; leave uncovered | Prevents mildew and trapped damp |
| Dryness check | Press with clean cloth; check for cool damp spots | Ensures internal layers are dry before remaking |
| Frame care | Vacuum crevices; wipe with lightly damp cloth | Removes dust that would migrate back to the mattress |
Keeping your mattress cleaner for longer with simple habits
Simple protective measures are the most cost‑effective way to extend mattress life. A few small routines cut odour, reduce stains and lower the frequency of major treatments.
Mattress encasements and protectors
We recommend a quality protector or encasement to block sweat, skin oil and accidental marks. This barrier makes stain removal far easier and keeps bedding fresher for longer.
Protectors are especially useful in homes with children or pets and reduce how often we need intensive attention.
Rotate head-to-foot, don’t flip
Many modern mattresses are single‑sided. Follow the care label and rotate head‑to‑foot every three months rather than flipping. This evens wear while preserving internal support.
Quick upkeep between sessions
Air the bed during sheet changes, perform a brief vacuum of the surface and treat fresh stains immediately. These small acts keep the mattress ready for normal use in Singapore’s humid climate.
Latex care reminders
For latex mattresses we vacuum monthly and use occasional baking soda treatments to neutralise odour. Keep liquids minimal to protect latex and speed drying.
For a step‑by‑step refresher on spot work and routine care, see our guide on how to clean a dirty mattress.
When we recommend calling a professional mattress cleaner
Long‑neglected mattresses often benefit from tools and techniques beyond household gear. We suggest a professional when simple home methods no longer solve the problem.
Clear triggers for a call: persistent stains that return after spot care, odours that linger despite deodorising, or a mattress that hasn’t had a proper clean in over a year.
Why DIY can stall
Our home tools lift surface grime but often cannot extract moisture and residues deep in the layers. That is where smells and hidden stains persist and return.
What to expect from a professional
Professional services use specialised equipment for deeper extraction and may apply chemical formulations, high‑temperature water or steam. This can achieve a true deep clean that home kits cannot.
| Trigger | What pros use | Outcome |
|---|---|---|
| Persistent stains | High‑extraction units; enzyme or specialist solutions | Better stain removal and reduced return |
| Lingering odours | Heat or targeted extraction; deodorising treatments | Neutralises trapped smells |
| Long‑neglected mattress | Comprehensive deep clean; sanitising options | Restores hygiene and comfort |
We still advise checking suitability for memory foam or latex before booking. A good protector and prompt spot care reduce the need for urgent professional help and save on services over time.
Conclusion
A short, repeatable process makes it easy to maintain a fresh sleep surface throughout the year. We recap the order we follow: strip, vacuum, treat stains sparingly, deodorise with baking soda, sanitise only when suitable and dry fully before remaking the bed.
Do not over‑wet the mattress — in humid Singapore that mistake invites mould and undoes a good deep clean. We recommend a six‑monthly deep clean mattress schedule as a baseline, with more frequent attention where allergies, asthma, pets or spills occur.
Reducing dust and dust mites is achievable with regular vacuuming, clean bedding habits and a quality protector. Use this guide as a simple routine so mattress hygiene stays routine, not a one‑off task, and you can enjoy better sleep every night.

