

We know that Singapore’s warmth and humidity make smells build up faster over time. Regular care helps remove sweat, oils, dust mites and dead skin that collect in a mattress. This short guide sets clear expectations for quick freshness and deeper cleaning when odours or allergens are worse.
We explain why common smells come from trapped moisture and debris in mattress fibres, not only from bedding on top. We also list the tools we usually use: a vacuum with upholstery attachments, baking soda, cloths and a spray bottle.
Safety matters: avoid soaking a bed, work in light layers and always let the surface air dry fully before remaking it. Ahead, we preview methods such as baking soda, ventilation and sunlight, spot cleaning and simple prevention habits.
Key takeaways: a fresher sleep space, fewer allergens and an extended mattress lifespan when you apply regular, gentle cleaning and sensible routines.
Why mattresses start smelling over time in Singapore homes
Nightly sweat and body oils seep into fibres over months, and that slow transfer is a main cause of persistent bed smells. Even with clean sheets, oils and sweat collect in the core and create a faint used smell.
Sweat, skin cells and body oils building up
We shed skin each night. Those skin cells and dead skin cells mix with sweat and oil. Dust and microscopic debris stick to that residue. Over time these deposits change how a sleeping surface smells.
Dust, dust mites, allergens and bacteria in fibres
Dust settles into seams and edges where vacuuming misses. Dust mites feed on skin cells and raise the allergen load. Bacteria thrive on organic matter, which can worsen odours and trigger reactions.
Moisture from humidity, spills and dampness that lingers
Singapore’s humidity and poor airflow let moisture linger. Spills and pet accidents that are not dried properly create musty pockets. Where moisture meets organic build-up, mould and a stronger smell can follow.
- Outcome: more allergies, less comfortable sleep and a room that never quite smells fresh.
- Next, we tackle odour compounds and the underlying build-up so freshness lasts.
Before we start: prep your bed for effective deodorising
Start by stripping the bed fully so we can inspect the surface and spot trouble areas quickly.
Strip the bed and check for stains, spills and problem spots
We remove sheets, pillowcases and any protector to work on the core surface.
We scan seams, the head and foot areas and places where sweat or oils collect.
If we find stains or spills, we mark those spots for later spot cleaning.
Let the surface air dry fully to avoid trapping moisture
First, we treat this as a two-step process: clear debris and address dampness, then apply a deodorising step.
We keep liquids minimal and always apply cleaner to a cloth first rather than soaking the area.
After any spot work, we let the mattress air dry for a few hours so moisture does not stay trapped.
Plan this at a time when you can leave the bed uncovered and let fresh air do the job.
| Prep step | Why it matters | Simple action |
|---|---|---|
| Strip bedding | Reveals true source of smells | Remove sheets and protectors |
| Scan for stains | Targets problem spots | Note stains and spills for spot cleaning |
| Air dry | Prevents trapped moisture | Leave uncovered for several hours |
Our approach is the quickest way to get a clean mattress result that lasts longer, rather than masking odours for a day.
For more on stain removal methods, see our guide on how to get stains out.
Mattress deodorizing with baking soda for fast freshness
A quick dusting with a fine layer of baking soda is our fastest step for immediate freshness. We use this method to neutralise odours and absorb light moisture before deeper cleaning.
How we apply baking soda evenly and let it sit
We sieve baking soda across the sleeping surface with a hand sifter for even coverage. Focus on high-contact zones where sweat and oils collect.
Let sit for 30–60 minutes; extend the dwell time when smells are stronger. The longer contact helps the powder work.
Vacuum mattress thoroughly, including seams, edges and sides
After the soda has settled, we vacuum the top panel first, then tackle seams, tufts, piping and sides. A second pass often picks up powder lodged in creases.
Tip: use the upholstery attachment and move slowly so you remove all residue and restore a clean feel.
Boost the deodorising mix with essential oils for a clean scent
We stir a few drops of essential oil into the baking soda before sifting for light fragrance and antibacterial support. Lavender gives a calming scent; tea tree adds disinfecting properties.
Use drops sparingly and mix well to avoid spot-marking fabrics. Keep quantities low and test a small area first.
- Quick method: sift, let sit, vacuum, repeat if needed.
- Safety note: avoid saturating the surface with liquids or oils.
For more step-by-step tips on freshening a sleeping surface, see our guide on how to deodorize.
Deep cleaning moves that remove dust, mites and musty odours
A deep clean focuses on the sources of musty odours—dust, dust mites and microbial build-up—so freshness lasts longer.
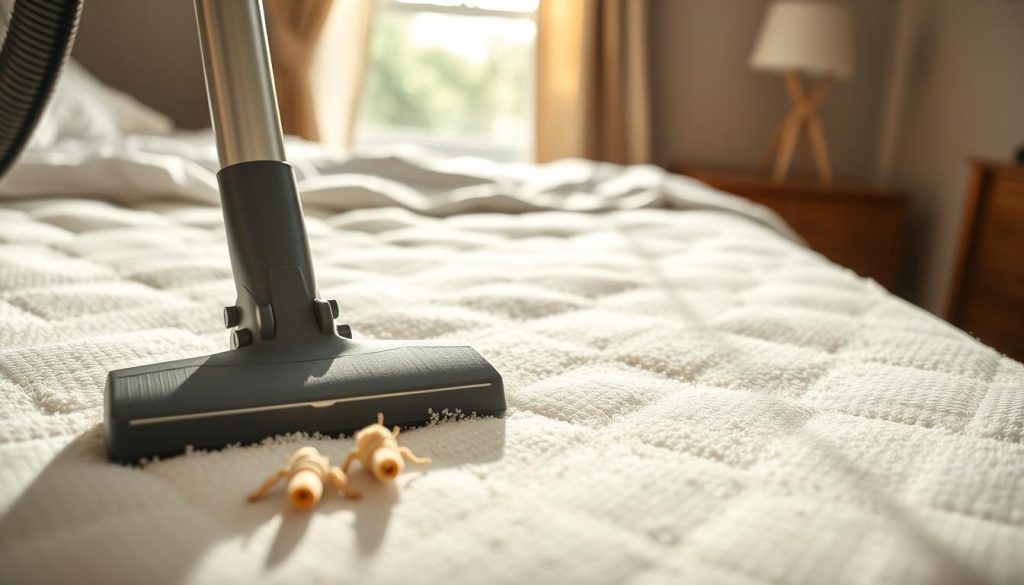
Routine vacuuming to lift dust, dead skin and debris
We use a vacuum with upholstery and crevice attachments to remove dust, dead skin and mites from seams and edges.
Work slowly across the top, sides and tufts to capture particles that cause allergens and odours.
Sunlight and fresh air to help reduce bacteria and mould
When weather allows, we place the mattress in a dry, sunny spot for an hour or two.
UV exposure helps reduce bacteria and mould without adding chemicals.
Ventilating the bedroom to release stale air and excess moisture
Open windows and doors when humidity is low to drive out damp air and lower moisture levels.
Dusting the mattress outdoors when vacuuming cannot reach
Gently beat the surface outdoors in dry conditions to dislodge fine particles and mites.
Avoid excessive force and do this only when the fabric is dry to prevent damage.
| Deep clean move | Purpose | How often |
|---|---|---|
| Vacuuming (upholstery tools) | Remove dust, dead skin, dust mites | Monthly or fortnightly if you have allergies |
| Sun and air | Reduce bacteria and mould; evaporate moisture | When dry weather allows; 1–2 hours |
| Outdoor dusting | Dislodge particles a vacuum misses | As needed in dry conditions |
By focusing on root causes we keep mattress freshness longer and reduce allergen exposure. This practical way saves time and improves sleep quality.
Spot cleaning smells and stains without soaking the mattress
We work small and stay dry. Our rule is to treat the visible stain or odour at the surface and keep overall moisture very low. Soaking can lock in smells and invite mould.
White vinegar for light spills and surface stains
Mix a 1:1 solution of distilled white vinegar and water. Spray the mix lightly onto a cloth — do not dampen or soak the area — and blot the spill. Blot rather than rub to lift the mark.
Note: vinegar’s scent fades with ventilation and time; add a drop of essential oil to the cloth if desired and air dry fully.
Baking soda and gentle detergent paste for stubborn marks
Combine a few drops of mild detergent with baking soda into a paste. Dab onto the stain, let sit, then scrape off gently and vacuum the residue. Repeat if needed and allow the area to air dry.
Hydrogen peroxide mix for urine and blood stains
For urine odour, mix 1/2 cup hydrogen peroxide, 2 tbsp baking soda and a few drops of dish detergent. Spray onto a rag and dab the spot; do not pour directly.
For blood, dab hydrogen peroxide on a cloth and repeat until the stain lifts, then ensure the surface is fully air dry.
- Safeguards: patch-test first, avoid coloured fabrics, and never mix cleaners directly.
- Once spots are dry, we deodorise the whole surface for an even, fresh finish. See our full stain guide for more detail: removing stains from mattress.
Kitchen ingredients beyond baking soda that help with odours
Everyday pantry items offer gentle ways to lift greasy spots and reduce trapped smells. These are quick, low-cost options that support our regular cleaning routine.
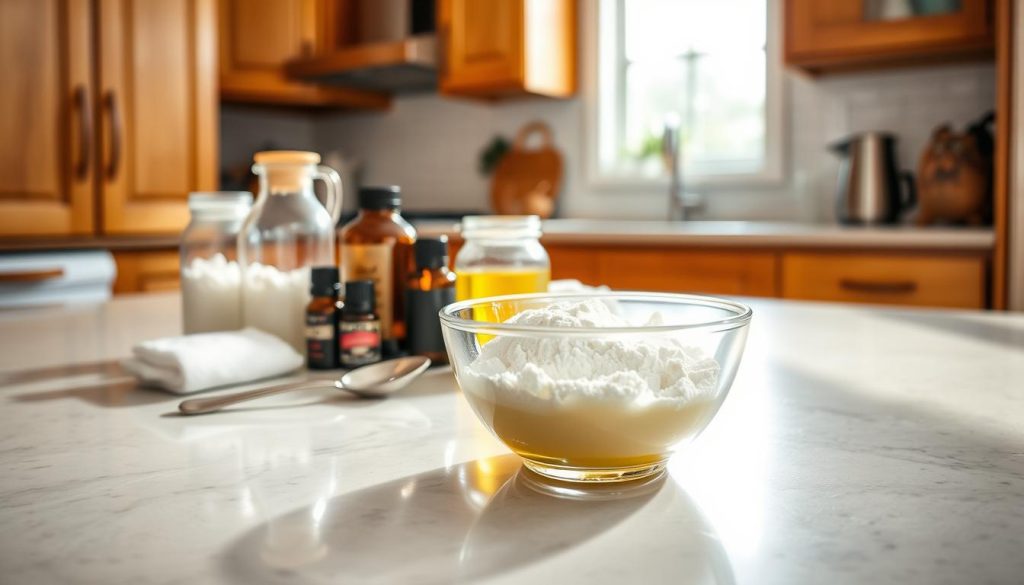
Cornstarch to absorb body oil and lift greasy spots
Cornstarch works well on slight oil build-up. We mix cornstarch with a little baking soda into a dry mixture and sprinkle it over greasy areas.
Rub gently so the powder reaches the oily fibres, wait about an hour, then vacuum thoroughly. Repeat if the spot still feels tacky.
When to use it: choose this for zones with visible discolouration or a slightly tacky feel where deodorising alone may not lift the source.
Lemon wipe-down for light freshening and antibacterial support
For a light refresh, we wipe the surface with lemon slices. The citrus acts as a natural neutraliser and gives mild antibacterial support.
Keep the application light to avoid extra dampness. After wiping, allow the surface to air fully before remaking the bed.
“Simple kitchen options can be effective complements to regular vacuuming and protectors — they help remove oils rather than just mask smells.”
- Support, not replacement: these tips work best alongside vacuuming and a good protector, especially in humid Singapore homes.
- Restraint: avoid heavy liquids; always prioritise airflow after any treatment.
| Ingredient | Purpose | How we use it |
|---|---|---|
| Cornstarch + baking soda | Absorb oils; lift greasy spots | Sprinkle dry mixture, wait ~1 hour, vacuum |
| Lemon slices | Neutralise light smells; mild antibacterial | Wipe lightly, then let air dry |
| Baking soda (standalone) | General odour neutraliser | Sift, let sit 30–60 mins, vacuum |
Keeping your mattress fresh for longer with simple habits
Regular care focused on barriers and airflow helps us avoid frequent heavy cleaning. Simple steps reduce odours from sweat, dust and trapped moisture in a humid climate.
Use a mattress protector as a barrier against sweat, stains and spills
We fit a mattress protector to block liquids, allergens and dust mites. A good protector means fewer deep cleans and less worry about stains or spills reaching the core.
Wash protectors regularly and change bed sheets weekly
Wash mattress protectors every one to two months, or sooner after accidents. We change sheets weekly to remove skin cells and dust that build up each night.
Clean the box spring or foundation to prevent odours returning
Odours can come from beneath. We vacuum and wipe the box spring or foundation when we clean the bed to stop smells transferring back.
How often we recommend deodorising throughout the year
As a rule, we freshen with light treatment every few months and do a full clean at least every six months. This rhythm saves time and keeps sleep comfortable.
When it may be time to replace an old mattress
Replace when lumps, lasting indentations or persistent smells remain despite repeated cleaning. Small habits go a long way; consistent care is one of the best ways to keep mattress life and support.
| Action | Why it matters | Frequency |
|---|---|---|
| Use a mattress protector | Blocks sweat, stains, dust and allergens | Continuous — keep protector fitted |
| Wash protector & sheets | Removes skin cells and dust that cause odours | Protector: 1–2 months; sheets: weekly |
| Clean box spring | Prevents smells returning from below | With every deep clean (~6 months) |
Conclusion
Conclusion
We summarise why smells build up: nightly sweat, dust and allergens, bacteria and the occasional stains combine with humidity to create lasting odours. Addressing both the surface scent and the underlying build-up matters for restful sleep and allergy control.
Our tiered approach works: prep and dry first, apply a quick deodorising step for immediate freshness, then follow with deeper cleaning on a schedule to keep things hygienic. Keep spot treatment controlled — too much liquid can trap moisture and cause new problems.
Prevention is easiest: use protectors, clean foundations and keep up simple routines like weekly sheet changes and regular vacuuming. Choose one quick method to try today and one habit — such as washing your protector this week — to protect sleep over time.
For more step-by-step guidance, see our practical guide on how to deodorize.

