

We set clear expectations. This short guide explains what mattress odor removal can achieve and when deeper action is needed, such as for mould or damp that affects health. We focus on neutralising everyday smells from sweat, spills and dust rather than masking them.
Our approach is practical and step‑by‑step. We recommend starting with a thorough vacuum, then using baking soda and a light vinegar solution for targeted areas.
We advise routine care roughly every six months, or more often if night sweats are frequent. Follow the order: clean dust first, deodorise second, spot‑treat stains third and air fully dry last. This stops smells returning and helps preserve foam layers and overall comfort for better sleep.
Why mattresses start to smell in the first place
Understanding what builds up inside a bed helps us prevent persistent smells. We look at the biological and environmental triggers that work together over time to create lasting odours.
Sweat, body oils and skin cells
We note that sweat and body oils soak into fibres and foam. Over time, these secretions feed bacteria that produce a sour smell.
Dust mites, pet dander and trapped dust
Dust mites thrive on dead skin and leave waste that adds a stale, dusty scent. Pet dander and fur also lodge in seams and layers, making smells harder to shift.
Moisture, mould and mildew risks
Singapore’s humidity raises the chance of slight dampness. Persistent moisture can lead to mould and mildew, which release volatile compounds you can smell.
Poor ventilation and ageing materials
Non‑breathable covers and solid bases trap heat and moisture in a way that intensifies smells. Older materials break down and add another source of scent that regular washing cannot reach.
Quick summary
- Biological build‑up (sweat, oils, skin) fuels bacteria.
- Allergens (dust mites, dander) add a stale layer.
- Moisture and poor airflow raise mould risks.
| Cause | Main effect | How we address it |
|---|---|---|
| Sweat & oils | Bacterial growth, sour smell | Regular airing and spot cleaning |
| Dust mites & dust | Stale, dusty scent | Vacuum seams and wash bedding |
| Moisture & mould | Musty, chemical smells | Improve ventilation; dehumidify |
| Ageing materials | Persistent, deep-set scent | Consider professional deep clean or replacement |
What we do before deodorising a mattress
We always prepare the space first. This step ensures any cleaning or freshening works and that smells do not transfer back from bedding.
Strip and launder bedding
We remove sheets, pillowcases and the protector immediately. Protectors and sheets hold sweat and oils that would recontaminate a freshly treated surface.
We wash bedding on a hot or manufacturer‑recommended cycle and only remake the bed once everything is fully dry.
Blot spills and assess the mark
If there are fresh spills we blot quickly with clean towels. We never rub, since rubbing drives liquids deeper into foam layers and makes stains worse.
We check size and depth — fresh, small spills need different handling to old, set stains — before choosing a cleaning method.
Check the care label and vacuum lightly
We read the care label, especially on memory foam, because over‑wetting with water can trap moisture and harm comfort layers.
Lightly vacuuming seams and the surface first removes dust and helps powders and treatments contact the fabric better.
Practical tip: gather towels, a soft brush and a fan, protect flooring and allow extra drying time in humid Singapore conditions. For advice on treating specific marks see how to get stains off a.
Mattress odor removal: our core deodorising routine
A focused cleaning sequence restores freshness fast and minimises downtime for the bed. We keep the routine simple so it fits busy Singapore homes and humid conditions.
Start with a precise vacuum pass
We vacuum seams, piping and sides using an upholstery brush. This lifts dust, dust mites and debris that hold smells in place.
How we apply baking powder evenly
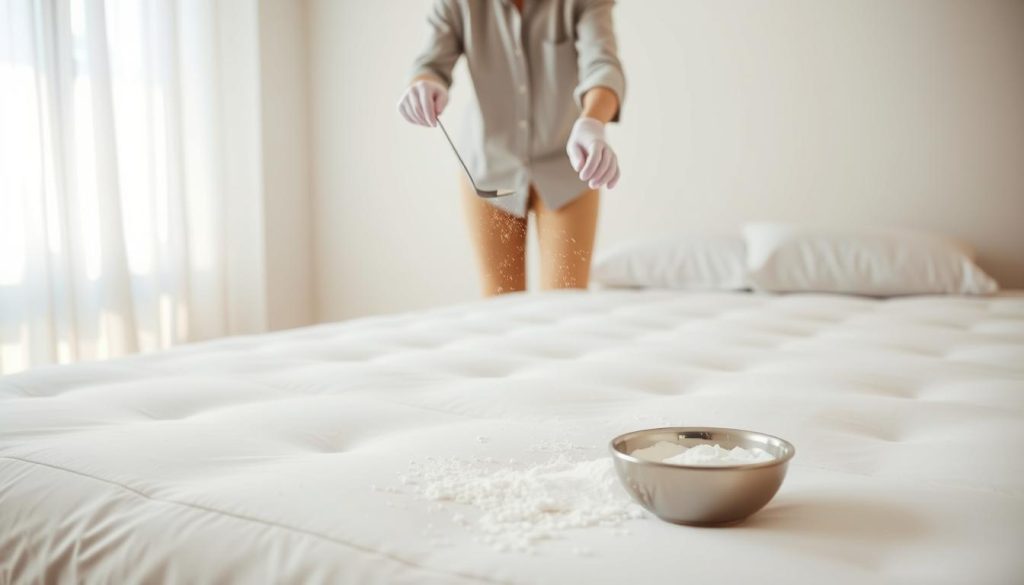
We sift baking soda across the surface so it contacts the fabric rather than clumping. For a routine refresh we let sit for 30 minutes to two hours.
Adding scent with essential oil drops
When we want a subtle fragrance, we add a few essential oil drops to the baking powder before sifting. Lavender and chamomile calm, while lemon or peppermint give a brighter note.
Using cornstarch for oil build-up
For body oil spots we mix a little cornstarch with baking soda to improve absorption. After the recommended hours we vacuum slowly until no powder remains.
Tip: repeat this routine roughly every six months, or more often with heavy night sweats, to keep a clean mattress and fresh sleeping space.
Vinegar, sprays, and light spot cleaning for stubborn odours
When dry methods fall short, a light vinegar spray and precise spot cleaning usually do the trick.
We use a simple mix of distilled white vinegar and water at a 1:1 ratio in a spray bottle. This diluted solution breaks down light surface grime and neutralises mild smells without harsh chemicals.
Controlled misting with a spray bottle
We mist in short bursts, working in small areas so the surface never gets damp. Light, even coverage is the right way to treat patches without forcing moisture into inner layers.
Practical steps:
- Test on an inconspicuous area first to check for colour change.
- Mist, wait a few minutes, then fan the area to speed drying.
- Ventilate the room immediately so the sharp vinegar scent clears quickly.
How we stop over-wetting
To avoid trapped moisture we never saturate or soak. Instead, we work section by section and use towels to blot any excess straight away.
Tip: keep a fan running until the surface is fully air dry — this helps prevent mildew and keeps the freshening time short.
Gentle detergent paste for small, strong-smelling spots
For stubborn small stains we mix a teaspoon of gentle laundry detergent with baking soda to make a paste. We apply a thin layer, leave it for a short time, then scrape or wipe it away gently.
After spot treatment we blot, vacuum residual dry powder, then allow the surface to air dry completely before using powders or remaking the bed. For step‑by‑step stain guidance see how to get stains off and for broader freshening tips visit our deodorising guide.
Urine and pet accidents: how we remove stains and smells
When urine or pet incidents occur, speed and a calm, controlled routine make the difference. We act to protect the bed and reduce soak‑in so the surface can be treated safely.
Fresh accidents — quick blot, vinegar mix, then baking powder rest
Step one: strip bedding and launder immediately. Then blot—do not rub—to lift as much liquid as possible.
We use a 1:1 white vinegar and water solution with 1–2 tablespoons of laundry detergent in a spray bottle. Mist lightly, wait ~15 minutes, then blot again.
Finish with a generous layer of baking soda and leave for at least 8 hours before vacuuming. This draws out residual moisture and helps restore conditions for better sleep.
Dealing with dried stains and repeat treatments
Dried stains often need multiple rounds of the same routine. We plan extra drying time; in Singapore humidity this can take hours to several days.
Keep liquid minimal, blot frequently and only remake the bed once fully air dry.
When we use enzyme cleaners for pet urine
For concentrated pet incidents we switch to a reputable enzyme product. These break down proteins that trigger repeat marking and are effective where milder sprays fail.
Hydrogen peroxide cautions
Hydrogen peroxide mixes can help lift deep colour and scent, but they may bleach covers and harm memory foam or latex. We always test first and use peroxide sparingly.
Practical control: minimal liquid, steady blotting and strict full dry rules protect layers and stop smells returning.
| Scenario | Action | Drying expectation |
|---|---|---|
| Fresh urine | Strip bedding, blot, 1:1 vinegar solution + detergent, blot, cover with baking soda 8+ hours | Hours (often overnight) |
| Dried urine | Repeat treatments, enzyme cleaner if needed, test peroxide carefully | Hours to days depending on humidity |
| Pet repeat marking | Enzyme cleaner; avoid strong vinegar scent that may trigger re-marking | Allow full air dry before reuse |
Drying properly in Singapore’s humidity so odours don’t return
Speedy, steady airflow is the simplest way we prevent trapped moisture from undoing our work.
Air out the room and use fans
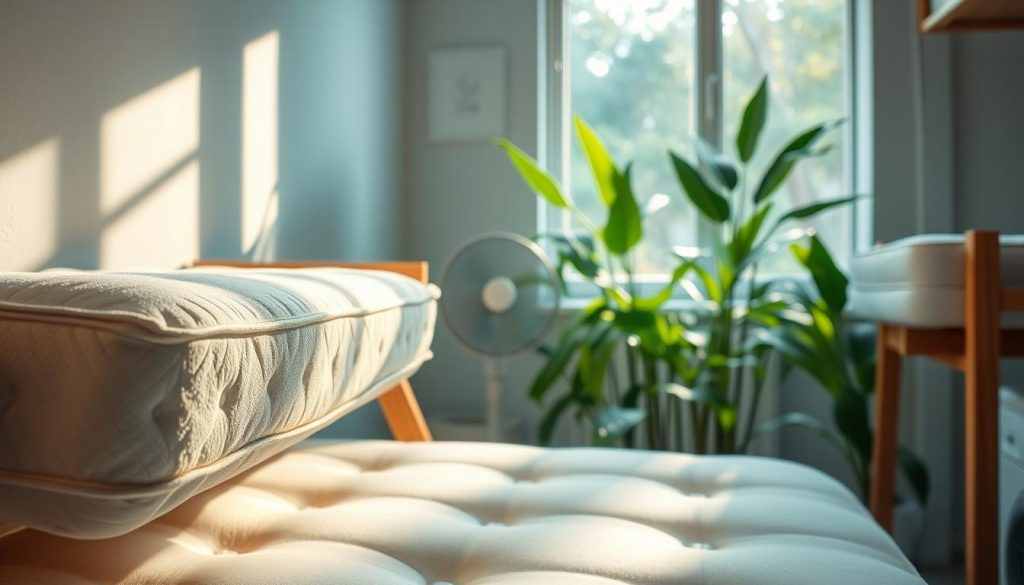
We open windows where possible and position a fan to move air across the surface. Aim for circulation, not a blast of wind directly into the treated area.
This helps evaporation and reduces dwell time in a humid bedroom or room.
How we know when it is dry enough
We test by touch — no cool dampness remains and no lingering cleaning scent. We also press a tissue to the spot; if it picks up damp, it needs more air dry time.
Sunlight and UV: benefits and limits
Brief sunlight helps freshen fabrics and reduce bacteria. We avoid long exposure to protect foam and fabric coatings from sundamage.
Tip: drying time varies. Small patches dry in hours; heavy wetting can take days. Never remake the bed until you are sure it is fully dry — rushing traps moisture and brings smells back.
| Step | Action | Expected time |
|---|---|---|
| Light freshen | Open windows + fan across surface | Hours |
| Lift and prop | Expose both sides for airflow when feasible | Hours to a day |
| Heavily wet areas | Short sun exposure + continuous air circulation | 1–3 days |
Preventing odours long-term with the right habits and protection
Small, consistent habits make the biggest difference to how long a bed stays fresh. We favour simple, repeatable actions that stop sweat, oils and dust from reaching deeper layers. These steps cut down on cleaning time and help preserve comfort for better sleep.
Using a breathable, waterproof protector as a first line
We fit a breathable, waterproof mattress protector as non-negotiable protection. A quality protector blocks spills, sweat and oils while letting air pass so moisture does not trap inside.
How often we deodorise and keep a schedule
We aim to deodorise at least every six months and increase frequency when night sweats or pets are common. Regular vacuuming of the surface and seams helps remove dust and dust mites before they accumulate.
Washing bedding and drying carefully
We wash bedding and sheets on a routine to stop transfer of sweat and oils back onto the surface. In Singapore’s humidity we emphasise full drying — damp sheets defeat even the best cleaning work.
Improve airflow and manage bedroom moisture
We recommend a slatted frame rather than placing a bed on the floor. Elevation lets air circulate under the base and reduces trapped moisture.
Practical habit: use ventilation or a dehumidifier to keep bedroom humidity low. Rotation every few months and routine vacuum passes round out the plan.
Tip: combine a breathable protector, scheduled cleaning, and good airflow. Together these steps prevent most smells and extend the life of your sleep surface.
| Prevention | Action | Frequency |
|---|---|---|
| Protector | Fit breathable, waterproof protector | Always in place |
| Deodorise & vacuum | Vacuum seams; light freshen | Every 6 months (or more if needed) |
| Bedding wash | Wash sheets, pillowcases and protectors | Weekly to fortnightly |
| Airflow | Use slatted frame; avoid floor storage | Continuous |
| Humidity control | Ventilate room or run dehumidifier | As needed; monitor moisture |
When DIY isn’t enough: safety checks, professionals, and replacement
When a scent survives our best care, we switch focus to safety and long‑term fixes. Persistent musty smells or odours that return after a full dry often mean growth inside the core rather than on the surface.
Signs odours point to mould or mildew inside
Red flags: a constant musty smell, odours that recur after cleaning, damp patches that reappear, and worsening air quality in the room.
What a professional deep clean can help with (and what it can’t)
Professionals offer commercial extraction, controlled steam cleaning and deep vacuuming to reduce dust and dust mites. These methods can improve hygiene and the surface smell.
Limits: If moisture has reached inner layers, mould or mildew may be irreversible and cleaning cannot fully restore the core.
Knowing when an old sleep surface should be replaced
If smells persist despite correct cleaning, full drying, and a quality mattress protector, replacement is often the safest way. We always check manufacturer guidance before using steam or enzymes.
Advice: for persistent urine or deep stains see specialist guidance on treating stains and smell: how to get urine smell and stains.
| Problem | Professional benefit | Not guaranteed |
|---|---|---|
| Surface dust & dust mites | Deep vacuuming and extraction | Complete allergen elimination forever |
| Top-layer bacterial smell | Steam cleaning can reduce bacteria | Remove internal mould growth |
| Internal mould from moisture | Assessment and targeted cleaning | Full restoration of core materials |
Conclusion
To wrap up, adopt a simple cycle of cleaning, drying and prevention for best results.
Our routine: vacuum first, deodorise with baking soda (add a few drops of essential oil if you like), then spot-treat with a 1:1 white vinegar and water spray or a gentle paste for stains.
Give products time to work — let sit 30 minutes to 2 hours for powders and at least 8 hours after urine or heavy spills. Allow extra days of air dry in humid Singapore conditions.
Final checklist: no dampness, no sharp smell, clean sheets and a breathable protector in place. For pet or urine cases use enzyme cleaners and expect repeat treatments.
If smells persist despite correct cleaning and full drying, we recommend professional help or replacement to protect comfort and better sleep.

