

We help Singapore homeowners keep their bed fresh, hygienic and long-lasting. Mattresses collect dust mites, sweat, oils and debris over time, which affects sleep and the overall environment of the home.
In this short guide we set clear expectations for a practical DIY clean. We explain what routine upkeep looks like and when a deeper clean is needed.
We preview the essential tools — a vacuum, cloths, baking soda and targeted stain solutions — and note when optional items are genuinely useful. We also stress safety: minimal moisture, patch-testing and full air-drying before remaking the bed.
Because Singapore is humid and many homes have limited drying space, our approach prioritises fast, safe methods that preserve material care. Later, we cover both general refresh steps and targeted stain methods so you can choose the right level of effort.
For a helpful routine and practical tips, see our recommended process at mattress cleaning supplies.
Why a clean mattress matters in Singapore homes
Humidity and everyday use mean beds in Singapore collect more than dust — and that affects comfort, health and sleep. We explain what hides below the surface so you can make practical choices for care.
What builds up over time
Dust mites feed on dead skin and gather with sweat, dirt and bacteria in the bed layers. These particles may not be visible, but they trigger irritation and a stale odour.
“Looks clean” is not the same as “is clean” — allergens can be embedded deep in the fabric.
Why humidity increases the risk
Singapore’s warm, damp environment lets moisture linger. That prolongs odours and raises the chance of mould and mildew if a bed is over-wetted or not fully dried.
Who benefits most and when to act
- Allergy sufferers, children and pet owners notice relief from regular upkeep.
- Act after illness, spills, persistent odour or when night-time irritation flares.
Practical rule: use controlled moisture — light misting and blotting — and always air‑dry to keep the sleeping environment unfriendly to mould.
Mattress cleaning supplies we recommend for a thorough clean
A compact kit of easy-to-find tools makes most deep refreshes straightforward. We focus on items that are safe for local fabrics and simple to use.

Vacuum essentials
Vacuum with an upholstery attachment is our first-line tool. Use low suction to protect the surface and target seams, edges and quilting.
Stain removers
For biological or pet marks we favour an enzyme cleaner. For light spills, a gentle dish soap solution for stains mattress works well. Use small amounts and blot; do not saturate.
Deodorising and blotting
Baking soda helps manage moisture and odour. Sprinkle, leave briefly, then vacuum. We use clean white cloths and small amounts of cold water for controlled blotting.
Optional add-ons and storage
Keep white vinegar, spray bottles and 3% hydrogen peroxide for specific stains, and always patch-test first. Store the kit together so we can act quickly after spills.
| Item | When to use | Key benefit |
|---|---|---|
| Vacuum + upholstery attachment | Routine and before spot work | Removes dust, dirt and surface debris |
| Enzyme cleaner | Biological stains (urine, sweat) | Breaks down proteins safely |
| Dish soap solution | Light drink or food spills | Gentle, readily available option |
| Baking soda & clean white cloths | Deodorise and blotting | Controls moisture and prevents dye transfer |
Prep your bed and room for the best results
Start smart: prepare the room and bed so the whole process runs smoothly. Good prep cuts down recontamination and helps us finish faster. We set aside time and make space before any work begins.
Remove bedding and wash correctly to help remove dust mites
We strip sheets, pillowcases and protectors and wash each item following care labels. Where fabrics allow, a hot-water wash reduces dust mites effectively.
Tip: Wash toppers and covers separately and dry them fully before replacing on the bed.
Set up ventilation and allow adequate drying time
Open windows and create cross‑breezes with fans so moisture leaves the environment quickly. Start early in the morning to allow several hours of drying time.
We avoid over-wetting the surface and keep the room ventilated until the bed is fully dry.
Positioning tips for smaller bedrooms and HDB layouts
In compact homes, slide the bed away from walls where possible to access edges. For spot work, leaning the mattress at a slight angle can improve airflow and reach seams.
Clear floor space, protect walls from damp marks and keep tools within reach to prevent spreading dust and to remove dust rapidly during the process.
| Prep step | When to do it | Benefit |
|---|---|---|
| Strip and wash all bedding | Before any surface work | Removes dust mites and reduces recontamination |
| Open windows & set fans | During and after any damp work | Speeds drying and prevents moisture build-up |
| Lean or slide bed for access | In small rooms or HDB flats | Improves airflow and access to edges |
| Clear floor and gather tools | Before starting the process | Keeps the home tidy and prevents dust spread |
For a full step-by-step guide to the actual process, see our recommended method on how to clean a mattress. Our goal in prep is simple: protect the surface, avoid trapping moisture, and make drying easy so we can remade the bed confidently that night.
How we deep clean a mattress step by step
Our stepwise process keeps things simple while targeting the areas that trap the most dust and odour. Follow each stage in order so you do not miss high‑impact tasks and to protect materials from over‑wetting.
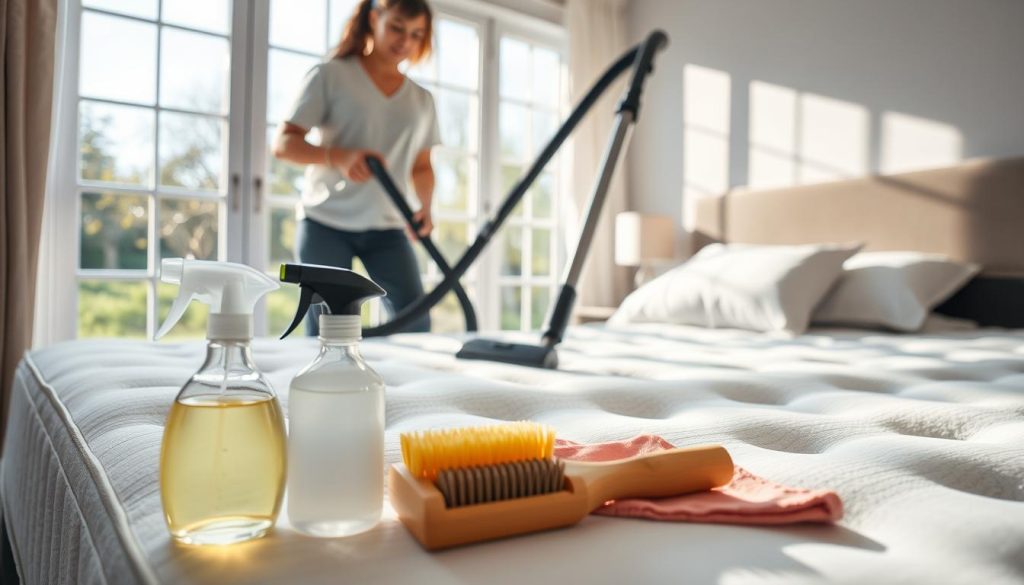
Vacuum thoroughly
Use a vacuum cleaner with an upholstery attachment on low suction. Work slowly over the surface and spend extra passes on seams, edges and crevices where dust and fibres accumulate.
Spot treat stains carefully
Apply an enzyme cleaner or a light dish soap foam to a cloth — never pour directly — and blot from the outside in. Use minimal water and repeat only on visible marks to avoid soaking the interior.
Deodorise and finish
Sprinkle baking soda evenly and leave for at least 15 minutes, longer if time allows. Vacuum again with firm, methodical passes to remove powder and trapped dust.
Air‑dry fully
Maximise airflow and allow ample time to dry before remaking the bed. Complete drying prevents mildew and is the final, essential step of our process.
| Step | Focus area | Key action |
|---|---|---|
| Vacuum | Surface, seams, crevices | Low suction, slow passes |
| Spot clean | Visible stains only | Cleaner on cloth, blot from edge |
| Deodorise | Whole surface | Sprinkle baking soda ≥15 mins, then vacuum |
| Dry | Entire unit | Open windows, fans, wait until fully dry |
Targeted stain cleaning methods for common mattress stains
Stain removal works best when we treat each mark with its own method. Below we outline quick, safe steps so you avoid making a small spot worse. Each approach aims to limit moisture and speed drying in humid Singapore conditions.
Fresh spills and drink stains
Blot immediately with a clean cloth to lift liquid. Mist a light mix of white vinegar and a few drops of dish soap, then blot‑dry in short cycles. Repeat until the mark fades, using minimal water.
Greasy food stains
Sprinkle baking powder or cornstarch to absorb oil and leave for 10–20 minutes. Vacuum or brush off, then use a small amount of soap solution on a cloth and blot. Do not rub or over‑wet the area.
Blood stains
Use cold water only at first to avoid setting proteins. For fresh marks, apply 3% hydrogen peroxide sparingly; foaming shows it is working. Blot with a clean cloth and repeat until reduced.
Sweat and yellowing
Make a baking soda paste with a little water and apply briefly. Allow a controlled dwell time, then blot and vacuum once dry. This lifts oils without leaving excess moisture that can trap odour.
Urine stains
Act fast for human accidents: blot, then use a peroxide + baking soda + soap mix for spot treatment. For pet urine, use an enzyme cleaner and allow longer dwell time under plastic wrap to let the enzyme work.
Do no harm checklist
- Never over‑wet the fabric.
- Do not use stiff brushing that can damage fibres.
- Always test solutions in an inconspicuous area first.
- Dry fully; lingering moisture invites odour and mould.
| Stain type | First action | Best treatment | Drying note |
|---|---|---|---|
| Spills & drinks | Blot | White vinegar + dish soap mist, blot cycles | Air dry with fan |
| Grease | Absorb with powder | Baking powder/cornstarch, then soap blot | Blot; avoid soaking |
| Blood | Cold water blot | 3% hydrogen peroxide, blot until foaming stops | Quick air dry |
| Urine (pets) | Blot | Enzyme cleaner, longer dwell | Ensure full drying to remove odour |
Disinfecting, protecting and maintaining your mattress over time
Protecting the sleep surface is as much about routine care as it is about one-off disinfection after incidents.
We recommend disinfecting only when necessary — after illness, a contamination event or before a new user occupies the bed. Routine drying and spot treatment usually suffice otherwise.
Safe disinfection mix: combine 2 fl oz (59 ml) household bleach with 1 gallon (3.8 L) cold water. Dampened, white towels should be used to blot the affected area gently. Do not oversaturate; blot and repeat until the surface is lightly treated.
Important: disinfection only “counts” if the surface is dried completely. In Singapore’s humid environment, maximise airflow and use fans until the unit is bone‑dry to avoid mould and trapped odour.
Protectors, schedule and rotation
A quality protector is the simplest long‑term defence. It cuts staining, reduces labour and makes routine mattress cleaning quicker for busy households.
- Vacuum with a vacuum cleaner at least twice a year and spot clean promptly.
- Rotate or flip every three to six months where the design allows to encourage even wear.
- Small, regular care saves replacement time and expense while supporting better sleep and a healthier environment.
Conclusion
Small, regular steps protect comfort and health. We recommend a simple routine: gather the right items, create good airflow, follow a clear step‑by‑step process and treat stains with targeted methods.
Prioritise minimal moisture in Singapore’s humid environment. Fast drying is as important as the act of cleaning itself to prevent mould and lingering odour.
The most reliable wins are easy to implement: vacuum thoroughly, deodorise with baking soda, spot‑treat stains with little water and air‑dry fully. These actions extend lifespan and improve night‑time sleep.
Use a protector, vacuum twice a year and act quickly on spills. For a full deep cleaning sequence we can follow seasonally, see our linked deep clean sequence.
Return to this guide whenever you need a refresher — consistency beats intensity and keeps your bed fresh for longer.

