
We present a clear, practical introduction so you can complete an air purifier filter installation with confidence in Singapore homes. Humidity and haze raise indoor pollutants, so correct fitting matters for the unit’s performance and your comfort.
Philips notes a dusty odour often means a dirty part needs replacing, while a short-lived plastic smell can be normal at first. A burnt smell is a safety sign to contact support.
We explain why seating is important: a poorly fitted filter lets unclean air bypass the media and lowers cleaning effectiveness. Blueair also advises switching off and disconnecting the device before any maintenance.
Throughout this guide we set expectations on time, tools (usually none) and safe handling so trapped particles do not return to the room. Our aim is a do-it-right-the-first-time walkthrough that keeps counters and alerts accurate.
Before we start: what to check before changing an air purifier filter
Let’s confirm power isolation and parts before we open the device. This keeps us safe and stops dust spreading in the room.
Power and safety: switch off the unit and unplug from the wall
Always switch the unit off, then unplug it from the wall. Major brands advise we disconnect power before any maintenance so the device cannot start while our hands are inside.
Confirm the right replacement part for your model
Check the model code on the packaging and the product label. Even similar-looking items can differ in thickness, gasket shape and airflow direction, which affects sealing and performance.
Know your parts: pre-filter vs HEPA/carbon (what can be washed and what must be replaced)
The pre-filter is usually a mesh or fabric wrap and can be washed monthly. Do not wash or vacuum sealed HEPA or carbon media; brands such as Philips advise replacement only.
“Disconnect before maintenance” — follow manufacturer guidance to avoid risk.
We bag and remove old components straight away, then keep the new parts ready so the unit is open for as little time as possible.
Air purifier filter installation: step-by-step for a clean, correctly fitted new filter
We start by placing the unit where circulation is strongest and inlets are unobstructed.
Prepare the workspace. Leave sensible clearance from walls and furniture. Keep a bin bag ready for the old parts.
-
Access the internals
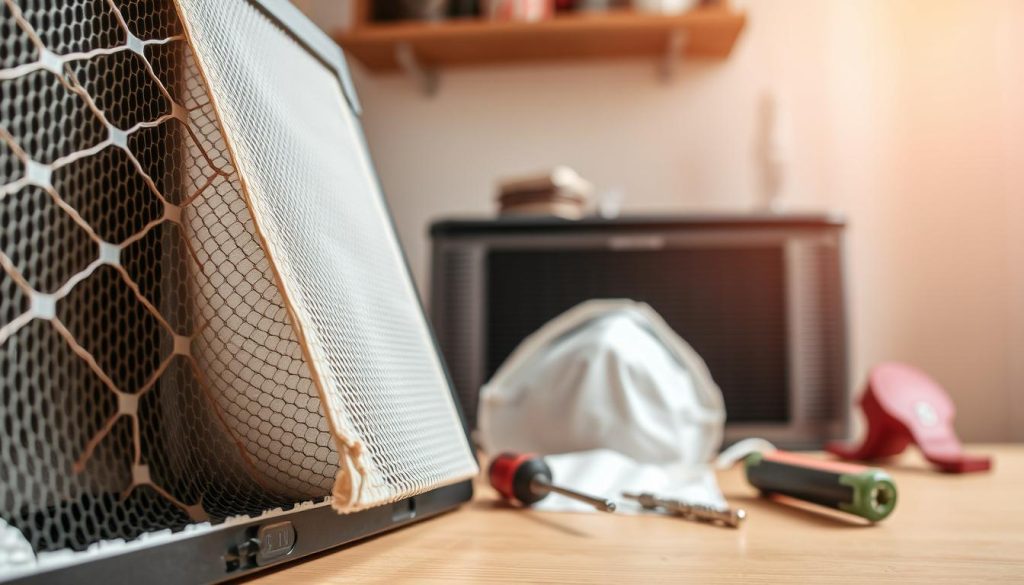
Remove the panel or cover as the design allows. Keep clips and screws close so nothing gets lost.
-
Handle the pre-filter
Take out the pre-filter fabric or frame gently. Hold it steady to avoid releasing trapped particles.
-
Remove the old media
Unlock the connector latch, slide the old element out in one smooth motion, and bag it immediately for an outside bin.
-
Unwrap and fit the new component
Remove all packaging and make sure no plastic wrap remains. Align any airflow arrows and secure the latch.
-
Reassemble and test
Reattach the pre-filter snugly, close the panel, then plug air purifier back into the wall and power on. Listen for steady, normal operation.
“Ensure no packaging remains — leftover wrap can cause noise and restricted airflow.”
| Step | What to check | Why it matters |
|---|---|---|
| Placement | Clear inlet/outlet; 30 cm clearance | Improves circulation and overall performance |
| Pre-filter | Handle gently; hold fabric steady | Prevents trapped particles from re-entering room |
| New unit seating | Align arrows; secure latch | Prevents rattle and preserves airflow path |
For a quick clean routine after fitting, see our cleaning guide.
After installation: reset lights, set a replacement routine, and keep pollutants down
Once the new element is seated, a quick reset stops false replacement reminders and keeps lifetime tracking accurate.
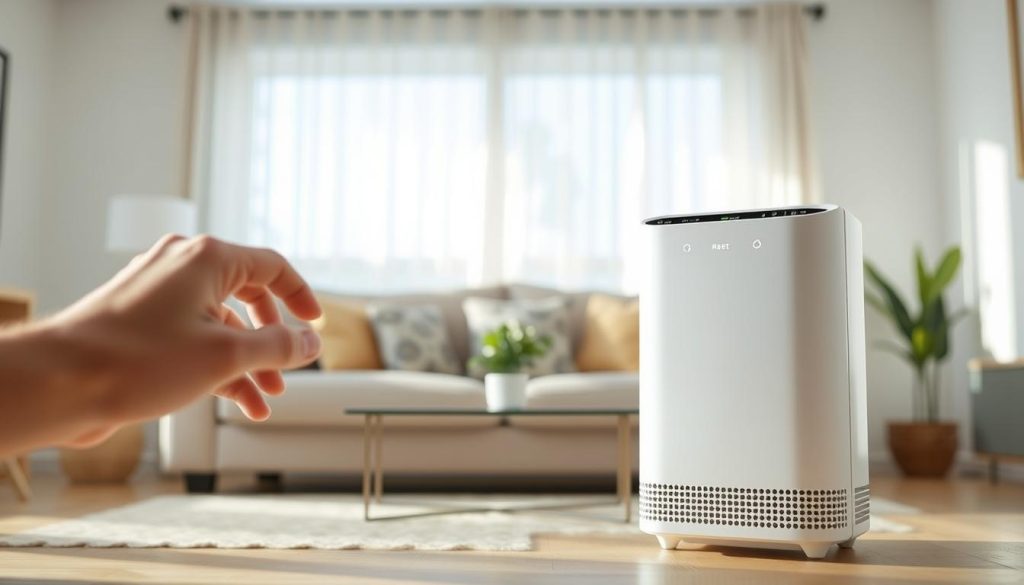
Reset the replacement light. We follow the maker’s steps for our model. For Philips, power on then hold Reset for three seconds. Blueair users hold Fan Speed for 15 seconds or reset via the app.
Why reset matters. If we skip this step the unit may keep prompting replacement and distort maintenance records. That leads to missed cycles and unclear service timing.
When to replace and how to spot problems
Many HEPA elements last 6–12 months in typical use; we shorten this during haze or heavy use. Watch for reduced airflow, higher noise and lower performance as early warning signs.
The light test and pre-filter care
The light test is simple: hold the media up to a strong lamp. If little light passes, plan replacement rather than extending use.
We wash the pre-filter monthly, then air-dry completely before refitting. This helps reduce dust and other pollutants and keeps the unit working smoothly.
“Resetting immediately prevents confusing reminders and keeps the lifetime counter accurate.”
| Action | What to check | Outcome |
|---|---|---|
| Reset light | Follow model steps (Philips or Blueair) | Accurate service tracking |
| Light test | Hold media to lamp | Quick clog check |
| Pre-filter care | Wash monthly; dry fully | Lower dust and odour risk |
Before we finish, we plug air purifier back in, confirm indicators behave normally, and make sure inlets and outlets are unobstructed so no packaging or blockage causes extra noise.
Conclusion
We close with the practical checks that protect performance and health.
Carry out timely replacement for sealed HEPA and carbon media rather than attempting to clean them. Wash the pre-filter monthly and let it dry completely before refitting.
Always switch the unit off and unplug it before opening. Remove all packaging, seat parts in the correct orientation and dispose of old components promptly to avoid reintroducing captured material.
Reset the indicator after a change so reminders stay accurate. Choose a sensible place with clear intake and exhaust for best results.
For model‑specific steps and professional guidance see our professional installation guide and the Lura Premium page for placement tips.

