

We help homeowners, MCSTs and facility teams in Singapore keep their potable storage reliable. This short guide sets out our practical approach to achieving a clear, safe supply and fewer quality complaints.
Our method follows a clear sequence: drain, remove sludge and sediments using controlled suction, scrub all interior surfaces, rinse, disinfect and do a final flush before refilling. We take care to avoid spreading contaminants and to protect pipework and fittings.
In this guide we explain when to schedule work, the tools and products we use, step‑by‑step procedures and aftercare. Effective results mean visible sludge gone, surfaces scrubbed and disinfection completed without lingering chemical taste or odour.
We favour the vacuum method because it reaches low points that normal draining misses, making it practical for small cisterns and large rooftop reservoirs alike. Our services aim to keep systems running smoothly and occupants confident in their supply.
Why regular water tank cleaning matters for safe water in Singapore
Regular servicing of stored supply units prevents small problems from becoming health risks. In our climate, heat and humidity accelerate algae growth and biofilm formation on interior surfaces.
How sediment, algae and harmful bacteria build up
Fine particles, organic matter and mineral scale settle at the base and form sludge. That sludge fosters biofilm where harmful bacteria hide and reproduce.
Health, quality and supply risks when neglected
Clear-looking supply is not always safe. Harmful bacteria can persist in films and later contaminate taps downstream.
“Regular removal of sludge and correct disinfection are essential to stop contamination spreading.”
How routine maintenance protects asset life
Regular tank cleaning reduces corrosion and abrasive wear. Less sediment movement means valves and strainers last longer and flow stays steady.
- Off-tastes and odours are reduced.
- Discolouration and blockages become less common.
- Cleaning now avoids harder, costlier work later.
| Issue | What builds up | Benefit of routine work |
|---|---|---|
| Biofilm | Algae and bacteria layers | Removes habitats for harmful bacteria |
| Sludge | Fine sediment and organic matter | Prevents strainers clogging and corrosion |
| Scale | Mineral deposits | Improves fitting performance and flow |
When we recommend cleaning your water tank
Act quickly when obvious symptoms suggest the stored system may no longer deliver safe water.
We list the clearest red flags that a water stored tank needs attention now:
- Unpleasant smell or offensive taste at outlets.
- Visible green or slimy growth on interior surfaces.
- Cloudy supply or recurring sediment in filters and aerators.
How often we recommend service
As a baseline, we advise a professional clean at least once a year for most homes and buildings in Singapore.
Higher‑risk conditions — such as outdoor exposure to strong sun, heavy daily use, older stored tank models, or repeated complaints — need cleaning every 6–12 months.
Event triggers and practical timing
Clean immediately after repairs, suspected contamination, long stagnation periods, or if a bacteriological test fails.
- Typical process time: a standard professional clean often takes around four hours depending on size.
- Plan routines: schedule during low-use hours to minimise disruption to a home or building.
- Before we attend, we make sure access points, isolation valves, safe drainage and disposal arrangements are in place.
| Situation | Recommended interval | Notes |
|---|---|---|
| Baseline domestic use | Annually | Standard maintenance to preserve water quality |
| High risk (sun, heavy use, older units) | Every 6–12 months | Shorter cadence reduces biofilm and sediment risks |
| Post-repair or contamination | Immediate | Event-based response to restore safe water |
Next: once the “when” is clear, we describe the tools and steps we use in the process to clean thoroughly and efficiently.
Tools and products we use for water tank cleaning with vacuum cleaner
Choosing the right gear makes the job faster and protects finishes and fittings.
Selecting extraction equipment
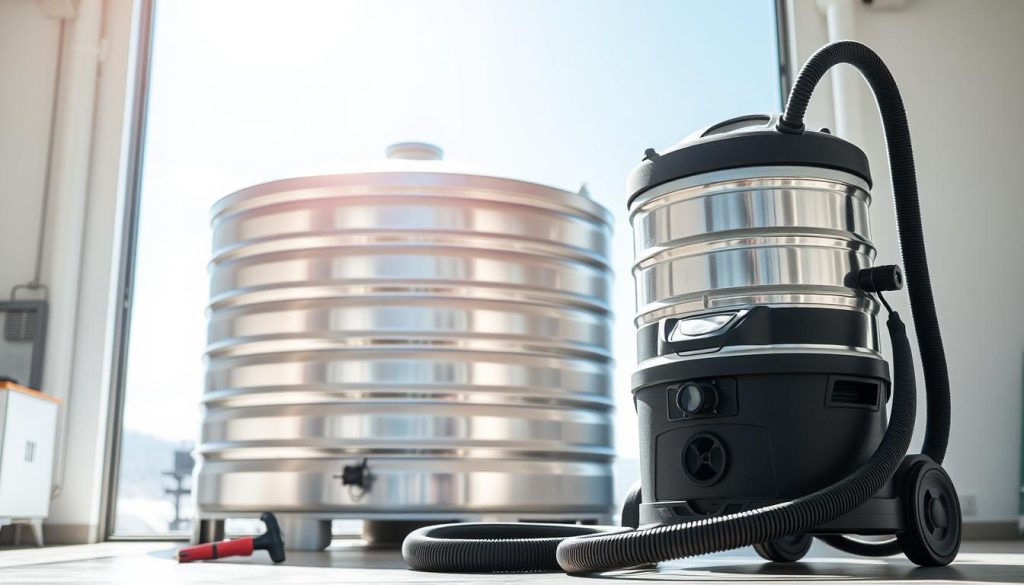
We pick a wet vacuum or vacuum pump based on size, access and sludge load. Controlled suction at low points lifts dirt and sludge without stirring it into suspension. This “vacuum effect” lets us remove leftover water and heavy sediment safely.
Scrubbing and safe detergents
We use long-handled brushes and non-abrasive pads for stubborn grime. These pair with certified non-toxic cleaner solutions to loosen biofilm while protecting liners and coatings.
Disinfectant choices and application
For potable systems we favour measured chlorine solutions applied at the correct strength and contact time. After disinfection we always rinse tank surfaces thoroughly to ensure safe use and avoid residue or taste issues.
Optional add-ons that extend life
- Tight-fitting covers and inlet screens to reduce debris.
- Sediment pre-filters and first-flush diverters for rainwater setups.
- Simple maintenance items that keep tanks cleaner and cut repeat visits.
| Tool | Purpose | Outcome |
|---|---|---|
| Wet vacuum/pump | Extract sediment | Tank thoroughly cleared |
| Long-handled brush | Scrub surfaces | Remove biofilm and dirt |
| Safe disinfectant | Sanitise surfaces | Restore use water tank |
Preparation before we start the tank cleaning process
Before any work begins we make a clear plan to protect supply lines and occupants. We isolate the relevant water supply and confirm there is no backflow risk. Our crew labels valves and warns building users so critical services are not disrupted.
Turning off the water supply and isolating the unit safely
We switch off the mains feeding the storage and relieve pressure to prevent surprises. Then we drain the vessel completely and manage discharge so plant rooms, roofs and service areas stay dry.
Inspection and assessment of sludge, stains and access points
We check manholes, hatches and ladders to confirm safe access for external work. We measure sludge depth, note stains and algae lines, and record any damage that affects the process.
Safety approach and why we avoid entry unless trained
Confined spaces are hazardous. We do not enter unless staff hold the right training and breathing apparatus. Instead, we favour external methods to remove debris and inspect fittings.
We coordinate timing with building managers and residents. We make sure occupants know when supply is off and when it is safe to resume use. Good preparation reduces downtime and improves the final result, readying the site for the next steps in our tank clean process.
Our step-by-step method to clean a water tank thoroughly
A disciplined sequence of shut-off, extraction, scrubbing and disinfection yields reliable results every time.
Drainage and removing low pockets
We isolate the incoming supply and drain the vessel completely. Then we use a wet pump to lift hard-to-reach puddles that sit below the main outlet.
Debris extraction
Next, we remove settled sludge and loose dirt using controlled suction. This reduces re‑suspension and keeps the surrounding area clean.
Scrub and rinse
We scrub walls, floors and the underside of covers with a suitable brush and a non-toxic cleaner to break down biofilm where bacteria hide.
We rinse tank thoroughly, repeating until runoff is clear and free of foam or residue.
Disinfection and refill
For potable systems we follow a measured disinfection process. Example guidance: diluted chlorine at roughly 0.5 ml per gallon and a contact time of 30 minutes, then drain and repeat the rinse.
Final step: refill, confirm valves operate correctly and document sludge levels, staining and any defects for future scheduling.
“Thorough extraction, measured disinfection and repeat rinses remove risks and restore safe supply.”
| Step | Action | Outcome |
|---|---|---|
| Drain | Isolate and remove all residual water | Safe access and lower load for extraction |
| Extract | Suction settled debris from base and corners | Reduced re-suspension and cleaner surfaces |
| Scrub & Rinse | Brush surfaces, rinse until clear | Loose grime removed, ready for disinfection |
| Disinfect | Measured chlorine contact, then final rinse | Harmful bacteria reduced; supply restored |
After cleaning: verifying results and keeping your tank clean
Once refilled, we carry out simple sensory and test checks to prove the job restored safe, clean water supply.
Drying, odour and taste checks
We allow brief drying where access permits. Drying helps reduce lingering odour but should not delay restoring service unnecessarily.
We make sure there is no bleach smell or chemical taste. If a residual scent remains, we rinse tank again and flush until the supply tastes neutral.
Water quality testing for potable use
For routine reassurance we use test strips for residual chlorine and basic parameters. If there is doubt, we recommend a lab test that includes coliform checks.
Coliform testing is the key step to confirm bacteria levels are acceptable for domestic use.
Simple habits to reduce recontamination
Keep lids sealed, fit inlet screens and use first‑flush devices on rain collection. Inspect monthly for debris or odour.
Use supply regularly to avoid stagnation. These small steps help keep quality water and reduce the need for a full tank clean.
| Check | Action | Result |
|---|---|---|
| Odour/taste | Smell and sip at outlets | Pleasant, neutral taste |
| Chlorine level | Test strip or meter | Safe residual before use |
| Physical cover | Seal lids, fit screens | Less debris, lower bacteria risk |
For further practical tips and a full checklist see our clean tank advice.
Conclusion
Finally, here is a compact recap you can use before scheduling professional service.
Core steps: isolate the supply, drain, remove dirt and sludge using controlled suction, scrub, rinse, disinfect, final rinse and refill. These simple actions follow the process we describe throughout this guide.
Regular work removes sediment, algae and bacteria and helps preserve quality. Routine service reduces odour and taste issues and lowers the risk of bacterial contamination.
Plan for the job to take time — a standard service often needs around four hours — and book before problems escalate. For more efficient extraction tools you can order a Lura wet‑dry vacuum to speed the task.
We aim to restore safe use methodically so occupants can rely on a dependable supply.

