

We set out to give clear, practical steps so you can act fast and protect your bed and sleep quality.
Act quickly and use cold water; heat sets protein marks and makes them harder to remove. We advise blotting from the edge towards the centre and keeping moisture light to protect the core.
For fresh marks we start with household items. For dried marks we explain safe escalation to peroxide, baking soda or enzyme products. We do not recommend bleach or harsh chemicals that can harm people, pets or fabrics.
We flag Singapore realities: high humidity raises mould risk, so thorough air-drying is part of good practice, not an afterthought.
What success looks like: full removal where possible, or clear lightening without damage. Use a waterproof protector to prevent repeat issues and to make future care easier.
Why blood stains on a mattress are harder than other stains
Not all spots behave the same: animal proteins react to heat, and that changes our approach. Proteins bind into fibres and become harder to lift once they dry. This is why a quick, cool response matters.
How protein sets and why heat makes it worse
Protein-rich marks coagulate when exposed to hot water or warmth from tools. In short, heat can “cook” the deposit and make the blemish permanent. We avoid heat at every stage and instead use gentle, controlled passes.
Why a low-moisture method is essential
Beds absorb liquid fast and dry slowly. Heavy wetting spreads the mark deeper and raises mould risk in humid Singapore. Foam cores soak differently from hybrid units, so absorption and drying time vary and affect our choice of product and action.
Our rule is simple: start gentle, escalate slowly, and always protect the fabric and inner structure. We first use cold water and treat drying as part of the process.
What to do immediately when you spot blood on your bed
Act fast: we reach for cold water and a clean cloth the moment we see fresh blood. Use only cold water — heat will fix the problem and make removal harder.
Immediate response routine
- Pause and avoid touching the area with bare hands.
- Grab a clean cloth and wet it with cold water.
- Work in short cycles so you can check progress without soaking the fabric.
How we blot correctly
Press the damp cloth gently onto the mark, then lift. Repeat the press-and-lift motion. Each lift pulls the deposit into the cloth rather than spreading it.
Why we never rub
Rubbing enlarges the affected area and forces the deposit deeper into fibres. If the mark is already dry, stop and follow the dried-mark method instead of overworking it.
Our goal is controlled removal, not speed. One clear step at a time keeps the job manageable and reduces the chance of stubborn stains.
Prep checklist before mattress blood stain cleaning
Preparation matters: we organise the room and separate tasks so the job runs smoothly. A tidy set-up helps us avoid spreading marks and keeps bedding ready for a cold wash.
Strip the bed and wash bedding separately
We remove sheets and pillowcases and place them straight into the machine on a cold, gentle cycle. Washing linens separately protects other laundry and reduces cross-contamination.
Use gloves and make space
We wear gloves and ensure good ventilation. Clear floor space, lay down towels, and keep a clean cloth to hand so we can work without rushing.
Check removable covers before unzipping
Make sure that a zipped cover is intended to be removed. Some covers look removable but unzipping can void a warranty or damage the product. When in doubt, leave it closed and treat the surface instead.
Do a quick cold-water pre-rinse
We test with a barely damp cloth and cold water to see if the mark lifts. This small step tells us whether simple blotting will work or we must use another method.
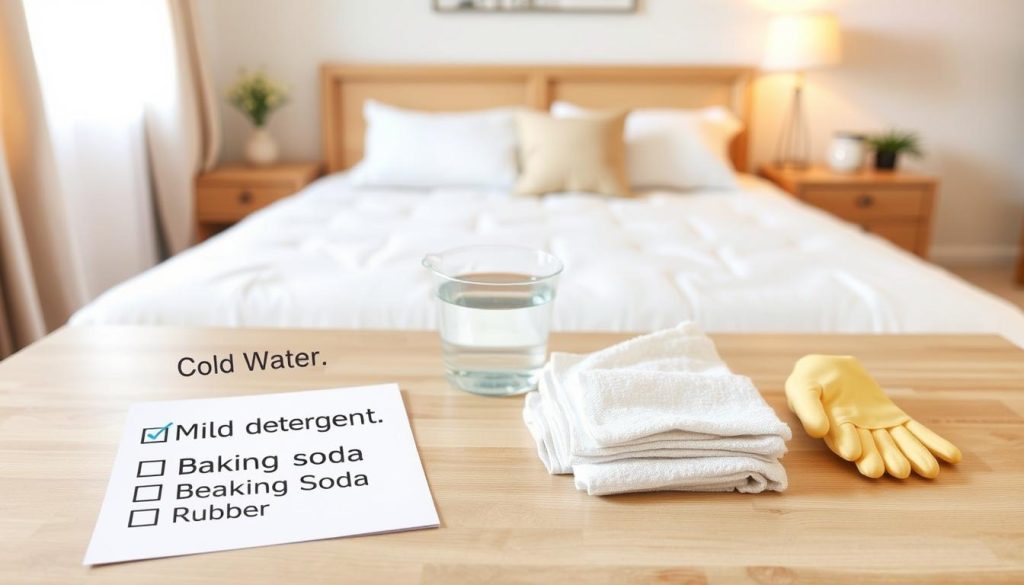
| Step | Action | Why it matters | Tip |
|---|---|---|---|
| Strip bed | Remove sheets & pillowcases | Prevents spread to other linen | Wash on cold cycle |
| Protect area | Lay towels, clear floor | Keeps room clean and safe | Keep extra towels ready |
| Cover check | Confirm zipper is removable | Avoid warranty or damage issues | Consult manufacturer if unsure |
| Pre-rinse | Barely damp clean cloth with cold water | Assesses whether blotting will lift mark | Work from edge to centre |
When you are ready for the next step, follow our simple guide on how to remove fresh marks in the next section or read a detailed walkthrough here: detailed removal guide. For a quick how-to, see this quick guide.
How we remove fresh blood stains from a mattress
Our first move on a fresh spot is a steady cold-water blot, repeated until the transfer slows. We work calmly and in short cycles so the surface never gets overly wet.
Cold water blotting method for fast lift-out
Use a clean cloth dampened with cold water and press, then lift. Repeat the press-and-lift motion until the cloth shows less transfer.
Do not rub. Rubbing spreads the mark and forces the deposit deeper into fibres.
Salt boost for stubborn fresh spots
If the mark holds, sprinkle a couple of pinches of salt, moisten very lightly with cold water and let sit for about 5 minutes. Then lift by blotting rather than scrubbing.
Small amount of laundry detergent as a last gentle step
Only use a tiny drop of detergent diluted in cold water. Keep the area barely damp and rinse residue by blotting with a clean cloth and cold water.
| Step | Action | Why it helps |
|---|---|---|
| Blot | Cold-water press-and-lift | Draws out fresh deposit without heat |
| Salt | Pinch, moisten, let sit ~5 minutes | Absorbs and lifts stubborn fresh spots |
| Detergent | Very small amount, rinse by blotting | Final gentle lift if needed |
Progress check: the mark should lighten after each cycle. We stop adding product once we see consistent lift and then move on to drying and deodorising.
How we remove dried blood from a mattress without soaking it
We begin by softening the dried area with cold water. A light dampening helps loosen set fibres so the rest of the work is controlled and low‑moisture.
Rehydrate carefully
Use a barely damp cloth and press the edge of the mark, working inward. Do this in short cycles so the surface never becomes saturated.
Spot‑test hydrogen peroxide first
Peroxide can bleach. We test on an unseen patch and wait a few minutes. If colour or finish changes, we stop and choose a gentler option.
Peroxide and dish soap solution
Our recipe: 8 fl oz cold water + 8 fl oz hydrogen peroxide + 2–3 drops clear dish soap. For small areas halve the mix.
“Keep the solution low‑foam so it penetrates without soaking the core.”
Baking soda layering and repeat routine
Step 1: Thinly dust baking soda for about 15 minutes, then vacuum. Step 2: Lightly spray the peroxide solution to dampen the zone. Step 3: Add another thin baking soda layer and leave for hours or overnight.
Use a stiff brush or toothbrush to break up dried baking soda, then vacuum. Wipe with a barely damp cloth, follow with a dry cloth, and repeat only after the area is dry and residue is removed.
Make sure the surface air‑dries fully before remaking the bed to avoid odour or mould in Singapore’s humidity.
Natural and household options when you want a gentler method
When you want low‑chemical options, common pantry items often do the job. We favour methods that are easy, low‑moisture and safe in humid Singapore. Always test on a hidden patch first.
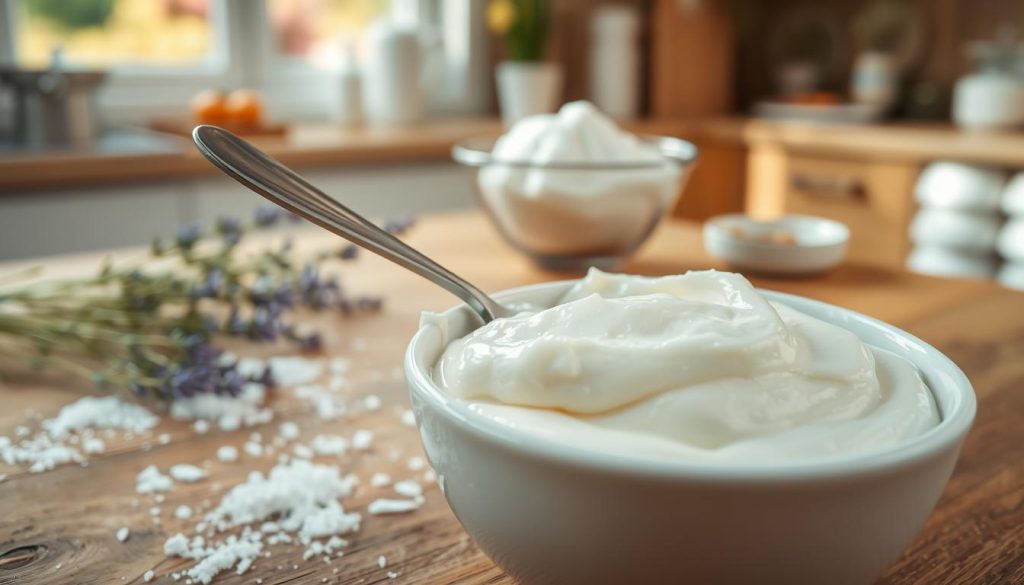
Baking soda paste and how long we let it sit
Method: mix baking soda and cold water 1:1 to form a spreadable paste. Apply thinly to the affected area and let sit for around 30 minutes.
After minutes have passed, blot with a clean cloth and vacuum any residue. Repeat only if the area is dry between attempts.
Vinegar and cold water solution for lightening and deodorising
We make a 1:1 vinegar and cold water solution in a spray bottle. Lightly mist the surface and blot; do not soak.
This lifts odour and helps lighten marks with minimal moisture. Always follow with air‑drying.
Salt with lemon juice for light fabrics and when to avoid it
Salt plus a squeeze of lemon brightens light fabrics. Use sparingly and avoid coloured or delicate textiles, as lemon can bleach.
Avoid this mix on any fabric that is not colourfast.
Cornstarch, hydrogen peroxide and salt paste for older marks
For older or set marks we mix ½ cup cornstarch, ½ cup hydrogen peroxide and 1 tbsp salt to a paste. Apply thinly and let sit roughly 30 minutes.
Blot and vacuum dry powder; test first to check for colour change.
Meat tenderiser paste to target protein
We prepare a meat tenderiser paste with a little cold water and use it as a spot treatment up to an hour. It breaks down protein and can help lift older deposits.
After the set time, blot gently and remove residue. Keep this method as a last household resort and never mix different products in the same area.
“Always test on a hidden area first and keep each remedy separate — no chemical soup.”
| Method | Mix | Let sit (approx.) | When to avoid |
|---|---|---|---|
| Baking soda paste | Baking soda + cold water (1:1) | 30 minutes | Delicate fabrics without patch test |
| Vinegar solution | Vinegar + cold water (1:1) mist | Blot immediately after light misting | Strong odour-sensitive items |
| Cornstarch + peroxide + salt | ½ cup cornstarch + ½ cup hydrogen peroxide + 1 tbsp salt | 30 minutes | Non‑colourfast fabrics |
| Meat tenderiser paste | Meat tenderiser + cold water (paste) | Up to 60 minutes | Open wounds or untreated fabrics |
When to use an enzyme-based cleaner on a blood stain mattress
We reach for an upholstery enzyme cleaner only after repeated blotting and dry methods have shown limited progress. Enzymatic products break down protein components and can lift older deposits that simple remedies cannot.
Choosing an upholstery-safe enzymatic cleaner and following the label
Pick a product labelled safe for upholstery and mattresses and follow the manufacturer’s dwell-time and removal instructions exactly. Test on a hidden patch first and wait the recommended time.
Controlled workflow we use
- Lightly dust the area with baking soda and vacuum to reduce odour and surface residue.
- Apply the enzyme product as directed; avoid over‑wetting the fabric.
- Gently lift with a clean cloth after the dwell period and allow full air‑drying between passes.
- Repeat only as needed — enzymes need time to work, not aggressive scrubbing.
Why we avoid bleach and harsh cleaners on mattresses
Bleach and strong solvents can degrade fabric and internal layers, leave harmful residues and pose risks to sleepers and pets. They may lighten or damage finishes and shorten the life of mattresses.
“Follow label steps, ventilate the room and stop immediately if colour change or fabric stress appears.”
Drying, disinfecting, and deodorising the cleaned area
Good airflow and patience prevent hidden dampness from undoing our earlier work. After we lift the mark, drying is non-negotiable. Lingering moisture invites mould in Singapore’s humidity and can bring residues back to the surface.
Preventing mould with thorough air-drying
Set up strong airflow: position a fan to move air across the treated area and, if possible, open a window for cross‑ventilation. Keep bedding off until the surface is completely dry to the touch.
Deodorising with baking soda
We sprinkle a light, even layer of baking soda over the cleaned area and leave it for several hours or overnight. This absorbs lingering odour and moisture.
After resting, vacuum thoroughly and inspect for any cool or damp patches. If the area still feels cool, continue drying before remaking the bed.
Light vinegar misting for a fresh finish
For a fresh finish we make a 1:1 vinegar and cold water mix and mist very lightly. Blot immediately with a clean cloth so we do not overwet the fabric.
Do a final transfer check: press a dry cloth to the spot. No sign of dampness or residue means we can sleep on it again.
| Action | Why it matters | When to repeat |
|---|---|---|
| Fan + open window | Speeds dry time and lowers mould risk | If surface still cool after vacuum |
| Baking soda rest | Neutralises odour; absorbs moisture | Repeat overnight for persistent smells |
| Vinegar mist & blot | Freshens without soaking | Only once, if no dampness appears |
“Let the area dry fully before you put bedding back on to protect sleep quality and prevent recurrence.”
Conclusion
When a mark appears, our first move is to assess whether it is fresh or already set. For fresh marks we favour a gentle press-and-lift with a clean cloth and cold water. This low‑moisture approach gives the best chance to remove blood without spreading it.
For dried areas we escalate carefully: spot‑test peroxide, use baking soda cycles, or choose an upholstery enzyme product if needed. Avoid hot water, heat and bleach — they set the issue and risk damage.
Dry fully in humid Singapore to prevent mould and odour. Finally, fit a waterproof mattress protector to reduce future problems and make any follow-up easier. Our clear rule: patience, measured steps and the right sequence protect the fabric and deliver the best results.

