

We present a hands-on project for readers in Singapore who wanted an affordable route to manage dust and small debris at home. This guide set clear expectations: it was a learning build, effective for light tasks, not a heavy-duty commercial machine.
We defined the concept as a water-based collection stage paired with a suction generator. You will make a simple trap that captures particles in liquid and a suction unit that could be piston-style or a compact propeller machine.
We aimed to help you understand vacuum and suction with plain household examples and simple tests. Safety stayed central: power tools, sharp cutters and sealing chemicals require cautious, controlled habits. By the end, success meant stable suction, predictable airflow and a water stage that reduced airborne dust. For a ready-made reference or to order a Lura wet & dry, consult the link.
What we mean by a water vacuum cleaner and how suction works
Here we explain how reduced pressure and a liquid capture stage work together in a simple home suction device.
Understanding the basics: A vacuum forms on the intake side of a pump when we lower pressure inside a chamber. Outside air rushes in to equalise pressure, and that moving air carries dust and small debris. In our tests a PVC piston pump, built like a common plumbing pump, created measurable pull when we ran it on the intake side.
We proved the idea with a balloon attached to the intake. Each stroke made the balloon shrink until it was drawn partly into the tube. That visible result shows how pressure difference produces suction.
- How adding liquid helps: A capture stage causes particles to stick and settle, reducing re‑entry into the room compared with dry only systems.
- Choosing a build type: A piston offers strong peak pull but needs tight seals. A propeller gives steady airflow and is easier to miniaturise. A hybrid mixes pulses and flow for a balanced outcome.
Conceptually the way the flow moves is: intake nozzle → liquid stage → separator/filter → outflow. We present this as a learning device as much as a practical cleaner, so readers can focus on sealing, repeatable tests and sensible expectations for home use.
Tools, power, and low-cost materials we use in Singapore
We list the core tools and low-cost materials we used in Singapore to turn a simple concept into a working prototype.
Our build centred on readily available plastic pipe and fittings, small motors and basic sealing parts. We kept choices practical so readers could source items from local hardware and plumbing suppliers.
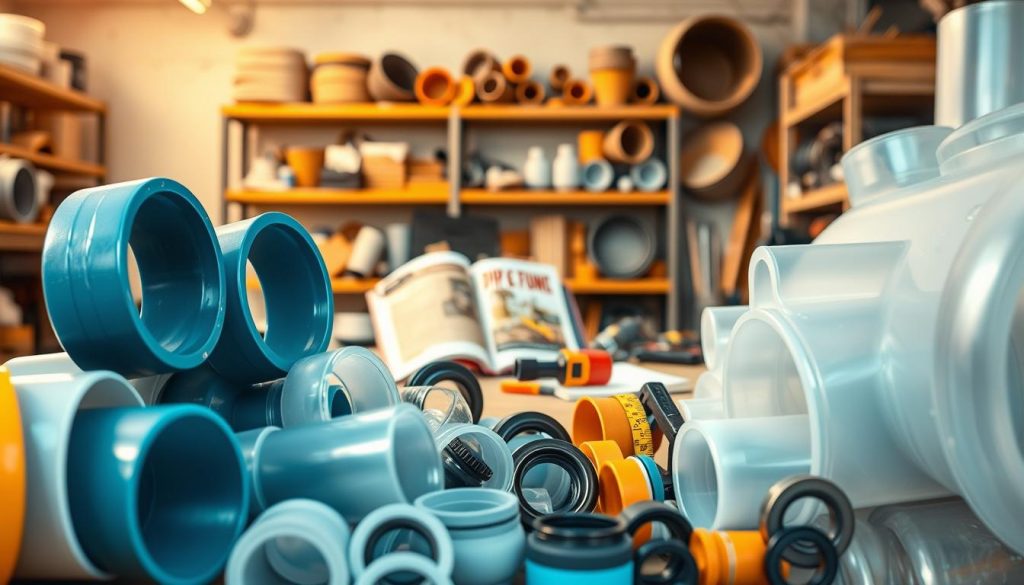
Plastic, pipe sizes, seals and O-rings
We used a 1″ pipe fitting inside 1-1/4″ PVC so the inner part runs closely to the outer sleeve. Two O-ring grooves reduced leakage and gave redundancy.
Grooves were cut to roughly half the wall depth to avoid weakening the plastic. A 1-1/4″ slip cap was drilled with a 1-3/8″ Forstner bit and fitted with an internal O-ring around the centre hole.
Seal practice: lubricate O-rings with silicone grease; it would better preserve rubber than Vaseline over time.
Power options: power bank, motor and expectations
For the compact propeller model we used a gearless motor, a propeller, a power bank and a 700 ml plastic bottle. This kept cost down and made testing fast.
We set clear expectations: the design is for light dust, small paper and occasional wet pickup, not continuous heavy duty operation.
Power tools and cutting tools: essential versus substitute
Essential tools: a cutter/saw, drill and sandpaper. Optional power tools include a table saw and a Forstner bit for quicker, cleaner cuts.
Table saw work carries risk and needs experience. Safer substitutes are hand saws and careful marking; these take longer but reduce hazard.
| Item | Purpose | Typical source (Singapore) |
|---|---|---|
| 1″ & 1-1/4″ PVC fittings | Inner piston sleeve, chamber parts | Local hardware shops, plumbing suppliers |
| O-rings & seals | Air-tight joints, redundancy | Plumbing stores, online marketplaces |
| Gearless motor & propeller | Compact motorised suction unit | Electronics suppliers, salvaged motors (Dyson suggested) |
| Power bank & USB cable | Portable power for motor tests | Electronics retailers |
| Hand tools / power tools | Cutting grooves, drilling centre holes | Hardware stores; borrow or hire for one-off tasks |
How we design a diy water vacuum cleaner for reliable dust collection
To get repeatable results we mapped intake and outflow routes, then placed the liquid stage where it catches the majority of debris.
Airflow path planning: intake side, outflow side, and where the water sits
We route the intake nozzle into the collection chamber so air passes through the liquid before it reaches the outflow. This way most dust settles at the bottom and does not travel to the motor.
Tests showed the piston moved just over two cups per cycle and achieved roughly three gallons per minute vertically, and over five gallons per minute horizontally under favourable conditions.
Making sure every joint seals: caps, couplings, reducers, and a centre hole
Small leaks collapse suction faster than you expect, so we make sure every cap, coupling and reducer seals tightly. The slip cap with a drilled centre hole used an O‑ring seated around the opening to keep the rod airtight.
Check valves explained: the way they control flow and protect suction
We fitted a threaded Tee to accept two check valves. Correct orientation is essential: valves are directional and prevent backflow, protecting suction and allowing pulsed operation in piston setups.
Sizing the collection container: gallons, drum size, and compact bottle models
For light jobs a compact bottle model with side holes and a bandage net worked well; it is a practical small model for demos and quick pick‑ups. For bigger dust collection needs, a drum‑size container gives more capacity and less frequent emptying.
In short: map the air route, seal the centre openings, install correctly oriented check valves and choose the container size that matches the load and frequency you expect. This idea keeps the system stable and closer to the behaviour of commercial wet/dry machines.
Build steps: assembling the vacuum and water collection system
We start with the stronger piston route, then show a compact bottle motor option so readers can choose which step suits their needs.
Creating the piston and chamber from PVC for vacuum power
Measure and mark the 1″ inner pipe and the 1-1/4″ outer sleeve. The fit must slide freely but not wobble. Cut square edges so the piston moves smoothly; uneven cuts raise friction and reduce suction.
Cap the piston end to make it air-tight. Fit the 1-1/4″ slip cap with a centre hole drilled by a 1-3/8″ Forstner bit and seat an O-ring inside the hole for the piston rod to pass through.
Cutting grooves and fitting O-rings without compromising the plastic
Mark grooves at about 1″ and 2″ from the piston head. Remove small amounts of plastic only; keep groove depth to roughly half the wall thickness so the sleeve stays strong.
Fit two rubber O-rings for redundancy. They must sit squarely in each groove and compress slightly for an effective seal.
Lubrication choices: why silicone grease would be better than Vaseline over time
Lubricate O-rings before assembly. We used Vaseline in early tests, but silicone grease would better protect rubber over time and resist washing out when the unit gets damp.
Adding and orienting check valves so they point the right way
Assemble the bottom fittings: coupling, 3/4″ reducer bushing, riser and threaded Tee. Add two check valves to the Tee and make sure the flow arrows point away from the collection chamber to prevent backflow.
Allow solvent-cemented joints to cure fully before the first run.
Building a compact bottle-based suction unit with a propeller and side holes
For a portable option we chose a 700 ml bottle. Cut a single side intake hole and five small holes at the bottom to improve airflow distribution. Mount a cardboard disc in the cap as a motor plate.
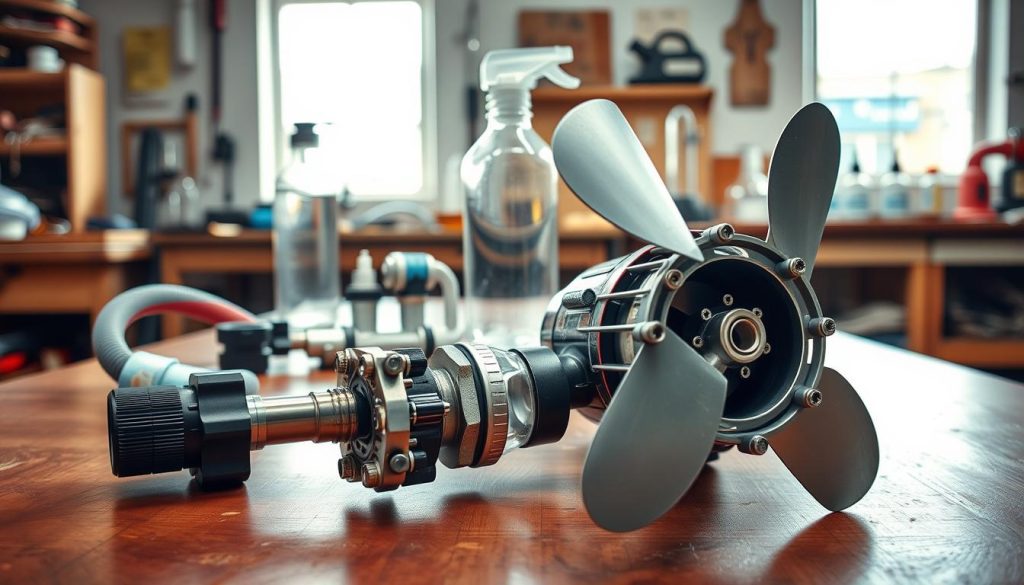
Fix a gearless motor at the centre, attach the propeller so blades clear the walls, and run the motor cable through the neck hole. Power the motor from a power bank via USB and tape the pack to the bottle for secure day-to-day use.
Adding a filter layer: open weave bandage as a collection net and why cloth choice matters
Cover the bottle opening with an open weave bandage as a net. A porous weave keeps airflow high and traps paper and dust. An opaque cloth chokes flow and reduces pickup.
Mounting the power source and routing cables neatly for day-to-day home use
Strain-relieve the motor lead at the exit hole and tie cables to the bottle so they do not tug the motor. A tidy mount extends component life and makes maintenance easier.
“Small choices in sealing and routing make the biggest difference to real-world performance.”
For an alternate separator concept and further reference, see cyclonic separator guide.
Testing, performance checks, and upgrades that improve suction
Before upgrades, we run a short set of checks to confirm seals, flow and repeatable pull.
How we test leaks and seal strength.
We listen for a soft hiss at joints and use soapy water on threaded or solvented areas to spot bubbles.
Next, we block the intake and see if the piston holds position. A stable hold means seals work.
Practical performance benchmarks
In bench trials the piston moved just over two cups per cycle. Vertically it averaged roughly three gallons per minute.
When we ran horizontally and used body weight to speed cycles, flow exceeded five gallons per minute.
These figures give realistic targets for light dust and small debris projects.
Safe ways to increase power
- Open correctly placed hole patterns to reduce intake choke.
- Balance propeller blades and trim any wobble to cut vibration.
- Smooth piston surfaces and re‑lubricate O‑rings to lower friction.
Maintenance and when to consider a salvaged motor
Remove the piston like an oversized plunger for cleaning, then re‑lubricate O‑rings and clear blocked check valves.
For more power, a salvaged motor can work, but check bearing noise, overheating and brittle wiring first.
“Small, repeatable tests teach why machines rely on good seals, cooling and correct fitment.”
Conclusion
In conclusion, we bring together the tests, component choices and simple fixes that mattered most.
We built a low‑cost device that uses a liquid capture stage to limit airborne dust and improve basic filtration for home use. The two viable paths were clear: a piston gives stronger peak pull but needs tight seals; a compact propeller motor is simpler and easier to mount.
Set realistic expectations. This project suits light mess, learning and occasional wet pickup, not an industrial machine. The core success factors remain sealing, airflow planning and safe power handling — these determine whether the machine feels strong or disappointing.
Iterate responsibly: improve joints, upgrade the motor only after secure mounts and cooling are in place, and choose filters that keep airflow steady. For an overview of wet‑dry systems and features to consider, see our wet-dry system guide.
We recommend salvaged parts only when wiring, bearings and reliability are verified; predictability matters more than peak power for everyday Singapore homes.

