
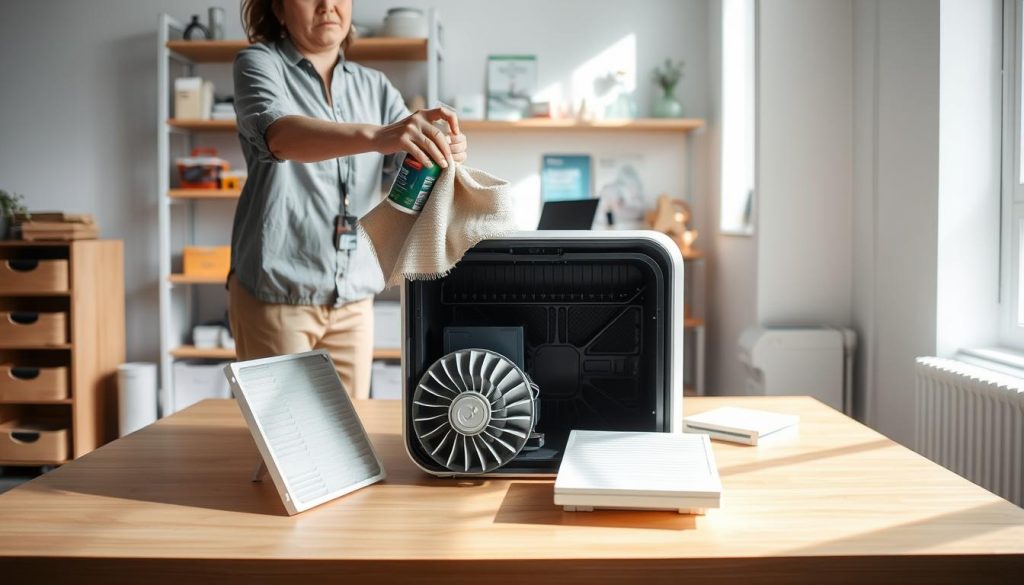
We explain how we approach air purifier do it yourself cleaning at home so the unit keeps delivering clean air rather than simply moving air around. We set clear expectations and list what this guide will and will not achieve.
We will remove surface dust and grime, but we cannot restore a fully loaded filter to like-new performance. That is especially true for HEPA media. Washing such filters often harms performance.
Our method follows a simple order: understand the filtration stack, prepare safely, treat each filter type, check reassembly and set a realistic maintenance schedule for Singapore households. We rely on manufacturer guidance where present and add evidence-based best practice so readers avoid costly mistakes.
The key idea: a dirty unit reduces airflow and forces the fan to work harder for less benefit. The most common error we see is washing HEPA media with water. That feels thorough but often cuts performance and wastes time.
Why regular cleaning matters for clean air and air quality at home
A small amount of routine care has a big effect on performance and indoor air quality. Filters that load with dust, dirt and fine particles reduce how much air the unit can move. That lowers capture rates and weakens the benefits of the device.
How clogged filters hurt performance and the motor
As media blocks, airflow drops and the fan must run harder to compensate. We see rooms take longer to clear and fan speeds climb more often.
CHOICE notes: clogged filters strain the motor and cut efficiency. Over time this raises noise and shortens lifespan.
What builds up inside filter media
Filters collect dust, pollen, pet dander and smoke particles. Even filters that look fine can hold enough material to restrict flow.
Left too long, trapped moisture plus organic matter can encourage mould or bacteria growth. That undermines the unit’s purpose.
Why this matters in Singapore
High humidity, frequent ventilation, renovation dust and haze periods all increase indoor loading. Regular upkeep is not optional if we rely on purifiers daily.
| Issue | Immediate sign | Effect on quality |
|---|---|---|
| Clogged pre-filter | Reduced airflow, louder fan | Fewer particles captured per hour |
| Saturated carbon | Persistent odours | Reduced gas and smell removal |
| Loaded HEPA media | Gradual performance dip | Lower particle removal efficiency |
| Long delay between checks | Mould risk | Possible re-release of microbes |
For further guidance on maintaining healthy rooms, see our notes on keeping indoor rooms healthier. Next we explain why different filter types need different treatment.
Know your filtration system before you start: pre-filter, HEPA filter and carbon filter
Before we touch any parts, we map the filter stack so we know which layer needs attention. That simple step tells us whether components are separate or sealed into a single pack.
What the pre-filter catches and why it’s the first line of work
The pre-filter traps hair, lint and large dust. It sits at the front and slows how fast deeper media loads.
Keeping this layer clear extends service life and cuts running costs.
What HEPA media does and why its structure is fragile
HEPA filters capture fine particles down to the PM2.5 range. The micro‑fibre matrix is delicate. Washing often harms its weave, so many manufacturers treat HEPA filters as replace‑only.
What activated carbon does and how saturation reduces results
Carbon filter layers adsorb gases and odours. Once saturated, performance falls even if airflow looks fine. Shaking or limited rinsing helps some designs, but replacement is usually the long‑term solution.
“Most models use a pre-filter, HEPA filter and sometimes activated carbon.” — CHOICE (15 Nov 2023)
We always check the manual and manufacturer instructions first. Look for labels such as “True HEPA”, airflow arrows and gasket edges to identify the purifier filter layout and the best way to service or replace parts.
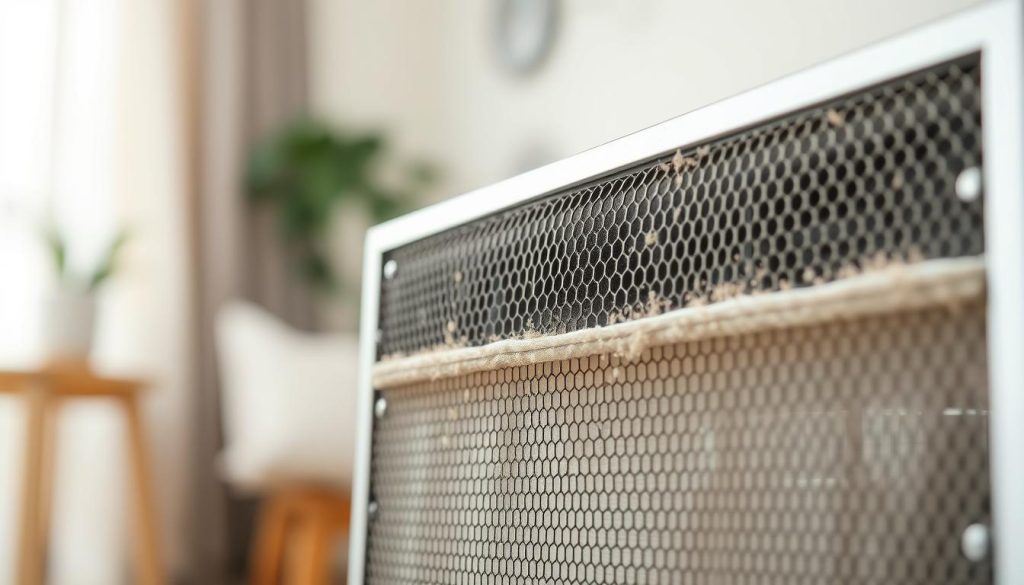
| Layer | Main role | Service note |
|---|---|---|
| Pre-filter | Catches hair and large particles | Clean or rinse where allowed; frequent checks |
| HEPA | Removes fine particulates | Usually replace; avoid washing |
| Carbon filter | Adsorbs odours and gases | Replace when saturated; limited servicing in some models |
Air purifier do it yourself cleaning checklist and prep
Safety comes first: we power down, unplug and move the unit to a ventilated area such as a balcony or service yard. This stops dislodged dust from settling back inside the home.
Power and workspace
Switch off and unplug before you open any panels. Work where airflow carries dust away from living spaces. We wear a mask if dust levels are high.
Tools we gather
We bring a vacuum with a brush tool for loose debris, a soft brush for plastic meshes, and a lint-free cloth for the housing. Use warm water only if the manual permits rinsing specific parts.
Inspection before we start
We check for visible dirt mats at the intake, blocked vents, cracked housing, loose clips and compressed gaskets. Note any damage so the manufacturer instructions can guide repair or replacement.
Quick before/after testing
Simple checks help verify results. Record fan noise at a fixed speed, note odour levels, and observe how fast the unit returns to a low reading after cooking. Allow a short time for sensors to stabilise.
- Wet vs dry: pre-filters and some carbon designs may be rinsed with warm water; HEPA media usually stays dry.
- Manual first: always follow the manufacturer instructions printed on frames or in the manual before applying water.
Step-by-step: how we clean each air purifier filter properly
A careful, stepwise routine lets us treat each layer without harming performance. We work from front to back and follow manufacturer guidance before applying water or tools.
Pre-filter care
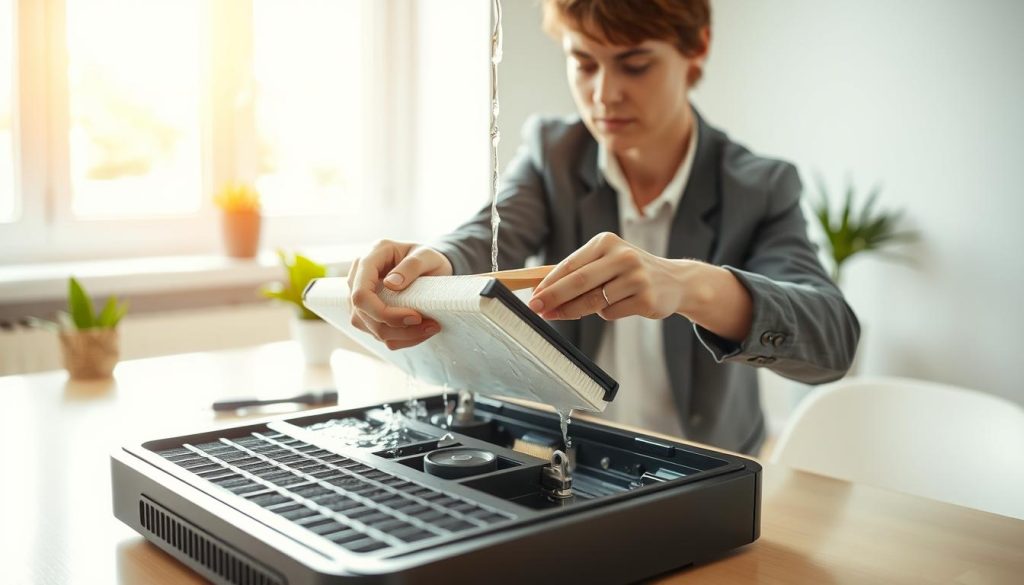
Remove the pre-filter. Tap off loose dust outdoors, then rinse filter with warm water where the manual allows until the water runs clear.
Lightly scrub stubborn spots and let the piece air dry fully before refitting. A damp part can invite mould and odour.
Carbon filter handling
Shake to dislodge dust and use a brief rinse or soak only if the design permits. Remember that carbon saturation is chemical; cleansing often cannot restore odour capture.
When smells persist after sensible care, plan for replacement.
HEPA filter care and vacuuming
For most consumer HEPA filters we avoid washing. Instead, we maintain the pre-filter, check seals and replace the hepa filter on schedule.
Vacuuming a hepa filter may help slightly when visible surface dust or hair is present, but gains are often minimal and aggressive suction can harm pleats.
“Washing sensitive media can raise airflow yet lower particle removal — a counterproductive trade‑off.” — Smart Air lab
Why not to wash HEPA with water
Tests show washing can increase airflow but reduce particle capture substantially. That defeats the purpose of a high-efficiency stage.
Reassembly tips
- Check arrows and frame orientation before seating each filter.
- Ensure gaskets sit flat and clips are secure to avoid bypass.
- Run a short test at normal speed and note sound and odour changes.
| Filter | Best action | When to replace |
|---|---|---|
| Pre-filter | Tap, rinse where allowed, air dry | Visible clogging or torn mesh |
| Carbon | Shake; rinse only if allowed; limited restoration | Persistent odours or saturation signs |
| HEPA | Do not wash; gentle vacuum only if dusty | Warped media, musty smell, indicator triggered |
For more practical guidance on filter maintenance and replacement parts, see our short guide on filter servicing and replacement.
Ongoing maintenance schedule, costs and disposal in Singapore
A short schedule of checks every few weeks and months saves time and prolongs filter life.
Frequency: we clear the pre-filter every 2–3 weeks in normal home use. We reassess deeper filters every few months and increase checks during haze, renovation or heavy cooking.
Replacement timing: HEPA and carbon parts can last from about 3 months up to 24 months depending on run hours, fan speed and local pollution. Higher use cuts months from the lifespan; low use extends it.
Warning signs to watch
Unusual noises, sudden performance dips, persistent odours and error codes are signals we do not ignore. Some models refuse to run until a filter reset or replacement is fitted.
Budgeting and disposal
Replacement costs vary widely, so check local Singapore pricing before you buy. For disposal we follow the manual: bag used parts, seal them and consult town council or recycling services for options.
Small habits that help
Keep vents clear, avoid pushing units tight against walls, and wipe the housing regularly to reduce dust ingress. We also clean sensors with a soft lint‑free cloth and give the unit time to recalibrate before judging air quality.
| Item | Typical interval | Action |
|---|---|---|
| Pre-filter | Every 2–3 months (check every few weeks) | Tap or wash if allowed; air dry fully |
| Carbon filter | 3–24 months | Replace when odours persist or saturation shows |
| HEPA filter | 3–24 months | Plan for replacement; vacuuming gives small gains |
“Check the manual first and budget for periodic replacement to protect long-term performance.”
Conclusion
A few small checks every month prevent bigger problems and extend service life. We focus first on the pre‑filter, then manage carbon layers, and plan timely replacement for HEPA media rather than washing it.
Key takeaway: sensible, regular maintenance keeps performance high and helps improve air quality consistently. Vacuuming HEPA is optional and only useful when surface dust is obvious.
For practical tools and a simple routine that suits Singapore conditions, see the Lura Wet & Dry Vacuum guide. With modest effort and correct replacement timing, we keep the unit cleaning as designed.

