
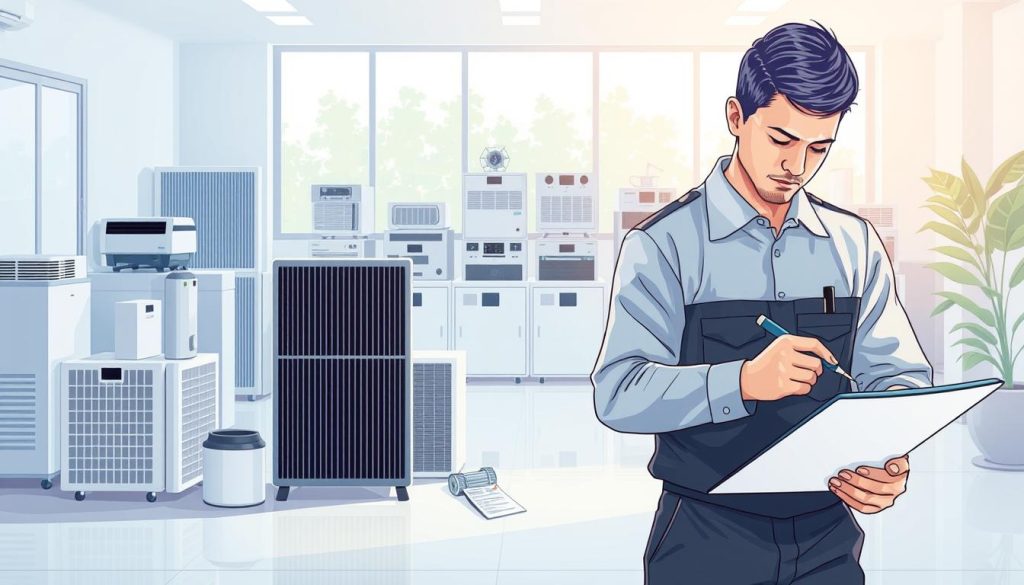
We introduce our approach to maintaining an air purifier used in Singapore homes and explain what proper upkeep really involves. Our work goes beyond a quick wipe-down to focus on filtration, airflow, sensors and safe reassembly.
Regular checks keep the unit working well and improve air quality indoors. Filters are the heart of the device, so we inspect, clean and replace them as needed. Without this care, mould and bacteria can build up and be released back into the air.
We set clear outcomes: steadier purification, fewer odours, less dust and quieter operation. Common reasons people call us include reduced airflow, persistent smells, dust build-up, noisy fans and confusing filter alerts.
Our process is simple: assessment, filter inspection, cleaning, drying, fit checks and replacement planning. We always power off and unplug before opening a unit to protect the device and keep cleaning hygienic.
This guide is informational and practical, so you can understand what we do and why, even if you choose to maintain your unit between professional visits.
What our air purifier service covers in Singapore homes
In Singapore homes we prioritise results you can notice: steadier airflow, fewer smells and less settling dust. Our work targets measurable improvements in indoor air quality and practical advice for placement and use.
Indoor air quality goals we target
We aim to lower dust load, manage PM2.5 exposure and reduce odours from cooking fumes or smoke drift where relevant. For families with young children, allergy sufferers or elderly residents we recommend tighter checks and shorter replacement cycles.
Common issues we see in local living spaces
- Faster dust accumulation in high-traffic corridors and open-plan living rooms.
- Renovation particles, haze seasons and pet hair clogging pre-filters.
- Open kitchens where grease and odours challenge filtration performance.
Coverage includes inspection, cleaning and filtration checks; we also advise on placement and airflow clearance to support performance. We do not replace building ventilation or control pollution sources.
How often filters need attention depends on use and the local environment. Daily use in poorer air may need cleaning or replacement every 3–6 months; cleaner spaces can extend that to 6–12 months. For tips on ventilation and broader indoor health, see this guidance on improving ventilation and indoor air.
Why maintenance matters for air quality, efficiency and health
We keep filters working because small blockages have large consequences. As dust and particles build into the filter media, airflow falls and overall filtration performance declines. This is a direct, measurable loss of effectiveness.
Household symptoms are clear: lingering odours, visible dust returning to surfaces, and the unit running at higher fan speeds to give the same result. These signs tell us the filter needs attention.
Hygiene risks matter. When filters stay damp or overdue for replacement, mould and bacteria can develop inside the unit and be released back into rooms. That defeats the goal of cleaner indoor air and can affect sensitive occupants.
“A clogged filter forces the motor to work harder, raising energy use and shortening equipment life.”
- Clogged pre-filters block airflow; HEPA loading cuts fine-particle capture.
- Carbon saturation reduces odour and gas control—replacement is often the only fix.
- Poor upkeep raises running costs and can shorten the purifier’s operational life.
We protect both health and equipment performance with timely checks, cleaning and planned replacement. For hands-on cleaning tips and a practical approach, see our recommended method for cleaning and maintenance.
air purifier service explained: our step-by-step workflow
We follow a clear, repeatable workflow so maintenance is efficient and measurable. Before we touch any product we power off and unplug the unit for safety.
Initial assessment of the device and environment
We survey where the unit sits and check ventilation clearance. We note if furniture, curtains or room layout block inlet or outlet flow.
Filter inspection and suitability check
We inspect filter types and configuration, confirm orientation and verify the installed product matches the model and use levels. This helps us set realistic replacement timing.
Cleaning, drying and safe reassembly
Our cleaning sequence removes loose debris first, then uses manufacturer-appropriate methods per filter type. We vacuum grilles and vents before handling filters.
Washable parts are rinsed with water where allowed and left to air dry completely. Thorough drying prevents mould and immediate clogging.
Replacement planning and reset of filter alerts where applicable
We plan replacement from observed loading and odour saturation, not from timers alone. After fit checks and proper seating, we reset alerts so future reminders reflect real usage.
- Check placement and ventilation space.
- Confirm filter fit and orientation.
- Vacuum inlets/outlets, clean, dry and reassemble.
Understanding how air purifiers work in real indoor air
We trace the path of room air as it moves through a unit to show what happens from intake to exhaust. This short overview helps explain why blocked vents or poor placement reduce real results.
Air inlet → filtration stages → air outlet
Air enters at the air inlet, passes through stages — a pre-filter, HEPA media and often activated carbon — then leaves via the air outlet. Each stage targets different particle sizes.
Pre-filters catch hair and large debris so finer filters can focus on small particles. Sensors often measure particles around 1.0–2.5 micrometres and trigger auto modes.
What units can and can’t remove
- They remove dust, many airborne particles and some odours when filters are healthy.
- Carbon media reduce some gases, but removal depends on carbon load and contact time.
- No device replaces removing the source (for example, smoking indoors) or sensible ventilation.
“Sensor accuracy depends on a clean sensor area and correct airflow — we check both during checks.”
| Contaminant | Typical removal | Limitations |
|---|---|---|
| Large dust & hair | High | Requires regular pre-filter cleaning |
| PM2.5 and fine particles | Good with HEPA | Reduced by blocked inlet/outlet or low airflow |
| Vapours and odours | Variable with carbon | Saturated carbon loses effectiveness quickly |
Filtration efficiency is therefore both capture ability and sustained airflow. Real-world events — cooking plumes, haze episodes or overnight bedroom use — determine how fast filters load and when we should attend to them.
Filter types we service and what each one removes
Knowing what each filter removes helps us match symptoms to the right maintenance actions. We break down common stages so you can spot whether dust, haze or smells point to cleaning or replacement.
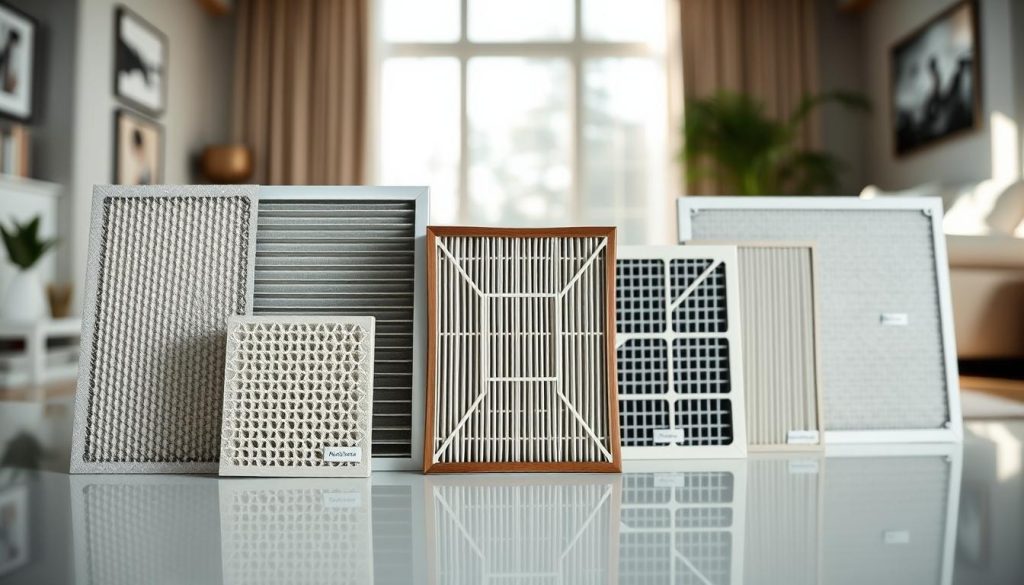
Pre-filters for hair, dust and larger particles
Pre-filters catch hair and large dust particles before they reach finer media. This stage protects downstream filters and keeps airflow steady. Most pre-filters are washable and need regular tap‑out and vacuum work.
HEPA for fine particles and pollutants
HEPA captures very small particulate matter, including PM2.5, with high efficiency. A clogged hepa filter lowers capture rates and raises fan use, so we often recommend replacement rather than washing.
Activated carbon filters for odours, smoke and gases
Activated carbon absorbs odours and gases but loses capacity as it saturates. Some carbon filter types are standalone; others sit inside an all‑in‑one cartridge. We always check the model guide before any wet cleaning to avoid damage.
| Filter | Primary role | Typical care |
|---|---|---|
| Pre-filter | Large debris, hair | Vacuum/wash |
| HEPA | Fine particles, PM2.5 | Replace |
| Activated carbon | Odours, gases | Replace or light clean |
How we check the filtration system for correct fit and airflow
We verify that each filter sits firmly so every breath of room air must pass through the media, not around it. This prevents bypass, where air follows the easiest path and reduces capture efficiency.
Seals, frames and all-in-one filter cartridges
We inspect seals, frames and locking tabs to confirm the filtration system is correctly seated and stable after cleaning. Cracks, warped frames or degraded foam seals are flagged early to avoid recurring issues.
All-in-one cartridges mean one exhausted stage can require replacing the whole unit or cartridge. We explain this clearly so you can budget and plan replacements sensibly.
Airflow obstructions around vents and fans
We check for obstructions inside and outside the unit: dust mats on grilles, blocked vents and debris near fans that cause noise and cut airflow.
Clearing these often restores stronger, steadier output at the same fan speed and improves overall performance.
- Confirm filter fit to avoid bypass.
- Check seals, frames and locking tabs for damage.
- Clear grilles, remove debris near fans and leave ventilation space around the unit.
| Check | What we look for | Typical fix | Outcome |
|---|---|---|---|
| Filter fit | Gaps, misalignment | Reseat or replace filter | Reduced bypass, better capture |
| Seals & frames | Cracks, warped parts | Repair/replace components | Longer service gains |
| Vents & fans | Dust mats, debris | Clean, clear surrounding area | Improved airflow and quieter running |
Pre-filter cleaning: how we remove dust particles safely
Small, regular pre-filter checks stop dust particles from reaching deeper media. We begin with a short inspection and plan containment to avoid re-contaminating the room.
Tap-out and vacuum method for loose debris
Containment first. We work in a well-ventilated area and place the mesh over a dust sheet or bin before tapping gently. This reduces airborne dust and makes cleanup simple.
We use gentle suction and a soft brush tool for vacuuming. The aim is to remove loose debris without tearing the mesh or deforming the frame.
Rinse, brush and air-dry approach for washable meshes
When the pre-filter is washable, we rinse it under a light stream of water and use a soft toothbrush to work out embedded lint. We avoid high-pressure jets that can warp the frame.
“Drying fully is non-negotiable — any retained moisture can lead to mould.”
We always air-dry the part completely before reassembly. This step preserves airflow and reduces load on the main filters, so the whole unit runs more efficiently.
Some models combine the pre-filter into a larger cartridge; in those cases we shift to vacuum-only cleaning or plan replacement. For a practical how-to and recommended intervals, see our filter cleaning and maintenance guide.
Activated carbon filter care for odours, smoke and gases
We describe how activated carbon works and when it stops removing smells and gases. Activated carbon is porous and holds odours and gaseous molecules on its surface. Over time those adsorption sites fill and performance falls, even if airflow seems unchanged.
How we spot saturation and loss of effect
Signs of a saturated activated carbon filter include persistent cooking smells, smoke lingering after an event, or stale air returning quickly after cleaning. We also notice a clear drop in deodorising effect while fan noise and flow stay normal.
When washing helps and when replacement is needed
Surface dust can often be removed by a gentle shake or vacuum, and some manufacturers permit light water rinsing. However, true chemical saturation of the media cannot be reversed by washing; that requires replacement.
- Power off and remove the carbon filter carefully before handling.
- Shake off loose dust; only use running water if the manual allows.
- Air-dry fully to prevent mould and to stop the carbon from clumping.
Replacement planning depends on household patterns: frequent cooking, nearby traffic or regular smoke exposure shortens usable life. Better odour control improves comfort and sleep quality without masking fragrances.
HEPA filter handling: protecting efficiency while maintaining performance
HEPA media rely on precise fibre spacing, so cleaning choices matter for long‑term capture. We explain how handling affects efficiency and what steps we take to protect the element.
Why some HEPA filters should be replaced rather than washed
Many manufacturers and experts advise replacement because washing can distort pleats and open gaps in the media. Damaged fibres reduce capture efficiency for fine particles and shorten the useful life of the filter.
Gentle brushing or vacuuming where guidance allows
Where the manual permits, we remove loose surface dust with a soft brush or low‑suction vacuum. This can extend life without harming the structure, but it is never a full substitute for replacement when the media is saturated.
Drying and reassembly checks to prevent clogging and leaks
We never use harsh chemicals, aggressive scrubbing or leave moisture trapped in the media. If any damp cleaning is allowed, we confirm the element is completely dry before reseating to avoid mould, odour and clumping.
- Check orientation: ensure the hepa filter aligns with airflow arrows and gasket contact points seat evenly.
- Inspect seals: damaged foam or warped frames cause bypass and reduce performance even with a new filter.
- Plan replacements: predictable replacement schedules reduce emergency costs and keep air purification consistent.
Well‑handled HEPA elements keep removing fine particles, reduce the need for high fan speeds and protect motor life. We treat filter care as part of long‑term ownership in Singapore homes.
Service frequency we recommend based on use and environment
We set check intervals to match how the unit is used and the conditions it faces.
Heavier use or poorer conditions: where rooms see frequent cooking, pets, renovation dust or long daily runtime, we shorten cleaning and replacement cycles. Pre-filters may need attention every 2–3 weeks and HEPA or carbon changes can be as often as every 3–6 months in these environments.
Lighter use or cleaner rooms: intervals extend, but only with monitoring. Check airflow feel, odour return and sensor behaviour regularly. In low‑load scenarios, some HEPA and carbon elements last 6–12 months, and in rare cases up to 18–24 months depending on model and levels of use.
Typical ranges and why they vary
Manufacturer guidance differs because fan rates, filter size and assumed hours vary. We compare actual loading and room conditions when we plan replacement so timing matches real household patterns.
Documenting dates and changes preserves efficiency and avoids surprise drops in performance. Small, regular checks protect motor life and keep indoor air levels steady.
Cleaning the purifier body, air inlet and outlet for better ventilation
Removing surface dust from the housing stops it being drawn back into the intake and undoing filter work. We keep this step simple but thorough so good ventilation and steady performance follow a full check.
Exterior wipe-down to reduce dust re-entry
We wipe the case with a soft, damp cloth and mild detergent when needed. We avoid harsh chemicals that leave residues near vents or damage finishes.
Clearing grilles and keeping space around the device unobstructed
We vacuum the air inlet and air outlet gently to clear trapped dust from grilles. This keeps ventilation paths open and reduces strain on fans.
What we check on the body: cracks, loose panels and warped covers that can cause leaks or bypass. We also note build-up on fan blades that raises noise and odour.
| Task | Method | Result |
|---|---|---|
| Exterior wipe | Soft cloth, mild solution | Less dust re-entry |
| Grille vacuum | Low-suction nozzle | Improved ventilation |
| Clearance check | Maintain open space | Better device performance |
Sensor and display checks: keeping air quality readings accurate
Sensor accuracy matters. Auto modes and display lights depend on reliable readings, so a dusty sensor can cause the fan to under‑react or over‑react and harm overall performance.
Particle and odour sensors: what we inspect
We check particle detectors that sense roughly 1.0–2.5 micrometre particles and the odour/gas probes that detect vapours.
Our inspection targets dust build‑up, blocked inlets to the sensing chamber, and any faded or stuck indicator light behaviour on the display panel.
Cleaning method and what to avoid
We always unplug before opening the access port and use a soft, lint‑free cloth or a brush to remove dust carefully.
We avoid harsh chemicals and solvent sprays that can damage optics or coatings. After cleaning we reassemble and leave the unit idle so sensors can settle.
Recalibration and follow-up
Sensors usually need a short stabilisation period. Observe that normal air quality readings fall to green or low levels when the room is calm and that lights change with obvious pollution events.
If a persistent red light, erratic readings or error codes remain, consult the manual and consider deeper diagnostics — a faulty sensor module can cause ongoing issues and reduce comfort.
Operating settings we optimise after servicing
We finish each visit by optimising controls so the unit responds quickly during cooking, cleaning or quiet hours. Our goal is clear: balance comfort, noise and energy while matching how people use rooms in Singapore flats.
Fan speed modes: Auto versus higher speeds
Auto suits day‑to‑day, variable conditions. It raises fan speed when sensors detect particles and drops back when levels fall.
We recommend manual high speeds for short bursts after cooking, cleaning or when guests increase dust. These bursts clear pollutant pockets faster than prolonged medium runs.
Sleep mode for overnight use
Sleep mode reduces noise and dims the display so people rest undisturbed. Trade‑offs include lower airflow, so we advise placing the unit where the room circulates well to preserve overnight air changes.
Ioniser features and indicator feedback
Ionisers can aid settling of fine particles for some models, but households with sensitivity may prefer them off. We follow manufacturer guidance and note any control locks.
Use indicator lights and display readings as operational feedback, not absolute truth, especially after sensor cleaning. With clean filters a lower fan setting often achieves the same performance and better efficiency.
Filter replacement, costs and responsible disposal
Replacement decisions combine display alerts with hands‑on checks so we do not replace parts on timers alone. We confirm visual loading, odour persistence and any airflow drop before recommending a change.
When alerts appear and how we confirm it’s time
Some units show time‑based alerts. We treat these as prompts, then inspect the pre‑filter, HEPA element and carbon stage for actual loading.
If odours linger, flow falls or the media looks saturated, we advise replacement rather than further cleaning. After fitting new items we verify fit and reset the alert so future prompts reflect real use.
Replacement costs and product choices
Costs vary widely by brand and model. Independent testing shows replacement costs depend on the product and whether a single stage or an all-in-one cartridge is needed.
HEPA elements commonly require replacement rather than washing. All‑in‑one cartridges cost more because multiple stages, including carbon, are replaced together.
Disposal guidance and what we do after replacement
Check the product manual first and enquire with local council or recycling services in Singapore. Many filters must go to general waste, but some providers accept specific recycling streams.
“Using the correct filter prevents gaps, restores capture efficiency and avoids wasted spend.”
| Filter type | Typical action | Outcome |
|---|---|---|
| Pre-filter | Vacuum or wash where allowed | Restores airflow, protects HEPA |
| HEPA | Replace (do not wash) | Restores fine particle capture |
| Activated carbon | Replace or light clean (model dependent) | Restores odour and gas control |
We always fit the correct OEM or approved product to avoid leaks and reduced performance. For practical cleaning guidance between replacements, see our note on how to clean an air purifier filter easily.
Signs your purifier needs service now
A few common symptoms tell us it’s time to inspect the device right away. Spotting these early keeps small issues from becoming costly repairs and protects ongoing performance.
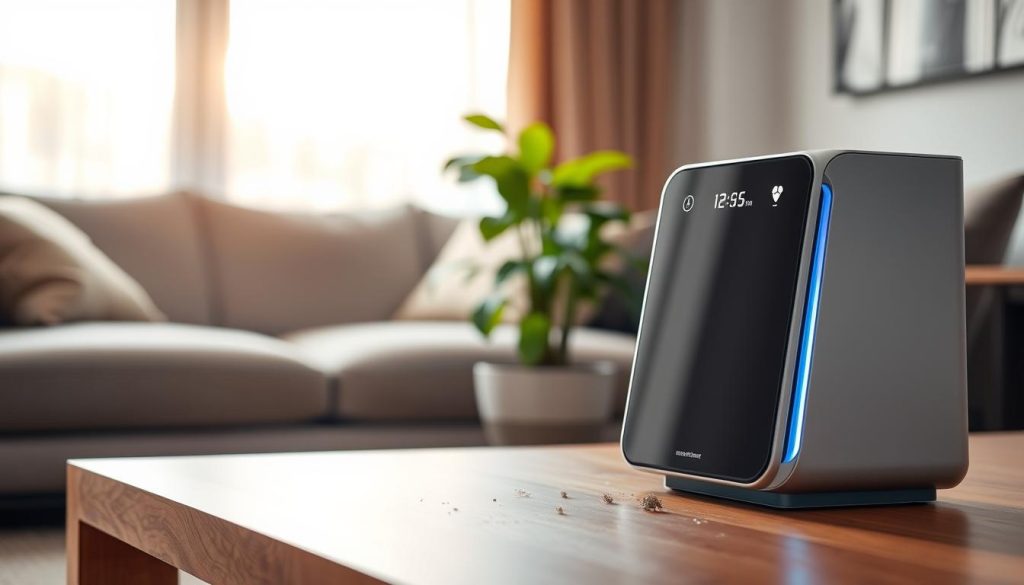
Reduced airflow, lingering smells and worsening dust levels
Reduced airflow at the outlet, more visible dust on surfaces and odours that return after cleaning are clear signs of a loading issue. In kitchens and after smoke events, rapid return of smells usually points to carbon saturation or airflow restriction.
Unusual noises, error codes and persistent indicator lights
Listen for unusual rattles, grinding or higher pitch noises that differ from normal fan sound. These often indicate an obstruction, a loose part or fan strain caused by clogged filters.
- Persistent lights or error codes mean the device has detected a problem. If cleaning did not clear the alert, the component may need replacement or diagnostics.
- Check for visible dust mats, misseated filters and blocked vents before booking a visit.
Why act early: addressing load and blockages quickly preserves efficiency and reduces motor strain. If symptoms persist after basic checks, booking a professional inspection is the fastest route back to reliable performance and cleaner air.
Conclusion
A planned approach to cleaning and replacement gives predictable results for home use. Consistent upkeep protects performance, keeps running costs lower and preserves comfort for residents in Singapore flats.
Remember the core logic: room air must pass through each stage in the unit. All filters must be clean, correctly fitted and suitable for your household to keep performance steady.
What to remember: keep pre-filters clear, treat HEPA with care and replace when loaded, and manage activated carbon realistically because it saturates. Also clear inlets and outlets and wipe the case to stop dust re‑entry.
Act early on the warning signs to reduce motor strain and avoid surprise faults. If you want consistent indoor improvements without guesswork, we can inspect your purifier, service the filters safely and confirm the unit is running as intended.

