
We start with a clear aim: keep our unit efficient and extend its life without wasting money on hasty replacements.
In Singapore, humidity, cooking and occasional haze load filters faster than many manuals suggest. We explain what maintenance means day to day and how simple actions protect indoor air and conserve performance.
Our routine uses very few tools: soft cloths, a vacuum with a brush head, warm water only when the manual allows, and a short tracking note on our phone. That keeps costs low and results steady.
We will show the difference between cleaning and replacement so we do not damage sensitive filter media. The step-by-step workflow previews safety first, exterior clean, pre-filter care, carbon handling, HEPA care, then a quick performance check.
By the end, we aim for improved airflow, fewer odours and stable air quality at home — achieved with small, timely spends rather than panic buying.
Why routine maintenance matters for clean air in Singapore homes
Singapore homes collect fine particles and cooking fumes fast, so filters load sooner than many expect. We keep explanations practical and focused on outcomes we can measure.
Filters gradually load with dust and contaminants, which cuts airflow. When flow drops, the unit must work harder to move air through the system.
This leads to poorer air quality, louder operation and extra wear on the motor. Unmaintained units can even recirculate trapped pollutants and magnify health issues such as allergies.
What “budget” care really means
We define budget as small, regular habits that protect efficiency and performance. Cleaning a pre-filter on schedule extends the life of pricier internal filters and lowers running costs.
- Fewer replacements when we clean early.
- Steadier airflow and better odour control.
- Reduced strain on the motor and longer lifespan.
| Issue | Effect | Simple action |
|---|---|---|
| Clogged pre-filter | Reduced airflow | Brush or vacuum monthly |
| Loaded internal filter | Lower performance | Follow replacement interval |
| Recirculated pollutants | Worse indoor air | Check seals and sensor cleanliness |
Know your unit before we start: manual, safety and airflow basics
Before we touch a unit, we check the manual so we know which parts tolerate cleaning and which require replacement. The manufacturer’s instructions are our source of truth because models differ in filter types and safe methods.
Reading the owner’s manual for your exact filter and cleaning method
We read the guide to confirm filter type and recommended methods. This prevents us from washing non‑washable media or using solvents that void the warranty.
Safety essentials: power off, unplug correctly, and avoid wet surfaces
We always switch the unit off before unplugging to reduce surge risk. Then we work only on a dry surface.
Do not attempt cleaning while the unit runs. Rushing can create a problem that costs more than a replacement part.
Airflow rules that protect performance: keep vents clear and allow breathing space
Keep intakes and outlets unobstructed and avoid placing items on top. Where possible, allow about two feet of clearance from walls or large objects (Air Oasis, 2021).
We do a quick pre‑check for loose panels, cracks or strange noises before cleaning. If we find an obvious fault, we stop and contact the manufacturer.
Understanding filter types so we spend money where it counts
Understanding the layers inside our unit helps us spend on the parts that actually improve indoor air quality. We break down the common filter stack so we know which layer delivers the biggest purification gains.
Pre-filters and their role
Pre-filters catch larger dust and pet hair first. They protect inner media and extend the life of more costly components.
What HEPA filters do
HEPA filters trap fine particles such as pollen and pet dander. Good HEPA performance matters for allergy-prone households and helps lower airborne particulates overall.
Activated carbon and odour control
Carbon targets odours, smoke and VOCs from cleaners or cooking. It does not capture fine particulates, so it complements rather than replaces HEPA.
All-in-one cartridges vs separate layers
All-in-one cartridges simplify swaps but can raise replacement costs when only one layer is spent. Separate filters let us replace carbon more often for odour issues while stretching HEPA life.
| Layer | Main job | Typical action |
|---|---|---|
| Pre-filter | Catch dust, hair | Clean monthly |
| HEPA | Trap fine particles | Replace per months or performance |
| Activated carbon | Absorb odours, VOCs | Replace for smells |
budget air purifier maintenance: our step-by-step cleaning routine
We begin each cleaning session with a simple safety check so we do not force dust deeper into the system.
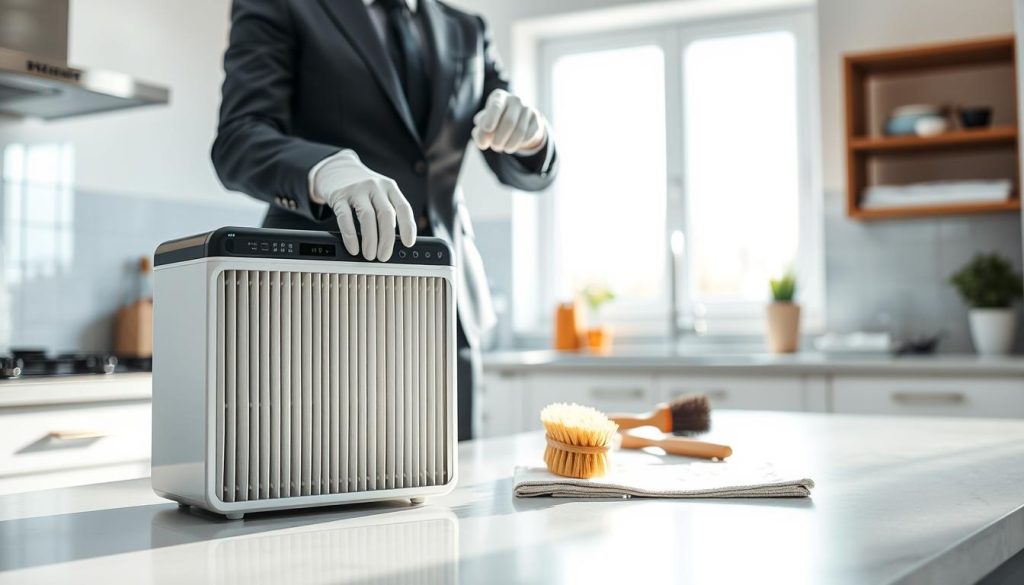
Cleaning the exterior and vents
First, power off and unplug the unit and wait a minute. We wipe the exterior with a damp, soft cloth and avoid chemicals or alcohol.
We pay special attention to vents and fan grilles. Dust on the grille can be pulled back into the airflow and load filters faster.
Removable pre-filter care
We vacuum the pre-filter gently using a brush attachment to lift loose dust. If the manual allows washing, we rinse with warm water until it runs clear.
Always air-dry the mesh fully before reinstalling to prevent mould growth.
When to vacuum versus when to wash
Vacuuming suits light, dry dust. Washing helps with sticky grease or embedded grime from cooking.
Carbon and HEPA rules
Some carbon inserts can be lightly rinsed or soaked; check the manual for your model. Others must be replaced when odour control falls.
We do not wash HEPA filters. Soaking or vigorous brushing will damage the media and reduce performance, so replacement is the safe route (CHOICE, 2023).
| Task | When | Action |
|---|---|---|
| Exterior & vents | Every session | Wipe with damp cloth; clear obstructions |
| Pre-filter | Monthly or as needed | Vacuum; rinse if allowed; air-dry |
| Carbon | When odours appear | Soak if permitted or replace |
| HEPA | Performance drop | Replace; do not wash |
We reassemble carefully, check seals and clips, then run the unit briefly to confirm steady airflow and no rattles.
Filter replacement timing that protects indoor air quality on a budget
We set realistic replacement windows because usage, room size and local haze episodes change how fast filters load.
Typical maintenance windows
Pre-filter cleaning often sits around every 2–3 weeks, though a range of 2 weeks to 3 months applies depending on use and pets.
HEPA filters and carbon inserts can require replacement anywhere from about 3 months up to 2 years. We follow manufacturer guidance and adjust for heavy cooking or haze weeks (CHOICE, 2023).
Signs it’s time
If we notice reduced airflow, louder operation or persistent odd smells, we inspect filters immediately. Odours often point to saturated carbon even when HEPA still looks fine.
Track replacements and reset reminders
We avoid overbuying by tracking actual use. A calendar note with the date, filter type and a short condition note helps us decide true replacement time.
When a genuine change happens, we follow the manual to reset filter reminders so indicators remain useful rather than misleading.
For further guidance on replacement frequency, see filter replacement frequency.
Placement and everyday habits that keep filters cleaner for longer
A thoughtful spot in the room gives the unit a better chance to circulate clean air and dodge quick clogging.
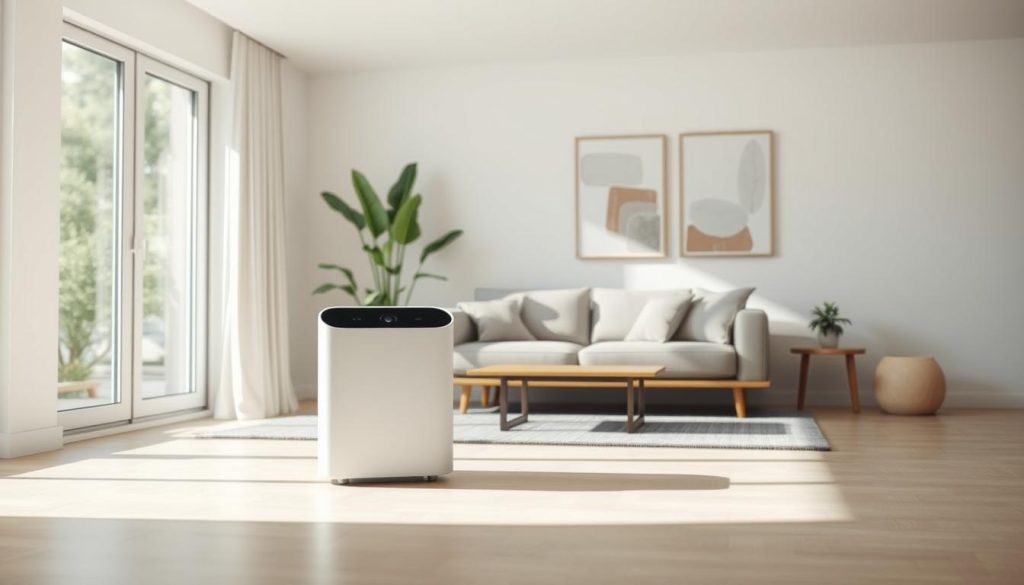
Treat placement as a free upgrade: choose locations that match pollutant sources. We place purifiers near sleeping areas for night comfort and close to living spaces where cooking or smoking happens.
Clearance and circulation
Keep the unit away from walls and large objects so intake and outlet air move freely.
We follow a two‑foot rule where possible; this simple step reduces dead zones and slows dust build-up on filters.
Reduce what enters your home
Small habits protect filters. A well-used doormat, wiping feet and a no‑shoes policy cut tracked dust and pollutants at the door.
Regular light dusting and vacuuming in high‑rise flats lowers airborne load and stretches filter life.
Manage indoor sources and humidity
Use kitchen exhaust and lids when cooking, avoid indoor smoking, and limit household sprays. These actions reduce chemical exposure and filter saturation.
We aim for 30–50% humidity to curb mould and musty smells. Use air‑conditioning or dehumidifiers sensibly, fix leaks quickly and avoid drying wet laundry in enclosed rooms.
For guidance on specific locations, see our notes on best placement.
Performance checks and quick troubleshooting before we pay for repairs
After each service, we verify operation so the unit continues to deliver reliable air quality.
Cleaning sensors for accurate auto modes
Always turn the unit off and unplug before servicing. We open the sensor cover when accessible and wipe gently with a soft, lint-free cloth.
Avoid harsh chemicals — they can damage the sensor and skew readings. Clean sensors keep auto modes responsive and protect overall quality.
Sounds, leaks and visible faults
New rattles, grinding or loud buzzing are warning signs. These often point to a loose panel, fan imbalance or internal wear.
Cracks, warped covers or air leaks let unfiltered air bypass filters and raise exposure risk. Check seals and casing carefully.
Simple troubleshooting and when to stop
Try these methods first: re-seat filters, clear blocked vents, ensure the unit sits level and reset indicators per the manual.
If the unit emits a burning smell, has persistent electrical faults or shows clear damage, stop using it and contact the manufacturer immediately.
| Symptom | Likely cause | Quick action |
|---|---|---|
| Rattle | Loose panel | Tighten clips; run briefly |
| Odd readings | Dirty sensor | Wipe sensor; re-test |
| Burning smell | Electrical fault | Power off; call manufacturer |
Conclusion
Short, regular actions extend system life and reduce the chance of sudden failures.
Our approach is a simple system of small habits that keep the unit efficient and indoor air consistently cleaner. We focus on exterior and vents first, keep the pre-filter tidy, manage carbon for odours, and replace HEPA when it is genuinely due.
This guide is about using time wisely, not constant buying. Repeat the checklist monthly and note conditions that match your home — pets, cooking or haze periods — so we replace parts at the right moment.
Start this week: pick one habit (pre-filter clean, placement tweak or sensor wipe) and build from there. For a practical cleaning aid, see our notes on using the Lura wet & dry vacuum.

