

We know mattresses gather dust, sweat and flakes of skin over time. These build-ups can make a bed smell and raise allergy risk in humid Singapore homes. Our short guide sets realistic expectations for a practical, local-friendly approach.
Clean here means lifting surface dust, easing odours and cutting allergens without soaking the interior. Some types — foam, hybrid and spring — deserve special care. Trapped moisture can cause lingering smells or mildew.
We follow a simple workflow: prep the bed, pick a gentle method, spot-treat stains and dry fully before remaking. Our toolkit is basic: clean cloths, a soft brush, towels and a spray bottle. Blotting works far better than hard scrubbing for most marks.
Later we cover five practical methods — soapy water, baking soda, baking soda with vinegar, a detergent mix and enzyme cleaner — so you can pick the best fit. For step-by-step detail, see our full guide.
Prevention helps most: a protector and quick action on spills greatly reduce the need for deep cleaning later.
Why we should clean a mattress regularly in Singapore’s humid climate
Singapore’s heat and humidity speed bodily and airborne deposits onto our beds. In daily use the mattress surface collects dust, dead skin and sweat. This build-up happens faster at night when warm air and AC cycle together.
Dust, dead skin cells and sweat:
The surface traps skin cells and crumbs that attract more particles. Left alone, these create a stale smell and make the bed feel clammy after a few nights.
Dust mites and allergens
Dust mites feed on dead skin cells. When mites multiply, allergies rise. We see more sneezing, itchiness and poorer sleep quality in homes with high mite counts.
Moisture and odours
Humidity lets moisture linger in fabrics and foam. That moisture invites mildew and lasting odours, so thorough drying is crucial after any refresh.
- Small, regular steps work better than rare deep cleans for lasting hygiene.
- Sunlight and airflow reduce pests and bacteria; they make drying faster.
- Keeping a routine helps preserve comfort and extend mattress life.
Next: preparation and airflow matter — see our cleaning guide for practical setup tips.
Preparation before cleaning mattress without a vacuum
We begin with a short setup so the process runs smoothly and drying is fast.
Strip bedding and launder linens
Remove all bedding: sheets, pillowcases and protectors. Wash the bedding in hot water with mild detergent to reduce dust mites and odours.
Drying the linens fully is part of the routine — damp sheets reintroduce moisture and defeat the point of cleaning.

Choose airflow and sunlight
Place the mattress near a window or in a well-ventilated area. Open windows and run a fan where possible.
Keep the mattress flat if you can, or lean it briefly in a stable way to encourage air circulation without blocking walkways.
Gather household tools
Assemble a household kit: clean cloths, a soft brush, towels and a spray bottle. Each item has a role — apply solution, lift debris and blot moisture.
- Clean cloth: apply and blot liquids.
- Soft brush: lift surface particles gently.
- Towels: absorb excess dampness quickly.
Use damp, not dripping, cloths and allow short dwell times of a few minutes for liquids. This keeps moisture from soaking deep.
Note: a vacuum cleaner helps, but our careful wiping, brushing and thorough drying still deliver a fresher result.
How to clean a mattress without using a vacuum
We offer practical methods that freshen the sleeping surface using household items. Below we outline each safe, low‑moisture solution and when to pick it.
Soapy water for light grime
Mix 1 litre of cold water with 1 teaspoon of dish soap. Dampen a cloth or soft brush and work in gentle circular motions over small zones.
Wipe residue with a separate slightly damp cloth and place the mattress in sunlight or good airflow to dry.
Baking soda for deodorising
Sprinkle baking soda evenly over the surface and let sit for 30 minutes up to several hours. The powder absorbs moisture and mild odours.
Brush off, then air the mattress fully before remaking the bed.
Baking soda plus vinegar for deeper refresh
Lightly mist vinegar (avoid soaking), then sprinkle baking soda. Cover with clean towels for 2–4 hours so the mix works on odours and dust.
Remove towels, lift powder and allow thorough drying in ventilation or sunlight.
Detergent solution for stubborn spots
Use 1 teaspoon of detergent in 1 litre of cold water. Scrub gently and avoid over‑wetting the foam. Wipe away residue and air‑dry.
Enzyme cleaner for biological stains
Apply an enzyme cleaner on urine, blood, sweat or vomit following label directions. Let sit 10–15 minutes (or as stated), blot the area and ventilate until dry.
Practical note: work in small areas, refresh cloths when dirty and keep re‑wetting minimal. With these methods we can significantly improve freshness even without a vacuum.
Spot-cleaning stains and smells without over-wetting the mattress
Tackling stains swiftly keeps them from setting deep into the fibres. We act fast, use minimal liquid and work in small zones so the foam or spring layers do not trap moisture. This protects the bed and aids a healthy, clean mattress.
Blot, don’t rub
For fresh spills we press gently with dry paper towels or a clean cloth. Blotting lifts pigment and liquid without spreading the stain or damaging fabric.
Switch to a clean cloth as the mark fades, and keep pressure light until the area feels only slightly damp.
Vinegar-and-water mist for grimy marks
Mix equal parts white vinegar and warm water with a small squirt of dish soap in a spray bottle. Mist the spot sparingly so the foam does not become waterlogged.
Use a clean cloth to dab and make small circular motions. Finish with a light spritz of plain water and immediate blotting to remove residue.
Baking soda to absorb moisture and neutralise odours
After blotting, we sprinkle baking soda over the damp area. Leave it until fully dry; the soda soaks up moisture and reduces odours.
Brush off the powder and air the bed well. For guidance on delicate foam toppers see our memory foam care guide.
- Fast action prevents stains from setting.
- Minimal liquid avoids trapped moisture and mildew.
- Finish with baking soda to dry and freshen the area.
Drying the mattress safely after cleaning
Drying is the final step that protects fillings and fabric from lingering dampness. We set realistic dwell times for each treatment so we do not trap water inside the layers.
Recommended dwell times and checks
Enzyme cleaner usually needs around 10–15 minutes or per the product label — in other words, a few minutes for activity. By contrast, baking soda often needs several hours to absorb odours and moisture. Always let the powder feel completely dry before removal.
| Solution | Dwell time | How we check readiness |
|---|---|---|
| Enzyme cleaner | 10–15 minutes | Blot feels neutral; no cool dampness |
| Baking soda (+ vinegar light mist) | 2–6 hours | Powder dry and crumbly before brushing |
| Soapy or detergent solution | Minutes for dwell; blot immediately | Surface barely cool; towels absorb excess |
Airflow, sunlight and common mistakes
We aim fans across the mattress (not directly at one spot), open windows and use sunlight when possible. Keep the bed slightly away from walls and avoid blocking air return vents in air‑conditioned rooms.
Do not flip a damp mattress onto the frame or cover it with sheets too soon. That traps moisture and invites mildew. If powders are fully dry, we remove them with a soft brush and wipe; a vacuum or vacuum cleaner is helpful but not essential.
Safety reminder: we only remake the bed once the mattress is fully dry. Let mattress dry completely before sleeping on it to prevent repeat odours and damp-related damage. For more on thorough care, see our full home guide.
Keeping mattresses cleaner for longer without a vacuum cleaner
Small, steady habits make the biggest difference in keeping beds fresher between deep cleans. Prevention cuts effort and protects fillings from moisture and odours over time.
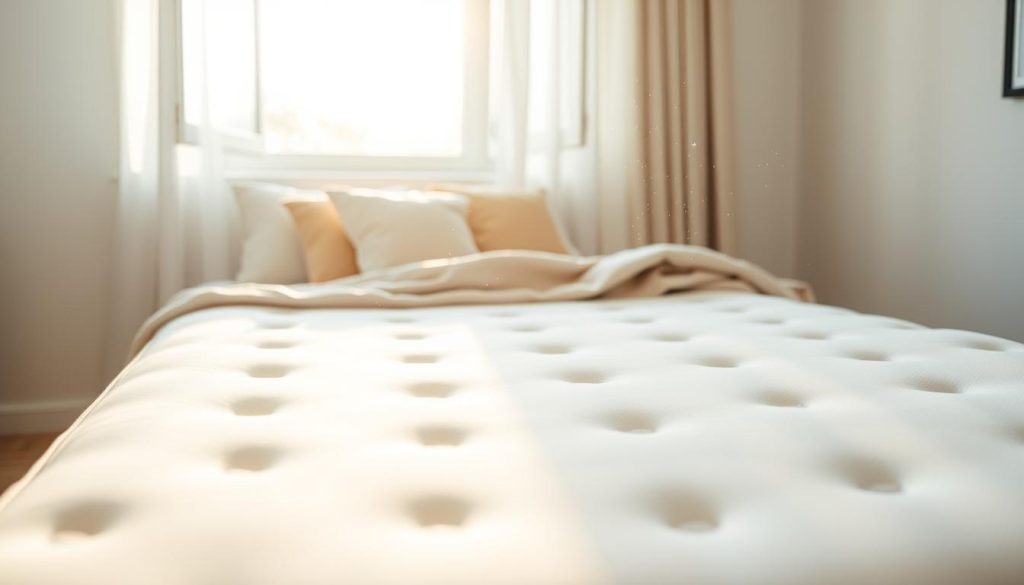
Use a mattress protector as a daily barrier
We recommend a well‑fitted protector as the most effective everyday defence against sweat, spills and allergens. It is far easier to wash the protector than to treat the mattress surface.
Create a realistic routine and air the bed periodically
Set a light cleaning rhythm: quick surface brush and airing each week, with a deeper refresh every few months. Adjust the schedule for household size, pets and allergy sensitivity.
Handle accidents immediately
Blot spills with a clean cloth and use the right cleaner for the stain type. Do not rub; gentle action prevents setting and reduces moisture ingress.
Reduce future mess with simple habits
Avoid eating in bed, keep drinks capped and launder bedding often. These small changes lower dust, sweat buildup and dust mites, making each maintenance session quicker.
| Action | Frequency | Benefit |
|---|---|---|
| Use protector | Continuous | Blocks spills and allergens; easy to wash |
| Light surface wipe & airing | Weekly | Reduces dust and odours; lowers mite activity |
| Deep refresh (baking soda/enzyme) | Seasonal | Removes lingering smells and stains |
Practical note: in Singapore flats, daily ventilation and regular bedding washes have an outsized impact on lingering odours. If stains persist or moisture problems recur, consider a professional cleaner as a backup while keeping household methods first.
Conclusion
Here we bring together the key actions that make manual refreshes effective and low‑risk.
We summarise the process: prep the surface, pick the right solution (soapy water, baking soda, vinegar or an enzyme cleaner) and treat stains promptly. For biological marks, an enzyme solution works best; for odours, baking soda helps absorb smells.
In Singapore’s climate moisture control is essential. Always let mattress dry fully before remaking the bed and run good airflow or sunlight until no cool dampness remains.
Reduce dust mites with simple habits: a protector, quick stain response and routine airing. Follow this plan and small, regular cleaning sessions make deep refreshes quicker and more effective.

