

We welcome every unit that arrives at our centre from homes across Singapore. When customers choose us, we inspect the filtration system and explain what professional service will do for performance and long‑term health.
We draw a clear line between a quick wipe and a full internal service. Our approach checks the body, seals, fan area and every filter so the unit can maintain airflow and capture harmful particles.
Expect a step‑by‑step process: inspection, safe disassembly, filter‑by‑filter handling, interior dust removal, drying, reassembly and final checks. We aim to return a clean air purifier that works as designed, not to restore worn filters beyond safe limits.
Routine upkeep matters in humid Singapore, where renovation dust and cooking odours speed up wear. For practical DIY tips and manufacturer guidance, see our short guide on how to clean an air purifier.
Why professional air purifier cleaning matters for indoor air in Singapore
Regular professional servicing protects indoor health by restoring flow and stopping contaminants from recirculating. We see units that look fine on the outside but deliver far less purification than expected.
How dirty filters reduce performance and risk mould
A loaded filter restricts airflow. That makes a unit seem to run while its actual capture of particles falls. Over time, trapped dust and humidity encourage mould and bacteria. This undermines the very health benefits users expect.
What good maintenance looks like at home
We explain roles clearly: a pre-filter catches hair and large debris, HEPA captures fine particles, and carbon handles odours and gases. In Singapore, nearby works, haze, kitchen smoke and pet hair all speed clogging.
- Keep intakes clear and clean the pre-filter regularly.
- Monitor filter condition and follow manufacturer guidance.
- Use professional service when sensors, persistent odours or internal access are a concern.
Be realistic: maintenance improves efficiency and performance but cannot revive a saturated medium at end‑of‑life. For practical tips and manufacturer advice, see our short dos and don’ts guide.
How our air purifier cleaning shop inspects your purifier before we start
Before any work begins, we identify the exact model and map its filter layout and access points. This tells us whether filters are accessible, where sensors sit and if parts are washable or replace‑only.
We then check the filtration stages one by one. We look at the pre-filter for hair and large debris, the HEPA for loading or colour change, and the carbon or deodorisation filter for odour saturation.
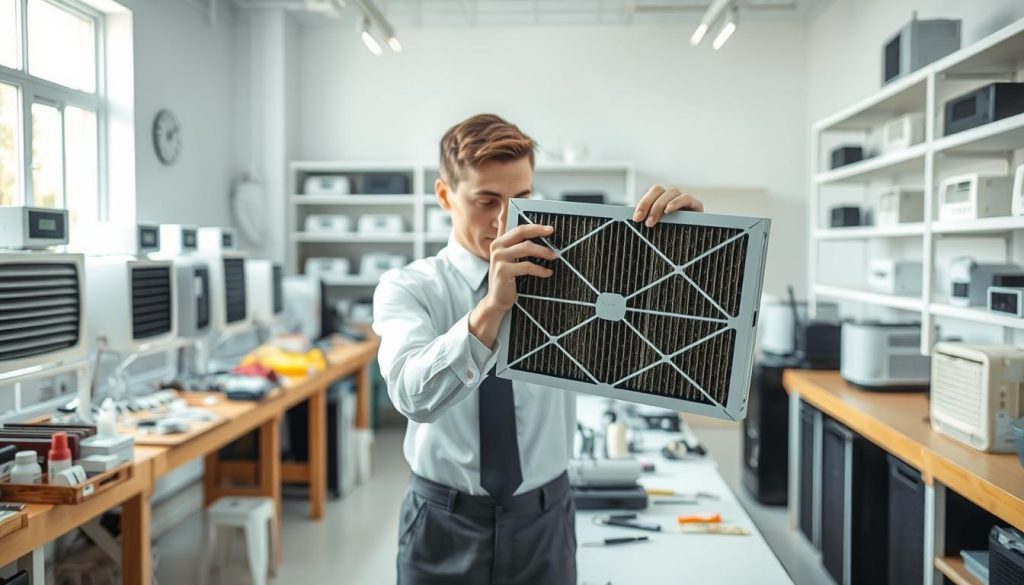
Inspecting surfaces, seals and particle trails
We scan the body for dust trails, smoke residue and particle build-up around inlets, outlets and grills. These surface deposits often reduce real-world performance even when a filter looks acceptable.
We pay special attention to seals and gaskets. If a seal is warped or dirty, unfiltered air can bypass the media and lower efficiency.
Confirming instructions and setting expectations
We always consult the manufacturer’s instructions before wet work. Some hepa filter types and carbon media are not washable and must be replaced to avoid damage.
“Cleaning can restore airflow and reduce odours, but it cannot guarantee a ‘like‑new’ outcome if filter media has reached end‑of‑life.”
Finally, we explain realistic benefits you should notice after service: steadier airflow, fewer musty smells and a clearer timeline for future filter changes. For DIY assistance and complementary steps, see our guide on effective maintenance with a wet‑dry vacuum.
Our step-by-step process to clean an air purifier filter set and the purifier body
We work through a methodical service sequence that protects sensors and keeps performance steady. Below we set out each stage so you know what to expect and why it matters.
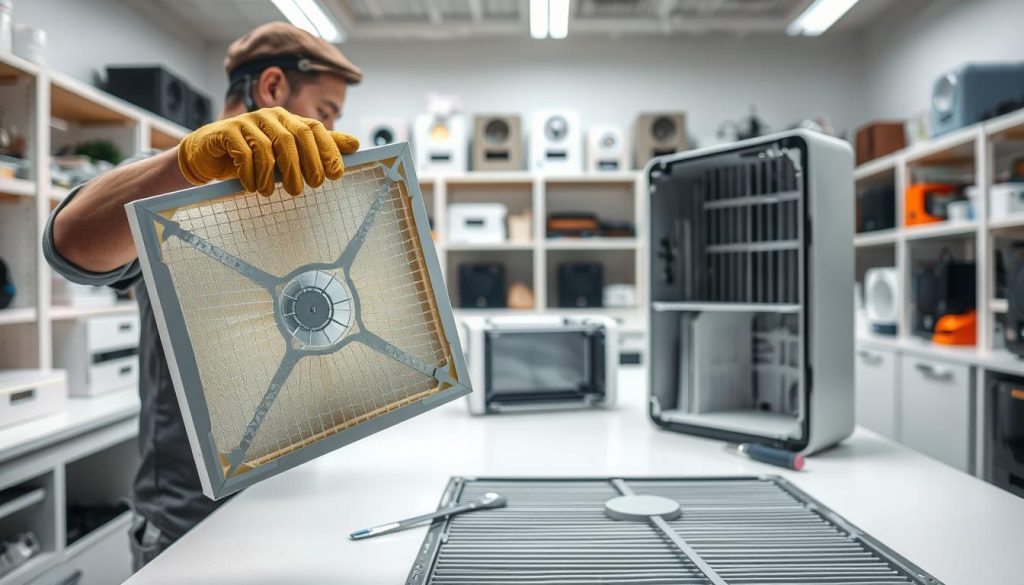
Power-down and safe disassembly
We power down and unplug every unit before work. We then disassemble in a fixed order to avoid stressing clips or misaligning seals.
This protects fans, sensors and electronics from accidental damage.
Pre-filter care
We remove the pre-filter first and clear visible hair and larger debris. Where the design allows, we tap out loose dust and use a brush to lift embedded lint.
For washable pre-filters we rinse under a light stream of water and leave to air dry fully before reinstallation.
Dust removal from interiors and surfaces
We use gentle, controlled vacuuming and a soft brush on grills and inlet surfaces. This removes dust that can choke flow or recirculate when the fan runs.
Careful handling prevents dust from settling on sensors and delicate parts.
Carbon and deodorisation filter handling
We inspect carbon media for odour saturation. In many cases the filter is too loaded and replacement is the safer option for odour control.
If model guidance allows light rejuvenation, we proceed cautiously; otherwise we recommend replacement.
HEPA filter care
We do not wash true HEPA filter media. Lab testing shows washing can reduce particle capture, so we perform only gentle surface dust removal where appropriate.
Protecting filtration integrity takes priority over cosmetic whiteness.
Drying, reassembly and final checks
We confirm seals and seating so the air path is correct. Any rinsed parts are fully dry before reassembly to avoid smells or mould risk in Singapore’s humidity.
Finally, we run performance checks for airflow and odour reduction and advise on placement and simple steps to keep clean filters working between services.
When to clean vs replace filters, and how we keep reminders accurate
Deciding between a service and a new filter often comes down to visible wear, household habits and daily run time.
Typical timeframes we recommend depend on use: heavy daily use or dusty homes with pets often need attention every 3–6 months. Cleaner environments usually stretch to 6–12 months. Treat “every months” as a reminder framework, not a guarantee.
Which filters to clean and which to replace:
- Pre-filter: suitable for repeated filter cleaning and light rinsing where allowed.
- HEPA filters and deodorisation filter: many models require replacement because the media is not washable.
- Carbon media: replacement is common once odour control falls, even if the surface looks fine.
Look for persistent smells, falling airflow or shedding dust when you handle a filter. These signs show performance loss and mean replacement is necessary to restore efficiency.
Resetting reminders: after replacement press and hold the “Filter 3 sec” button for at least three seconds to reset the change alert. A red light and a beep indicate the unit requires replacement — follow the model instructions before use.
We confirm which filters were replaced, perform the reset sequence and advise the next expected window based on your day-to-day use. For extra guidance on related maintenance, see our short guide on filter care for pet households.
Conclusion
Good maintenance protects performance and helps the device do the job you expect at home. We inspect seals and internals, care for the pre-stage parts, and avoid actions that harm HEPA media.
A well‑timed service keeps filters working so you get cleaner air in daily life. For many layouts, gentle surface work and the right replacements restore reliable purification without risky wet work.
In humid Singapore, consistency matters: routine attention plus occasional professional checks keeps purifiers stable year‑round. Follow manufacturer guidance and use the reset steps after any change so reminders match real filter life.
Simple rule: clean what is designed to be cleaned, replace what is too loaded or aged, and avoid washing true HEPA media with water to protect capture efficiency and household health.

