

We introduce a practical, at-home guide for Singapore households that need reliable cleaning for tiles, vinyl, laminate and rugs.
Wet/dry machines handle dust, debris and standing water in ways a standard vacuum cannot. For best results, we clear the area, work slowly and keep airflow strong by emptying the compartment when it is about half full.
This guide explains the difference between dry-only machines and wet/dry models, and outlines the two modes — wet and dry — so our steps fit the job at hand.
We will cover choosing the right types of nozzles, simple safety checks, nozzle selection, safe wet removal and dry technique, plus ongoing care to protect the motor and filters.
Follow our clear setup and technique advice and cleaning will take less time, while protecting your appliance and preserving suction.
Why a water vacuum cleaner is the right tool for wet and dry cleaning at home in Singapore
For Singapore homes, a wet dry system offers the versatility needed for sudden rain, balcony puddles and everyday messes.
What it can handle
Liquids, dust and mixed debris
One wet dry vacuum removes liquids, standing water, sawdust, large scraps, dust, dirt and household debris across hard floors, tiles and rugs.
When we choose wet dry over a dry vacuum
Match the machine to the job
Pick a wet dry model for any spill that involves standing water, damp corners or renovation dust. A dry vacuum keeps pleated filters and dust bags for hygienic exhaust when only dry work is needed.
Bagged versus bag-free setups
Filter and maintenance notes
Cordless wet dry units are often bag-free and use a foam filter for wet dirt. For dry work we keep pleated or HEPA filters fitted so exhaust air stays clean.
Useful features
- Tank size and nozzle options affect speed and reach.
- Corded or cordless choice impacts mobility around flats and staircases.
| Setup | Best for | Notes |
|---|---|---|
| Bagged with pleated filter | Dry dust, fine particles | Best exhaust hygiene for carpets and upholstery |
| Bag-free with foam filter | Wet dirt, standing water | Remove dust bag before wet pickup; ideal for cordless models |
| Wet dry hybrid | Mixed messes | Versatile for Singapore living; saves storage space |
How to use water vacuum cleaner safely before we switch it on
Before we power up, a short pre-start routine keeps the job tidy and protects the machine. We make a quick sweep of the area and remove small items that can snag the hose or cause blockages.
Clear toys, pens, hair clips and loose rice grains from the floor. Shift lightweight furniture so the nozzle can move freely and the hose will not catch.
Next, make sure the tank is empty. Do not mix dry scraps with standing water. Wetting dust and paper turns it to sludge, reduces suction and makes tank removal harder.
- Check filters: leave pleated or HEPA fitted for dry work; remove or swap them for wet pickup.
- If supplied, fit the foam insert and remove any paper dust bag before liquid use.
- Inspect hoses and inlet for small hard objects to prevent motor damage.
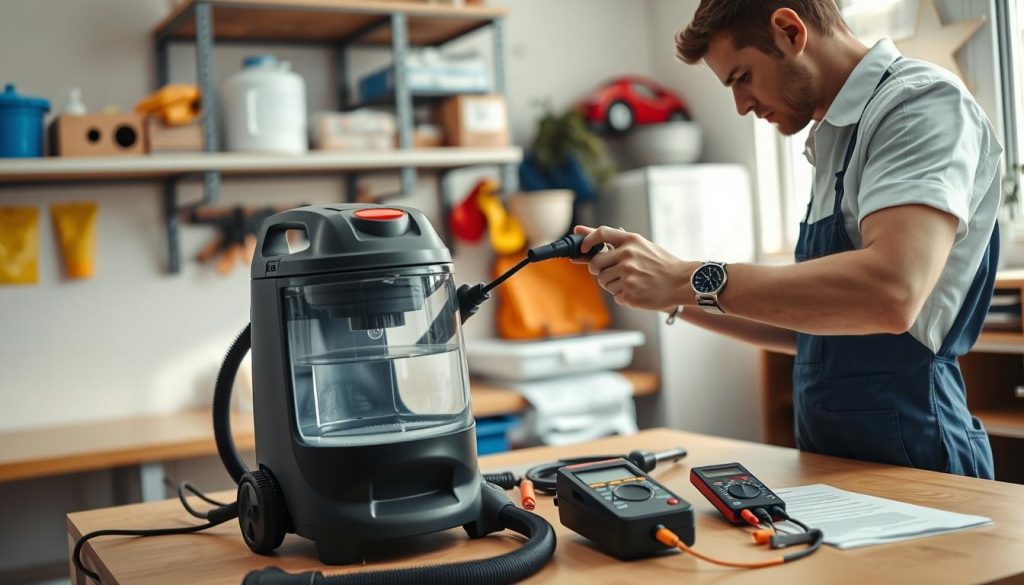
Remember lifting safety. A half-full tank is heavy, so plan your route before water removal. Finish with a readiness check so we can choose the right accessories next.
| Checklist item | Why it matters | Quick action |
|---|---|---|
| Clear floor obstacles | Prevents hose snags and keeps work moving | Pick up toys, pens, clips |
| Empty tank | Avoids sludge and loss of suction | Wipe and dry drum if needed |
| Filter setup | Protects filters or motor from liquid damage | Keep pleated/HEPA for dry; fit foam for wet |
| Check for hard debris | Prevents blockages and motor strain | Inspect inlet and hose before start |
Choosing the best nozzle and accessories for faster, deeper cleaning
Selecting the right nozzle makes the job quicker and gives a deeper clean on any surface. We should think of accessories as essential parts of the kit, not optional extras.
Flat wet-floor attachments
Flat heads sit level on tiles and vinyl. They clear moisture and small spills with fewer passes and protect filters from sludge.
Wide heads for large debris
Wide nozzles cover more area and pick up renovation clumps or large crumbs fast. Use these when time is limited.
Brush and crevice tools
Brush tools lift pet hair and embedded dust from textured surfaces and short carpet. Crevice tools reach narrow areas, skirtings and under frames.
Upholstery and when to avoid it
Upholstery nozzles work well for crumbs and hair on sofas and car seats. Avoid them for wet pickup to prevent fabric damage and poor extraction.
- Kit check: hose, extension tubes, wet squeegee head, brush and crevice nozzle.
- Grab the flat head for water on hard floors, brush for fine dust, crevice for edges and wide head for large debris.
For a deeper read on brush features, see our vacuum brush guide.
Wet vacuuming: the best way to remove spills and standing water
C. Removing spills and standing water needs a steady approach and the right wet dry setup.
Set up for liquids first. Remove any paper dust bag and swap a pleated filter for the foam insert where the model requires it. Some machines need the filter removed entirely; make sure you follow the manufacturer guidance before you power the unit.
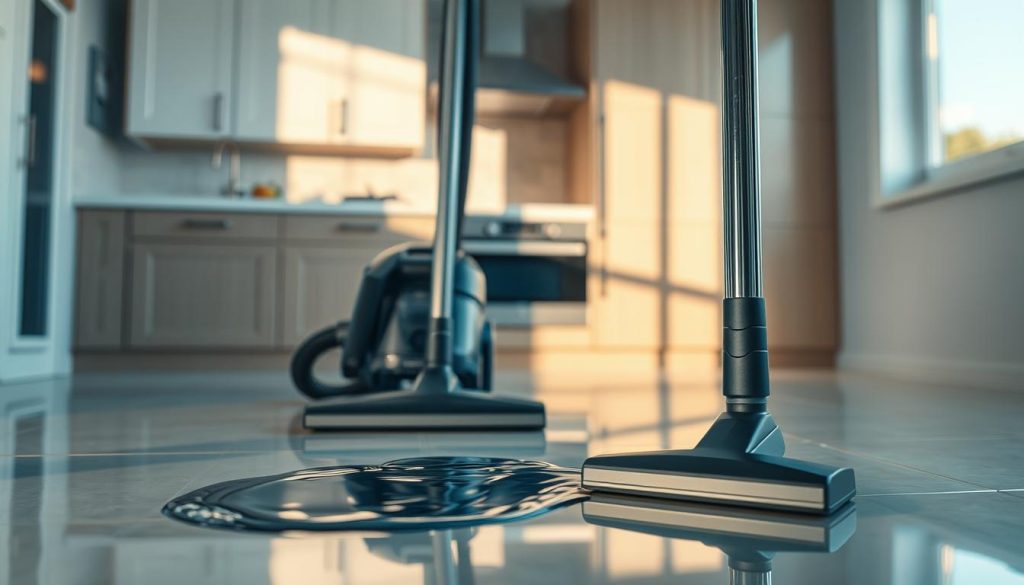
Work slowly for consistent suction
Begin at the deepest point and keep the flat head level on the surface. Let suction draw the liquid rather than scrubbing; slow passes keep suction steady and improve removal.
Methodical pattern and edge care
Move in overlapping lanes, working toward the exit so we never track fluid over cleaned areas. For thresholds and corners, use a crevice tool only where the main head cannot seal.
Tank management and hygiene
Stop when suction falls and empty the tank promptly. Wipe the drum dry, rinse wetted parts and leave the tank open briefly to air out. These steps cut odour and lower mildew risk in Singapore’s humid climate.
| Step | Why it matters | Quick action |
|---|---|---|
| Filter setup | Prevents filter damage and protects motor | Remove paper bag; fit foam or remove filter per model |
| Method | Ensures full liquid removal and steady suction | Start deep, keep nozzle flat, work in lanes |
| Edge work | Stops pooling at thresholds and corners | Use crevice tool where main head won’t seal |
| Tank care | Reduces odour and mildew | Empty when suction drops; wipe and air the tank |
For additional maintenance advice that links technique with lasting results, see our guide on wet-dry maintenance and care.
Dry vacuuming technique for dust, dirt and everyday debris
Good dry technique concentrates on dust control, steady passes and preserving suction.
Dust furniture first
We dust high surfaces so particles fall to the floor. This makes one clean pass far more effective.
Slow, overlapping passes
We move slowly with back-and-forth lanes and repeat in the opposite direction.
This lifts dust from carpet fibres and from gaps in floorboards for a deeper result.
Don’t cut corners
Edges, ceiling corners and hidden crevices trap dirt. We switch to the crevice or brush nozzle for these areas.
Maintain airflow and filter checks
Empty the dust compartment or change the bag at roughly 50–75% full to keep suction and power steady.
If air smells dusty or suction drops, check the filter seating and seals before a repeat pass.
- Filter setup: fit the correct filter so exhaust air stays clean and the motor is protected.
- Debris choice: use a wide nozzle for larger debris and slow passes for fine dust.
- Final step: a quick bin or bag check leaves the machine ready for next time.
| Nozzle | Best for | Quick action |
|---|---|---|
| Wide head | Large debris and dry dirt | Cover more area; avoid repeated clogging |
| Brush tool | Fine dust on carpet and upholstery | Slow passes; lift fibres |
| Crevice nozzle | Edges, skirtings, corners | Target narrow gaps and behind furniture |
| Standard floor | General vacuuming | Overlap lanes; change direction for thorough clean |
Care and maintenance that keep suction power high
A monthly scrub and routine filter checks protect performance and reduce smells. In Singapore’s humidity, any trapped damp residue or standing water will quickly encourage mildew and odour. Regular care is not optional if we want steady suction and lasting power.
Monthly deep clean: empty the tank, wash the drum and corners with warm water and dish soap, then dry before reassembly. This stops mildew and preserves tank condition.
Filter schedule and air hygiene
Wash fine dust filters monthly where applicable. Replace HEPA every 6–12 months and keep pleated filters in good condition to maintain hygienically clean air.
For a step-by-step on filter maintenance see our clean a vacuum filter.
Daily and after-use habits
Remove knots and tangled hair from rollers and tool heads. Wipe nozzles and tubes after every session so dust does not cake and narrow airflow.
| Task | Frequency | Why it matters |
|---|---|---|
| Deep drum wash | Monthly | Prevents mildew and odour; protects tank |
| Fine filter wash / HEPA replace | Wash monthly; replace HEPA 6–12 months | Maintains hygienic exhaust and suction |
| Remove hair from rollers | After each use | Restores suction and lowers motor strain |
| Storage | As needed | Keep unit near use area; avoid moving a heavy, full tank |
Warning signs: reduced suction, odd noise, musty odour or visible dust in the exhaust usually point to a blocked tool, full tank or filter issue. Address these promptly to protect power and prolong the life of the vacuum.
Conclusion
Consistency in setup and maintenance is the single best way to protect performance. Configure wet dry vacuums correctly, pick the right nozzle and match the filter to the job for reliable cleaning results.
We must never mix wet and dry debris in the same tank without emptying and resetting. Slow, overlapping passes remove dust and steady extraction clears liquids while preserving suction and motor life.
Practical checklist: clear the area, check bag or tank, set wet or dry mode, fit the right attachment, go slow, then empty and wipe down after use.
Keep a simple routine and the machine will repay us with faster, cleaner outcomes in our Singapore home.

