
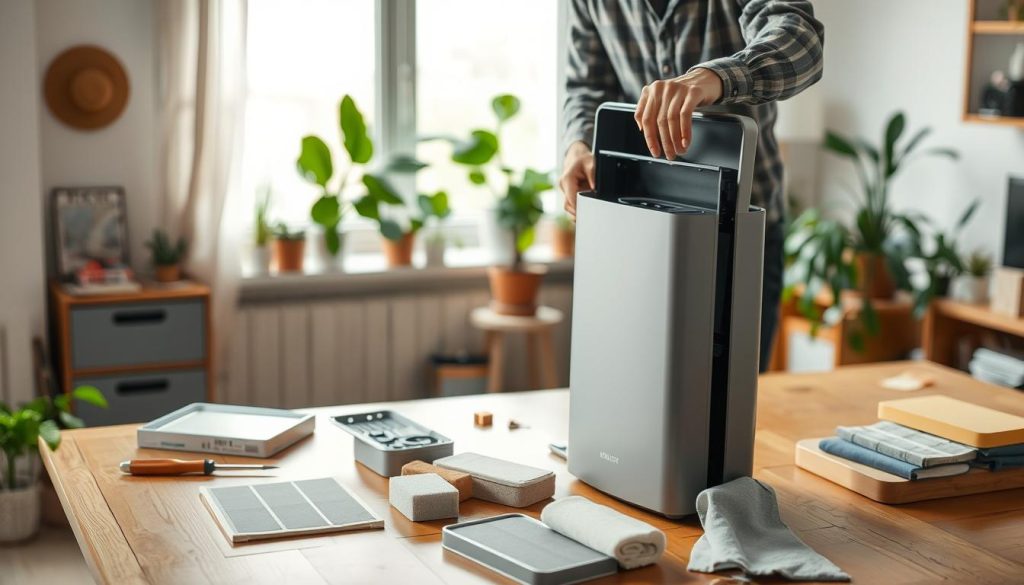
We introduce what air purifier DIY maintenance means for Singapore homes. It is safe, routine upkeep that protects clean indoor air without harming the device or its filter system.
We set clear expectations about what simple cleaning can do and what parts should be replaced. This saves time and avoids needless over-cleaning that reduces performance and shortens life.
Our article explains the steps we follow: identify your filter type first, prepare tools and a stable surface, then clean components in the correct order before reassembly. We also reference manufacturer instructions because designs vary widely.
Keeping filters dry is vital in humid climates and during haze episodes. Proper upkeep links to better health, fewer odours and steadier airflow in bedrooms and living spaces.
Why regular DIY maintenance matters for clean indoor air in Singapore
We check filters regularly because blocked media quietly cuts circulation and reduces overall cleaning power. When a filter loads with dust and debris, airflow drops and the unit must work harder.
How clogged filters reduce airflow and performance
Reduced airflow means slower room turnover and more suspended particles. The fan may sound normal, yet removal rates fall and odours become noticeable.
Health and comfort benefits
Keeping filters in good condition brings clearer breathing spaces, less visible dust settling and more consistent fresh air in air‑conditioned rooms. In Singapore, humidity and urban pollution speed up loading and make odour control harder during haze periods.
Common signs your device needs attention
- Weaker flow from vents
- Louder operation or strange smells
- Persistent odours despite higher fan settings
- Dust reappearing quickly on surfaces
“A quick visual check often tells us more than indicator lights alone.”
| Sign | Likely cause | What we do |
|---|---|---|
| Weak airflow | Clogged pre‑filter or HEPA | Inspect and remove dust; consider replacement |
| Musty smell | Moisture or overloaded carbon | Dry thoroughly; replace carbon media |
| Loud motor noise | Strain from blocked media | Clean intakes; do not over‑clean filters |
| Quick dust return | Filter no longer capturing particles | Swap filter; increase check frequency (months) |
Know your filter type before you clean anything
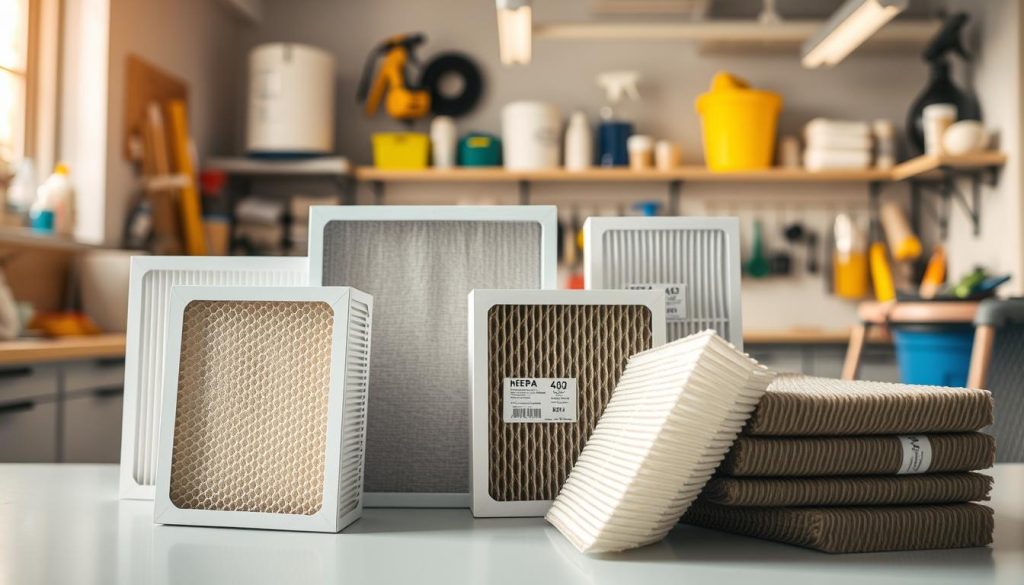
Knowing which filter sits inside your unit prevents costly mistakes and keeps performance steady. We always identify the media first because care varies by type.
HEPA and washable HEPA
Most models use non‑washable HEPA media that should not be rinsed. Washable HEPA exists but is rare; check labels and the user booklet before applying water.
Pre‑filters: first line of defence
Mesh or foam pre‑filters trap hair and larger dust. They reduce load on the main HEPA and can often be rinsed or brushed gently.
Activated carbon and why water is a bad idea
Carbon filters remove odours, gases and VOCs by adsorption. Exposing carbon to water damages adsorption and can leave damp smells, so avoid rinsing.
Reusable and electrostatic options
“Reusable” usually means washable foam, mesh or electrostatic plates — not HEPA or carbon by default. Always follow the manufacturer instructions for handling and replacement.
| Filter type | Appearance | Can be washed? | Care tip |
|---|---|---|---|
| HEPA | Pleated, thick white | No (mostly) | Vacuum lightly or replace |
| Washable HEPA | Sturdier, labelled washable | Yes (rare) | Rinse + fully dry before use |
| Carbon filter | Thin black panel | No | Replace; avoid water |
| Pre‑filter / foam | Mesh or foam, captures hair | Yes | Rinse, dry completely |
“When in doubt, consult the manufacturer or the user manual.”
In humid Singapore, ensure any washed part is fully dry to prevent mould. For practical cleaning steps see our linked guides on cleaning guidance and the wet‑dry vacuum method.
Air purifier DIY maintenance: safe set-up and tools we recommend
Before we touch any component, we create a safe workspace to protect people and floors. We unplug the unit first to remove any risk of electric shock or accidental fan activation.
We place the device on a protected surface — a towel, mat or tray — to catch falling dust and keep cleanup contained in smaller HDB flats and condos. Work near an open window or balcony when possible to reduce the spread of particles.
Essential supplies
- Vacuum with a soft brush attachment — gentle suction for intakes and pre‑filters.
- Lint‑free cloth — wipe exteriors and grills without leaving fibres.
- Mild dish soap and warm (not hot) water — for washable foam or mesh parts only.
- Tray or towel — protect the surface and collect debris.
We avoid bleach, harsh chemicals and hot water. These can warp plastics, damage seals and leave residues that cause odour or harm filter coatings.
Before you start
- Confirm filter type and review the user instructions.
- Ensure you have time for complete air‑drying before reassembly.
- Match tools to the job: soft bristles and low suction for sensitive media.
| Step | Why it matters | Quick tip |
|---|---|---|
| Unplug unit | Prevents shocks and accidental fan spin | Always disconnect from power first |
| Use protected surface | Keeps floors clean and contains debris | Place a towel or tray under the device |
| Use soft brush + vacuum | Removes dust without damaging fibres | Low suction; no vigorous rubbing on HEPA |
| Wash only washable parts | Prevents mould and preserves filter life | Warm water + mild soap; dry fully before fit |
“We clean from outside‑in: exterior and intakes first, then pre‑filter, then HEPA and carbon as applicable.”
How we clean each part without damaging your purifier filters
We begin by tackling the casing and intake grilles so loose dust cannot re-enter the room when filters are handled.
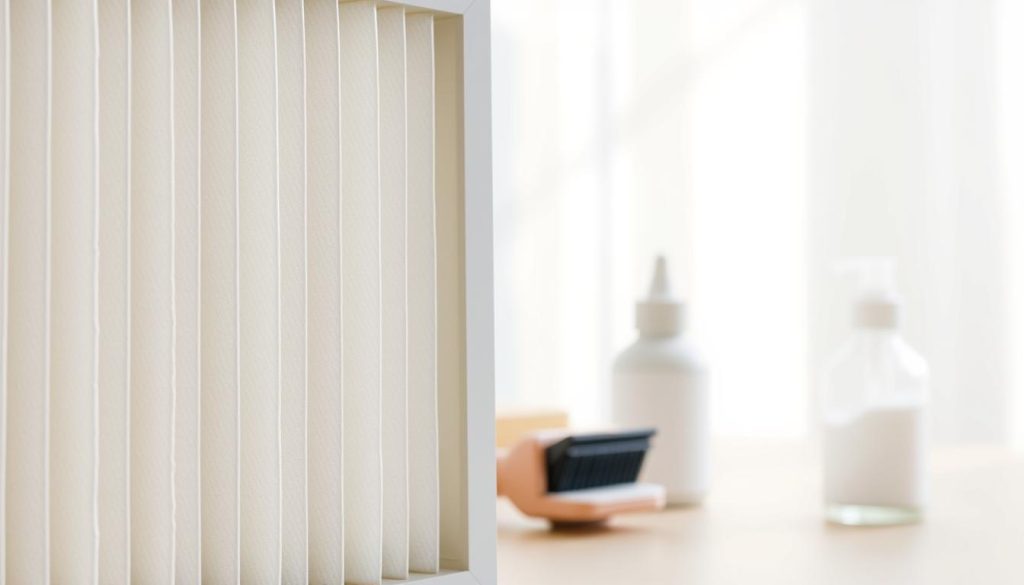
Cleaning the exterior and intakes
Wipe the casing with a lint‑free cloth. Clear inlet slats with gentle strokes. This prevents dust recirculation while we access internal parts.
Pre‑filter care
Pre‑filters give the best return for effort. Rinse washable mesh or foam using mild soap and warm water, then rinse until suds are gone.
Dry fully in a shaded, ventilated spot. In humid Singapore, incomplete drying costs us with mould and smells.
HEPA filter handling and lab evidence
Smart Air lab tests show washing hepa filters with water can raise airflow but markedly lowers particle capture.
We therefore treat non‑washable hepa as replaceable and avoid washing unless the manufacturer identifies a washable hepa filter.
When vacuuming helps
Gentle vacuuming can remove visible surface dust or pet hair and may slightly improve airflow. If the hepa filter looks clean, vacuuming adds almost zero benefit and risks damage from over‑handling.
Carbon filter guidance
We never use water on a carbon filter. A light vacuum clears surface dust, but persistent odours mean the carbon has exhausted and needs replacing.
Drying and reassembly
All washed parts must be fully air‑dried before reassembly. Fit filters to orientation arrows and seals recommended by the manufacturer to avoid bypass and performance loss.
“Dry thoroughly and fit each filter correctly — gaps defeat even the best media.”
| Part | Allowed cleaning | When to replace |
|---|---|---|
| Exterior & intakes | Wipe with lint‑free cloth | Never; clean when dusty |
| Pre‑filter | Rinse + mild soap; dry fully | When torn or very worn |
| HEPA filter | Gentle vacuuming only if visibly dusty | When capture falls or per manufacturer |
| Carbon filter | Light vacuum; no water | When odours return quickly |
Maintenance schedule and replacement cues for long-term performance
Timely checks and replacements protect performance and extend a device’s service life. Below we offer a Singapore-friendly timetable and clear signs that a change is due.
Suggested timings by filter type
Pre-filters: clean every 2–4 weeks to cut hair and visible dust.
HEPA checks: inspect monthly and vacuum gently only if labelled safe. Replace commonly at 6–12 months.
Carbon: replace typically every 3–6 months where odour control matters.
When cleaning becomes false economy
Trying to revive a disposable filter often lowers performance and makes the fan work harder. That raises noise and shortens life. If airflow stays weak after cleaning, replacement is the better choice.
Adjust frequency for pollution, dust and indoor quality
Increase pre-filter cleaning in haze or during renovations. Use simple tracking: note install dates on the frame or set a phone reminder tied to monthly chores.
| Action | Interval | Reason |
|---|---|---|
| Pre-filter clean | 2–4 weeks | Reduces load on main filters |
| HEPA check | Monthly | Preserve capture efficiency |
| Carbon replace | 3–6 months | Restore odour control |
“Long-term performance depends on timely cleaning and prompt replacement.”
Conclusion
To conclude, a few consistent steps deliver the biggest gains in reliability and clean air at home.
We keep four non-negotiables front of mind: identify filter type first, never wash non‑washable HEPA, avoid washing carbon media, and fully air‑dry any washable parts before refitting. These rules protect capture efficiency and prevent mould in Singapore’s humidity.
Follow the simple action plan: follow the steps in this guide, track replacement dates, and increase checks during haze or renovations. For practical projects and tips on budget builds see our guide on DIY air purifiers.
We recommend a safe cleaning toolset and, where helpful, a wet‑dry vacuum designed for filter care. Learn an effective method with the Lura approach here.
Do the small things well and the benefits follow: steadier airflow, fewer lingering odours, better sleep and clearer breathing spaces. Regular, correct care keeps your device performing close to its intended specification over time.

