

Welcome. We offer a concise, practical route for sofa cleaning in Singapore homes. This guide sets clear expectations about what a sofa steam cleaner can achieve and when other methods are wiser.
We begin by assessing upholstery type, then show the tools to prepare: vacuuming for crumbs, spot treatment with a microfibre cloth, and extraction when dirt is embedded. Each step in our process is easy to follow and fits busy HDB or condo living.
Our aim is not just to make the couch look tidy but to restore hygiene. We explain how to remove surface dust first, treat stains without spreading them, and manage drying by improving ventilation.
Safety note: always test a small area, avoid over-wetting, and stop if the fabric reacts to heat or moisture. Following our steps helps you choose the right method for each upholstery and get dependable results.
Why we should steam clean and maintain our sofa regularly in Singapore
Regular upkeep keeps our living-room seating hygienic and comfortable in Singapore’s warm, humid environment.
What quietly builds up in upholstery
Daily use brings loose dirt, crumbs and pet hair into the fabric. Tiny particles like dust and debris settle in seams and fibres.
Bacteria, allergens and dust mites then thrive if moisture and warmth persist. That hidden build-up can remain even when the surface looks tidy.
How regular cleaning helps
Consistent cleaning loosens embedded dirt, so stains are easier to remove before they set. Regular maintenance also reduces odours and the risk of mould.
Why frequency matters in Singapore
With pets, children or high humidity, we increase cleaning frequency. We recommend weekly or bi‑weekly vacuuming, prompt spot action for spills, and deep cleaning every six months.
If pets or heavy use are present, deep cleaning every three months helps protect fabric and extend the lifespan of upholstery.
| What builds up | Risk | Recommended action |
|---|---|---|
| Dust and debris | Surface dulling; allergens | Weekly vacuum; spot vacuum seams |
| Stains and embedded dirt | Permanent marks; fibre damage | Prompt blotting; periodic deep cleaning |
| Dust mites & bacteria | Allergic reactions; odour | Regular maintenance; occasional steam where suitable |
Before we start: check the material and choose the right method
Different upholstery types need different approaches. We always identify the material first so our cleaning plan matches the surface and avoids damage.
Fabric, velvet, leather and PVC: how type changes the process
Fabric and velvet absorb liquids and show pile direction. We treat these with spray extraction where suitable, working in small zones to avoid visible marks.
Leather must stay only slightly damp. We use a damp cloth with neutral soap and finish with a conditioner as essential care.
PVC and vinyl favour gentle surface cleaning. Aggressive wet methods can dull finishes, so we focus on mild detergents and wiping.
Testing colour-fastness, water resistance and heat sensitivity
Testing is non-negotiable. On an inconspicuous spot we check for colour transfer, water resistance and heat reaction before any major wet or heated process.
“If colour moves to the cloth, or the fabric stiffens or distorts, we stop and change method immediately.”
Steam cleaning vs extraction vs leather care: when each fits best
Best-fit rules:
- Light stains and hygiene on compatible synthetics — use controlled steam cleaning for short bursts.
- Embedded dirt and widespread staining — choose spray extraction for deeper removal and faster drying.
- Genuine leather — use pH-appropriate products, minimal moisture and mandatory conditioning.
| Upholstery type | Risk if treated wrong | Recommended method |
|---|---|---|
| Fabric / Velvet | Pile marks; dye bleed | Patch test; spray extraction; work along pile |
| Leather | Drying, cracking, stains | Damp cloth, neutral soap; condition after cleaning |
| PVC / Vinyl | Dulling; surface residue | Gentle wipe with mild detergent; avoid deep wetting |
Tools and products we prepare for a safe, effective clean
A controlled clean starts with the right equipment laid out and ready to use. This avoids improvising and keeps each pass predictable.
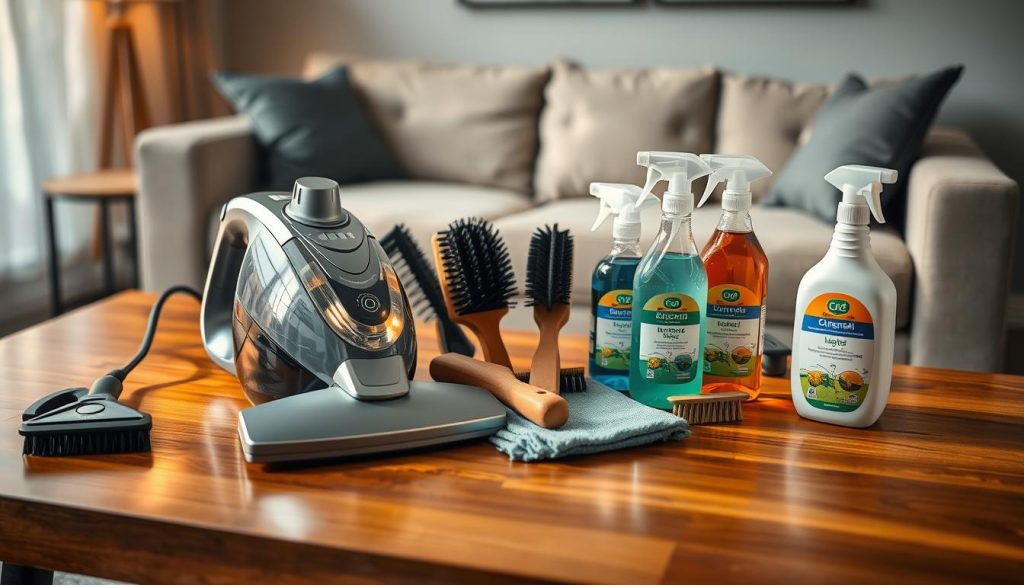
Vacuum and nozzle setup
Vacuum cleaner with an upholstery nozzle is the first item we use. A turbo upholstery nozzle lifts surface dust, crumbs, pet hair and mites from fibres efficiently.
Detail nozzle and cloth for targeted work
We bring a machine with a detail nozzle and a microfibre cloth for spot action. Position the cloth to catch what the nozzle dislodges and work in short bursts to control moisture.
Spray extraction basics
For deeper work we use a spray extraction unit. Fill the water tank and dose detergent exactly as the instructions state.
Why extraction? It sprays, agitates and extracts so the solution and moisture are removed. That shortens drying time compared with hand washing.
Finishing and optional protection
Keep clean white cloths, spare microfibre cloths and a measured detergent solution to hand. After full drying we may apply a textile impregnator to help upholstery stay cleaner for longer.
If preferred, professional services and technician-grade machines are available, but this guide focuses on safe DIY methods.
Pre-clean steps that make deep cleaning more effective
We always take dry preparatory steps first to prevent moisture from turning grit into stains. This reduces overall wet time and helps upholstery cleaning finish sooner.
Vacuum thoroughly before any wet work
Non-negotiable rule: we vacuum the entire seating systematically. Start with armrests, move to seat cushions, then attend gaps and seams.
Use the vacuum cleaner with an upholstery nozzle to lift loose dirt and crumbs. Removing coarse debris first stops muddy residue forming when moisture is applied.
Quick spot action on fresh spills
For new stains we act fast. Blot with a clean, dry cloth — never rub — so the liquid does not sink deeper into fibres.
If a spill is large or highly coloured, we pause and test a small area before applying any wet methods. This cautious step prevents irreversible dye transfer.
- Pets at home? Remove hair first to avoid clumping during wet passes.
- Good vacuuming reduces the number of wet passes, lowers moisture and shortens drying time.
| Pre-clean task | Why it matters | Tip |
|---|---|---|
| Vacuum arms, seats, seams | Removes loose dirt that turns muddy with moisture | Work in sections, use a detail nozzle |
| Remove pet hair | Prevents clumping and staining when wet | Use brush attachment, repeat before wet passes |
| Blot fresh spills | Stops stains spreading or sinking | Press with a clean dry cloth; test for colourfastness |
Good pre-cleaning is the foundation for successful cleaning sofa or deeper upholstery cleaning. For detailed extraction steps see our guide on how to deep clean a couch and a simple extraction walkthrough at clean your couch with a carpet.
How to use a sofa steam cleaner for spot stains and hygiene
We treat small marks with targeted action. Start by testing an inconspicuous area for heat and colourfastness. If the fabric reacts, stop and choose a gentler method.
Position and technique for spot work
Hold the detail nozzle at an angle, not vertical. Place a clean microfibre cloth beside the mark.
Use short bursts of steam so loosened residue is blown into the cloth. This moves the stain into the cloth rather than driving it deeper into the fibre.
When this method works best
We use this approach for light stains, fresh spills and odour reduction. Short, controlled steam passes also help lower allergens and bacteria on suitable upholstery.
Combine this with thorough vacuuming first to lift loose dirt. That improves results and speeds drying.
Common mistakes we avoid
- Avoid lingering in one spot — that can overheat or damage fabric.
- Do not over-wet the surface; multiple short passes are safer than one long one.
- Stop immediately if you see colour transfer, stiffening or fabric distortion.
| Task | Why it matters | Our rule |
|---|---|---|
| Angle the nozzle | Helps lift residue into the cloth | Short angled bursts |
| Use a microfibre cloth | Catches loosened stain; prevents re-deposit | Keep cloth dry and replace as needed |
| Test first | Prevents heat or dye damage | Try a hidden spot before treatment |
Deep cleaning with spray extraction when dirt and stains are embedded
For entrenched dirt and set marks we turn to extraction to lift what simple spot work cannot.
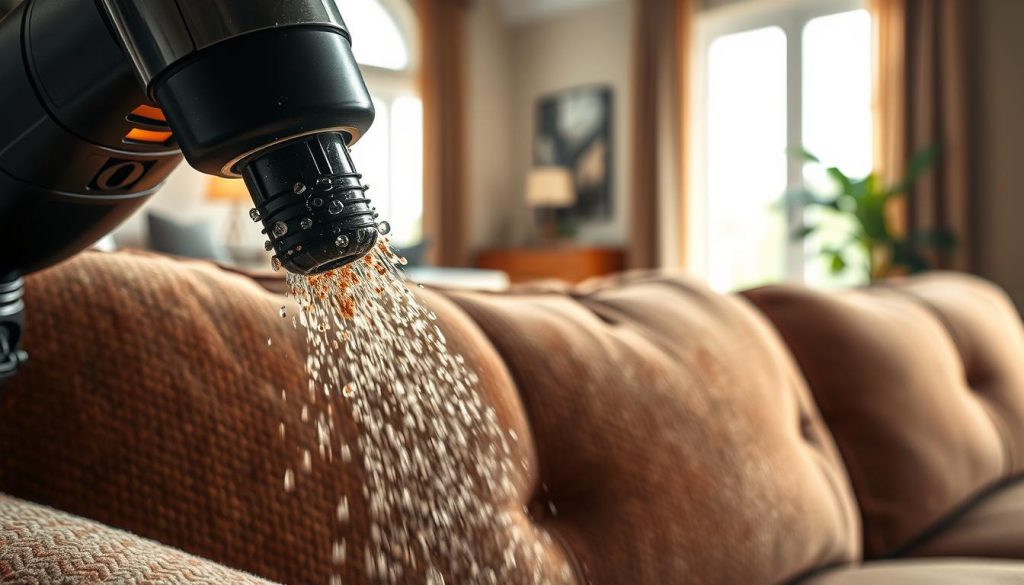
Preparation and dosing
Start with a thorough vacuum pass. Remove coarse debris so the extraction targets trapped grime.
Fill the tank with water and add the upholstery detergent exactly as the manufacturer advises. A correct solution avoids excess residue.
Spray, dwell, then extract
Hold the nozzle about 10 cm from the surface and spray evenly. Allow a short dwell time so the solution loosens dirt and stains.
Extract slowly and consistently. Rushing leaves moisture behind and lengthens drying time.
Even wetting and repeat passes
Wet connected sections together to prevent water marks at edges. Repeat passes until the extracted water runs clear.
If past manual stain treatment left soap in the fabric, run an extraction rinse with clear water to help removal and reduce re-soiling.
- When to choose extraction: overall dullness, embedded dirt or persistent stains.
- Finish: repeat until clear water, then allow good ventilation for drying time.
Stain removal tips we use between full cleans
Small spills and daily marks respond best to quick, sensible fixes we can do between deep cleans. Acting swiftly and using gentle motion keeps a small stain from becoming a major problem.
Water-soluble test: dab a white cloth with lukewarm water and press the mark. If the stain starts to dissolve, work with gentle, top-to-bottom rotations rather than vigorous rubbing.
Household treatments that help
We favour bicarbonate of soda for routine care. Sprinkle powder overnight, then vacuum. For wet use mix 1 tbsp powder with 1 tbsp water to make a paste, apply, let dry and vacuum.
Targeted quick fixes
- Red wine: dab mineral water, then use salt or cornflour to absorb; repeat gently.
- Blood: fresh stains need cold water; dried marks respond to a salt and lemon paste for ~30 minutes.
- Grease: warm water with a grease‑removing washing‑up liquid, dab carefully, then rinse residues with clean warm water.
Rule: blot, do not rub. Leftover soap or paste residue attracts dirt and shortens the life of fabric.
“90% of all stains are soluble in water — test first with a white cloth and lukewarm water.”
For a fuller set of tested routines consult our upholstery stain removal guide. Always check material compatibility before applying any household solution.
Drying time, ventilation and aftercare to protect the sofa
A clear drying plan prevents moisture from undoing our work. We allow a baseline of 4–6 hours for drying in typical Singapore conditions. If humidity is high, extend this window to avoid dampness and odour.
Planning and timing
Start cleaning early in the day so the living area is dry by evening. Avoid using the seating while damp; sitting too soon may compress wet fibres and leave marks.
Ventilation and simple steps
Open windows where possible and use fans to speed airflow. Do not cover cushions or tuck them tightly back while still damp.
- Why it matters: trapped moisture causes odour and can affect fabric texture.
- Quick tip: point a fan across the seats, not directly at one spot.
Aftercare and final pass
Once fully dry, we vacuum again — ideally the next day — to lift any dried dust and restore the nap. This small step improves appearance and extends maintenance intervals between deep cleaning sessions.
| Task | When | Benefit |
|---|---|---|
| Allow drying | 4–6 hours (extend if humid) | Prevents odour and water marks |
| Ventilate | During and after cleaning | Speeds drying; reduces moisture |
| Vacuum again | Next day | Removes dried dust; refreshes fabric |
Conclusion
Good upholstery care is less about miracles and more about a consistent process that protects fabric and leather. Start with a thorough pass with the vacuum cleaner to remove dust and debris before any wet work.
For light marks we use short, angled steam passes with a microfibre cloth to lift spots safely. For sofa deep soiling, choose spray extraction with correct dosing, even wetting and slow extraction, then allow ample drying and ventilation.
Leather needs distinct care: minimal moisture, gentle products and conditioning to avoid drying and cracking. Regular vacuuming, quick blotting of spills and scheduled deep cleaning extend furniture lifespan and reduce bacteria and allergens, especially where pets live.
Safety note: always test a hidden area, avoid overheating or over‑wetting, and seek professional services for large items or delicate materials. Pick one improvement today — a better vacuum routine, faster stain response, or booking deep cleaning — and protect your home and furniture.

