

We introduce what we mean by a diy wet and dry vacuum cleaner and set clear expectations. This is a practical home project for light workshop work, not a full substitute for a purpose-built machine.
We write for readers in Singapore who face small spills, dusty corners, renovation residue and occasional messy clean-ups. Our aim is a versatile solution when buying new equipment is not ideal.
At the heart of the build is a simple separator jug. The container captures liquid before it reaches the motor while allowing strong airflow for suction.
We will walk through material selection, building the separator, checks and sensible troubleshooting. Safety, airtight seals, sustained suction and sensible run time remain our priorities.
By the end, readers will have a repeatable plan, a list of tools and common pitfalls to avoid in wet dry set-ups.
What a wet dry vacuum does and why we build one for home cleaning
Let us explain how a simple suction system copes with dust, spills and damp messes in everyday use. We separate tasks so we know when to treat dust and dirt as a dry job and when water or damp debris needs a different approach.
Wet pickup vs dry vacuuming for dust, dirt and household spills
Dry tasks include fine dust, hair and crumbs. These need filters or bags to stop particles reaching the motor.
Liquid pickup changes airflow and requires a separator so water does not reach the motor. If we mix both without planning, filters clog and bags soak, shortening the life of the machine.
When a DIY build makes sense in Singapore homes and workshops
For small balconies, light renovation dust and occasional leaks, a simple separator gives us faster cleaning and less mopping. Limited storage and tight budgets make a multipurpose setup attractive for many households here.
We also link to a clear explainer on how purpose-built models work for readers wanting more detail: how wet-dry machines work.
Limits to expect compared with dedicated wet dry vacuums
Expect lower water-lift tolerance, strict sealing needs and a higher risk if the container overfills. Our separator reduces water reaching the motor but does not convert every donor unit into a certified wet-rated machine.
- Good for small spills and dusty jobs.
- Not for large volumes of water or hazardous dust.
- Use the right tool for the job when risk or volume rises.
Materials and tools we need for a reliable build
Gathering the right kit saves time; here is what we need to build a reliable separator system. We keep the list short so you can shop locally in Singapore or use items at home.
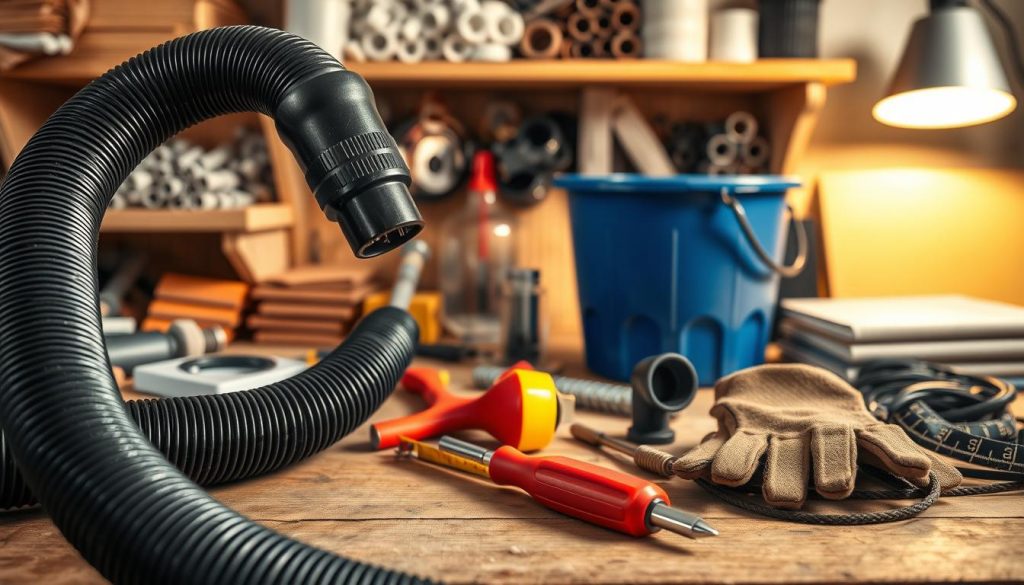
Vacuum with a hose and what “enough suction” means
We recommend a donor vacuum with a working hose and steady airflow. Enough suction means the tubing stays firm, the inlet draws consistently, and the motor does not sound strained.
Container choice: 5-gallon jug vs bucket
A 5-gallon water jug gives a neat spout for the main hose. A bucket can work but needs more careful cutting and sealing to avoid leaks.
Basic tools, tape and tubing
Keep a utility knife, basic cutting tools, a length of hose or vacuum tubing and duct tape. Use tape to build up diameters for snug fits and to make airtight joints.
Optional upgrades
Better hose couplers, simple floor and crevice attachments, and a small pre-filter help protect the motor and main filter. For fine indoor dust we may fit a HEPA filter or use a bag in dry mode.
| Item | Purpose | Buy or Use at Home |
|---|---|---|
| Vacuum with hose | Main motor and suction source | Buy/Use |
| 5-gallon water jug | Separator with ready spout | Buy |
| Hose/tubing | Connects inlet to motor | Buy/Use |
| Duct tape & utility knife | Sealing, fitting and safe cutting | Use |
Quick checklist: gather materials, check hose fit, and test seals before use. For filter care tips, see our guide to clean a vacuum filter.
Building a diy wet and dry vacuum cleaner with a jug separator
A precise inlet and firm seals are what make the separator work. We begin by marking a side hole sized to the outside diameter of the inlet hose. Cut carefully so the hose presses in tightly; a loose fit invites leaks and weak suction.
Preparing the container
Place the inlet at least 6 inches (15–16 cm) from the jug spout. This spacing reduces the chance of water travelling straight into the motor during use.
Wrapping and fitting
Wrap 2–3 layers of duct tape around the hose end to build diameter until it fits snugly. Insert the hose, then reinforce the joint with additional tape so air cannot leak at the seam.
Sealing and final assembly
Size the main hose to the jug spout by wrapping tape until it pushes in tightly. Seal the circumference thoroughly. Check for wobble or soft plastic deformation before switching on.
First test run
Start with a small amount of water. Keep the jug upright, listen for changes in motor sound, and watch airflow. Stop immediately if carryover occurs; this prevents damage to the motor and helps us refine seals for future cleaning jobs.
- Tip: Tight holes and good spacing protect the motor.
- Tip: Test using small water volumes to confirm suction and sealing.
Safety, care and performance checks before we use it on real jobs
Safety checks and routine care keep the motor working and reduce risk on site. We run a quick inspection each time to prevent water reaching the motor or switch. Small habits stop costly damage.
Protecting the motor and switch
Keep the machine body above the water line and never tip the separator towards the intake. Stop before the container is too full. If mist appears in the hose or we hear spluttering, we switch off and check seals.
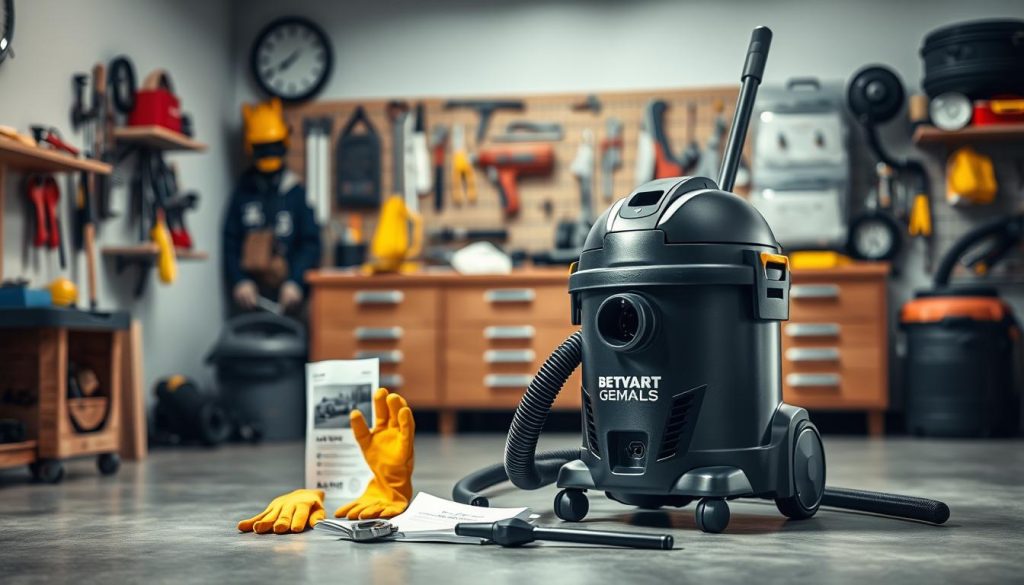
Managing dust collection and filters
For dry jobs we keep the standard filter and a bag in place to trap dust. For liquid pick-ups we remove or shield the bag to avoid saturation. HEPA options are useful for fine indoor dust if the machine supports a hepa filter.
Power, suction and heat management
Run in short intervals. Watch motor temperature and listen for a high-pitched note or reduced suction. If power drops or the motor sounds strained, give it time to cool before continuing.
Pre-job and post-job care
- Check hose seating, seals and for any leaks.
- Place the unit on stable, level ground in narrow spaces.
- After liquid pick-up, empty the container, rinse and dry the hose and chamber thoroughly to prevent odour and mould.
For fuller guidance on maintenance and safe use, see our cleaning guide. Regular care preserves motor life and improves performance on every job.
Troubleshooting and upgrade paths for a tougher wet dry setup
Practical checks help us spot faults quickly and avoid damage. We start with the simplest causes and work methodically.
Loss of suction: diagnosing air leaks at hose joints and seals
We check tape seams, hose joints and the jug spout fit first. Sound changes, a weak pull at the nozzle or a collapsing airflow point to leaks.
Fix: re-wrap connections, add rubber gasket rings or swap to rigid couplers for a firmer fit.
Blockages and muddy water: keeping the hose and tubing clear
Grit and muddy water collect where the hose bends. We avoid pushing debris toward the motor; instead we detach the hose and flush from the container end.
Tip: use a length of rope with a rag or a garden hose flush to dislodge stubborn build-up safely.
Choosing a donor motor or unit: reliability lessons
Some recent Shop‑Vac models failed early and brands such as Craftsman or Ridgid have switch issues. When possible, we reuse a proven motor — older Dyson motors are a popular option for stable power and longer life.
Scaling up for workshop dust and wood work
For heavier dust or wood shavings we favour a larger drum and a better separator design. Replace tape joins with proper fittings and add a pre‑separator to keep grit out of the motor.
Where we get help and parts locally
For parts and advice we turn to the Bunnings Workshop community on Facebook and local hardware at Bunnings for hose adapters, sealants and fittings. For a parts list and buying options see our guide at wet and dry vacuum.
| Issue | Quick check | Upgrade or fix |
|---|---|---|
| Loss of suction | Listen, nozzle pull test | Re-wrap, gasket rings, rigid couplers |
| Blockage / muddy water | Detach hose, inspect bends | Flush hose, use pre‑filter, remove grit at source |
| Motor failures | Check switch, heat or odd noises | Choose proven motors (older Dyson), allow cool‑down cycles |
| Workshop dust | Frequent filling, fine dust bypass | Larger drum, improved separator, proper fittings |
Conclusion
We finish by pulling together the practical gains from the jug-separator approach for everyday home tasks.
We built a simple system that lets us switch between a dry vacuum task and light wet dry pick-up with more confidence than a standard vacuum cleaner alone.
The key takeaways are tight seals, correct inlet spacing and steady maintenance. These keep dirt and water where they belong and protect the motor.
Safe habits matter: keep electrics clear of spills, stop before the container fills, and treat this as a handy aid not a certified dry vacuum cleaner replacement.
Start with a small test, refine the hose fit by hand, then consider upgrades such as better fittings or filters only after basics work well. Regular checks keep performance steady for routine cleaning in Singapore homes.

