
We begin with a clear aim: to help Singapore households set up a unit so it delivers cleaner indoor air every day. Indoor air can be 7–10 times more polluted than outdoor air and we spend up to 90% of our time inside, so this is a practical health priority.
In this short guide we explain what proper setup means for most homes: choosing the right unit, unwrapping filters, correct placement and keeping intake and outlet grilles clear. We show how to match a device to room size and how to avoid common mistakes like hiding the unit in a corner or running it with plastic still on the filters.
Our goal is reliable daily performance — steady clean air delivery, sensible energy use and noise you can live with. We follow manufacturer guidance where it matters and give simple steps you can trust.
Why cleaner indoor air matters in Singapore homes
Indoor spaces in Singapore can trap contaminants, making what we breathe at home a daily concern. Most of us spend up to 90% of our time indoors, and studies show indoor air can be 7–10 times more polluted than outside.
That concentration matters for health. Pollutants such as dust, pollen, pet dander and dust‑mite debris collect in sealed, air‑conditioned rooms. Mould spores and VOCs from furnishings or cleaners add irritants that can worsen asthma and other breathing problems.
Common pollutants and health impacts
We can reduce many of these contaminants with effective filtration and sensible ventilation. Portable units help cut fine particles during haze or smoke events when opening windows is not desirable.
- Dust and fine particles—linked to sore throats and lung irritation.
- Pollen and pet hair/dander—common allergy triggers.
- Dust‑mite debris and mould spores—can aggravate asthma.
- VOCs—cause odours and longer‑term irritation from household products.
Ventilation helps, but is not always practical. When outdoor quality is poor, or when it is hot and noisy, keeping windows closed concentrates indoor pollutants. For more on measuring and managing this, see our guide on monitoring indoor air quality in Singapore.
Choosing the right air purifier for your room and lifestyle
Selecting the right unit starts with matching its output to the actual volume of the room you want to treat. We calculate volume as length × width × ceiling height so high ceilings and open-plan space are counted correctly.
Matching performance with CADR and air changes per hour
Use air changes per hour (ACH) and CADR to size a model. Aim for roughly 3–5 ACH for everyday use. For example, a 6m × 5m × 3m room equals 90 m³; at 4 ACH you need about 360 m³/hr CADR.
Picking filtration from HEPA to advanced nanoparticle filters
Filters matter: pre-filters catch hair and large debris, HEPA traps fine particles and allergens, and activated carbon stages remove odours and VOCs.
Advanced options such as HyperHEPA-style stages claim capture down to ~0.003 microns for ultrafine particles. These systems add margin, but we recommend checking independent test data where available.
- Consider lifestyle: pets, heavy cooking or roadside exposure may need higher performance or multiple units.
- Choose a model that fits the space so it runs at sensible fan speeds, keeps noise low and sustains clean air without excess energy use.
Best placement for maximum airflow and air purification performance
Small changes in location often deliver big improvements in clean-air delivery. We treat placement as a performance multiplier: even a strong unit will underperform if intake or exhaust are blocked by walls, sofas or curtains.
Positioning rules that protect airflow
Keep at least the maker’s recommended clearance. Examples vary: Shark ≳3 inches, Levoit ≳15 inches, Crane ≳3 feet. If a grille sits too close to a wall, airflow can drop sharply.
Why corners and tight gaps reduce efficiency
In tight spaces air short‑circuits. The device cleans the same pocket repeatedly and the rest of the room gets less benefit. Move units away from corners and behind furniture to restore even circulation.
Target entry points and room guidance
Place units near windows, doorways or high‑traffic zones so incoming pollutants are captured early. For bedrooms, aim for steady, quiet flow near the sleeper but not pointing at faces. In living rooms avoid hiding the unit behind sofas. In kitchens place it near cooking sources but away from hot splashes. Home offices need unobstructed locations that do not interfere with electronics.
Floor versus shelf and moving between rooms
Floor placement works well: many pollutants sit lower in the room. Shelving can mimic wall blockage and cut performance.
| Situation | Clearance guidance | Expected effect on airflow |
|---|---|---|
| Flush against wall | 0 cm | ~5% airflow |
| Small gap | 4 cm | ~94% airflow |
| Recommended gap | 10 cm or manufacturer spec | ~100% airflow |
| Crane-style models | ≥3 feet | Maintain design performance |
Quick checklist: face the unit into open space, keep grilles clear, preserve side/top clearance and avoid trip hazards in compact flats. For split use, move a portable between rooms when day and night patterns differ, or use separate units for consistent coverage.
Air purifier installation: step-by-step setup for portable units
Before power-up, we always verify parts, inspect for damage and find the inlet and outlet. This simple start cuts mistakes and speeds correct setup in Singapore flats.
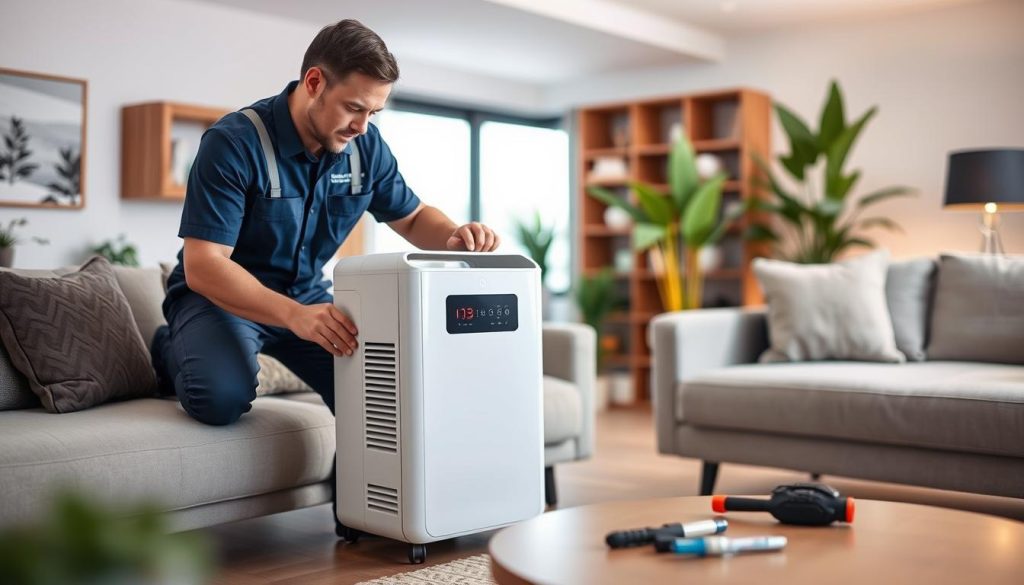
Unboxing checks and removing packaging
We unbox onto a clean surface and confirm manuals, power cord and filters are present. Make sure there is no transit damage.
Non-negotiable: remove all plastic from any filters, even if a filter looks fitted. Wrapped media will choke the fan and may harm the motor.
Installing pre-filters and main filters
Fit the pre-filter first to catch hair and large debris. Then seat the primary filter so it seals all edges. Panels should click flush with no gaps.
Powering on and confirming airflow
Plug directly into a wall outlet, keep cords tidy and avoid damp areas. Start at a higher fan speed for 10–20 minutes to cycle the room quickly.
Confirm the outlet is not blowing into curtains or furniture and that intake grilles draw freely.
| Step | Action | Check |
|---|---|---|
| Unbox | Verify parts and manuals | No damage; parts present |
| Filter fit | Install pre-filter then main | Panels flush; tabs engaged |
| Power | Plug in and run initial cycle | Cord tidy; room airflow clear |
After installation: keeping your purifier effective and efficient
Routine upkeep is the single best way to protect long-term performance and indoor comfort. We set a simple schedule for cleaning and replacement so the system keeps delivering clean air in our homes.
Filter cleaning and replacement routines that maintain indoor air quality
Pre-filters usually need light cleaning every 2–4 weeks. We vacuum or wash them per the manual to extend the life of the main filter.
Replace HEPA and carbon stages on the timetable the maker gives. These components trap fine dust, pet debris and pollutants and cannot be restored by washing.
Monitoring indicators and troubleshooting reduced performance
Indicator lights and app alerts prompt inspection, not an automatic reset. We check for blocked grilles, misaligned panels or still-wrapped filter media first.
Watch for signs of loading: falling airflow, more noise at the same fan speed, or slower odour removal. These are reliable cues to service the filters.
Noise, energy use and running in closed rooms
Run the unit steadily in a closed room for best results. Continuous, efficient operation uses less power than frequent high‑speed catch‑ups.
Avoid very humid spots and grease-prone kitchen zones; these environments shorten filter life and reduce performance.
Conclusion
In closing, our focus is on turning correct setup into lasting, reliable operation.
Choose a model sized to room volume, place the unit so grilles stay clear, fit filters correctly and maintain them on schedule. These steps turn a one‑off installation into a dependable system for cleaner air at home.
For immediate gains, unwrap filters before first use, keep clearance from walls and furniture, and run units in bedrooms or home offices where we spend most time—especially during haze or peak allergy periods.
If clearance is limited or the room is large, consider a higher‑CADR model or add a second unit rather than forcing a poor location. For practical cleaning tips and a step‑by‑step routine, see our guide on filter care with the Lura Wet & Dry.

