
We know these units are not ‘set and forget’. Neglected filters can re-release trapped particles and microbes, cut airflow and CADR, raise energy use, and shorten a motor’s life.
In Singapore’s flats and offices, peak performance means steady flow at the vents, accurate sensing, low noise and no musty smells. That is the standard we aim for.
In this guide we explain simple checks and sensible schedules that fit busy routines. We show how to spot common faults that raise running costs and reduce indoor quality.
We outline practical steps: identify your unit type, clean or replace key parts, and run quick tests like checking airflow at vents. Our approach favours prevention — it is usually cheaper to care for filters, vents and sensors than to fix persistent odours or noisy fans.
Follow our tips and you will keep your unit working well at home and in small offices, protecting performance and the air people breathe.
Why regular maintenance matters for indoor air quality in Singapore
A simple upkeep routine protects indoor air quality and prevents hidden contamination. We explain the risks that build quickly in humid, air‑conditioned homes and offices here.
How neglected filters can re-contaminate indoor air with dust, odours and microbes
Filters loaded with dust and trapped pollutants can shed material back into the flow. Fine particles and residual organic matter dislodge and return to the room, making odours worse.
What clogged components do to airflow, CADR, efficiency and running costs
Blocked grilles and dirty parts restrict flow and cut clean air delivery rate (CADR). Restricted flow forces the fan to run harder, raising energy use and wear on the motor.
When a purifier becomes a “germ magnet” in humid indoor environments
In Singapore’s humidity, trapped mould spores and bacteria can multiply on damp media. That turns a neglected unit into a source of microbes rather than a defender of good air quality.
“We treat regular care as a health step: it protects people and preserves performance.”
- Watch for heavier dust fall, lingering smells and weaker airflow.
- Act early — it keeps running costs down and protects sensitive occupants.
| Symptom | Likely cause | Effect |
|---|---|---|
| Musty smell | Saturated filter with organic dirt | Worse odours, poor indoor air |
| Reduced airflow | Clogged components and vents | Lower CADR, higher energy use |
| Visible dust escape | Filter blow‑by or damaged media | Recirculated particles and pollutants |
Know your air purifier: HEPA, activated carbon and filterless designs
Identifying the model you own is the first step to a sensible care plan. We explain the common designs and what each needs so you can follow the right tasks for Singapore homes and offices.
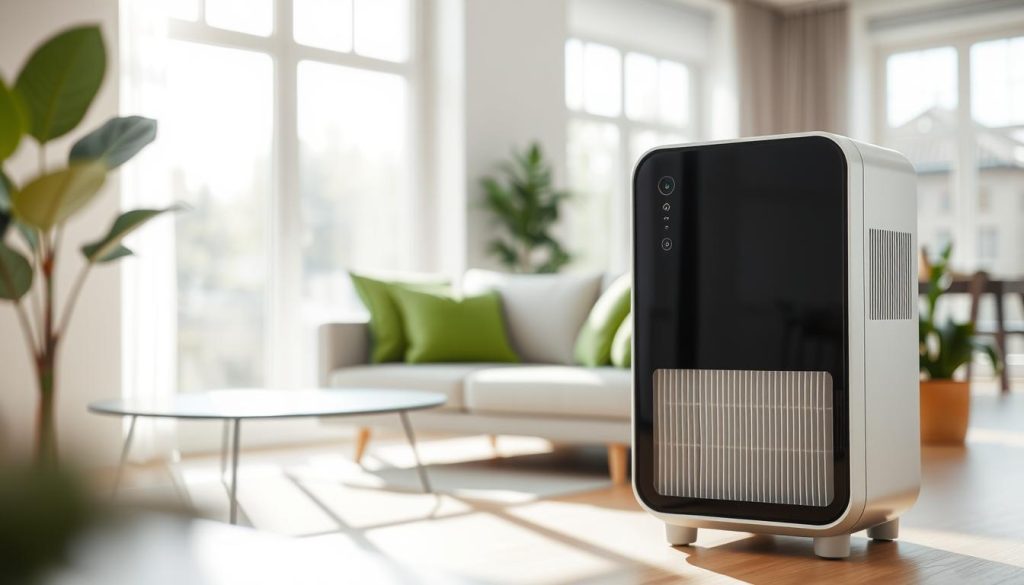
Traditional units: pre-filter, HEPA and activated carbon
Most traditional purifiers use a stack: a pre-filter for large dust and hair, a HEPA stage for fine particles, and an activated carbon layer for smells and gases.
HEPA media targets particles around 0.3 microns and can capture about 99.97% in principle. HEPA filters are not designed to be washed — rinsing damages fibres and reduces performance.
Activated carbon adsorbs VOCs and odours, but it saturates over time. Replacing the carbon filter stops lingering smells and restores gas removal.
Filterless designs: washable plates and sensors
Filterless purifiers capture particles on charged or washable collection plates. The benefit is less frequent consumables; the responsibility is regular washing.
Rinse plates every 2–6 weeks depending on local dust. Always let plates air‑dry completely before reinserting to avoid damp growth.
Shared points: sensors and practical plan
Modern units rely on sensors for automatic modes. Dusty sensors give wrong readings and cause inefficient operation, so periodic checks matter.
- Identify your unit type to know what to clean versus replace.
- Follow timelines: pre-filters and plates more often, HEPA and carbon by lifespan.
Air purifier maintenance essentials: filters, vents, sensors and fans
Timely care of filters, vents, sensors and the fan preserves performance and lowers running costs. These parts determine real results: airflow, noise and how well the unit removes particles and smells.
Pre-filter care to capture hair, pet dander and larger particles
Clean pre-filters every 2–4 weeks or more if you have pets. Removing hair and pet dander reduces load on the main filter and extends its life.
HEPA filter replacement to keep fine particle removal at its best
HEPA media should be replaced roughly every 6–12 months, depending on use. Do not wash HEPA elements — washing damages fibres and cuts performance.
Activated carbon filter replacement for VOCs, smoke and lingering odours
Change carbon stages every 3–6 months. Visual inspection is not enough once carbon is saturated; replacement restores gas and odour control.
Exterior, intake and outlet vents to prevent dust debris restricting airflow
Wipe the exterior and vents every 2–4 weeks with a microfiber cloth and mild detergent. Use a soft brush or vacuum attachment to clear dust debris from grilles.
Air quality sensors and fan blades for accurate readings and quiet performance
Gently clean sensors with a cotton swab and check fan blades for debris. A clear sensor keeps auto modes truthful and a clean fan keeps noise low. Reset the filter indicator light after replacement as your manual advises.
| Part | Task | Frequency |
|---|---|---|
| Pre-filter | Vacuum or wash (if washable) | Every 2–4 weeks |
| HEPA filter | Replace, do not wash | 6–12 months |
| Activated carbon | Replace when saturated | 3–6 months |
| Vents & exterior | Wipe with cloth; remove debris | Every 2–4 weeks |
| Sensors & fan | Clean gently; check blades | Every few months |
A practical maintenance schedule we recommend for busy homes and workplaces
Practical care steps that take minutes each week make a big difference to performance and cost. We designed this schedule to fit Singapore flats and small offices so regular maintenance is not a full‑time chore.

Daily and weekly checks
Quick daily checks stop dust build‑up before it becomes a problem. Ensure the unit is unobstructed and vents are free from curtains or furniture.
Weekly, glance for visible dust at the intake and listen for new rattles. These small checks often prevent bigger faults.
Every few weeks: exterior wipe-down
Wipe the exterior and grilles every 2–4 weeks with a soft cloth and a mild cleaner. This keeps dirt from being drawn back into the device and improves efficiency.
Monthly inspections
Inspect for reduced airflow, visible dirt and wear. Note any louder noise or changes in performance; these signs often point to clogged media or a stressed fan.
Every few months: deeper cleaning
Schedule sensor cleaning and a deeper interior check every 3–6 months. For filterless models, wash collection plates and fully air‑dry before refitting.
When to replace filters
Decide replacement by time, run hours and local conditions. Typical guidance: HEPA 6–12 months, carbon 3–6 months, pre-filters more often during haze or high traffic days.
For more on practical inspection routines see practical IAQ steps and for cleaning tips consult how to clean an air purifier.
Using lights and simple airflow checks
Use the filter status light as a guide, but cross‑check with a tissue test at the intake and outlet. Reset indicator lights only after genuine replacement per the manual.
Outcome:
Regular maintenance and timely replacement keep efficiency high, reduce odour issues, stabilise air quality and lower running costs over the life of the unit.
Step-by-step cleaning and replacement process for safe, effective upkeep
Follow this clear, hands‑on routine to clean key parts, replace consumables and check performance. We keep steps short so busy Singapore households and offices can finish care in one session.
Before we start
Safety first: unplug the unit, allow it to cool and keep liquids away from electronics. This prevents electrical faults and protects warranties.
Pre-filters and grilles
Remove the pre-filter and use a soft brush or vacuum attachment to lift dust gently. Work from the outside in to avoid pushing debris deeper into the flow path.
HEPA and carbon replacement
Handle HEPA media carefully — do not crush or wash it. Replace carbon when saturated and ensure new filters are free of packaging before fitting.
Filterless plates
For washable collection plates, rinse under lukewarm water and avoid harsh detergents unless the maker allows them. Let plates air‑dry fully before reinserting to stop bacterial growth.
Disinfection and annual deep clean
Disinfect interior surfaces every 3–6 months in humid conditions using a mild, approved solution and allow complete drying. Annually, vacuum internal dust, check vents and run the unit on high for 30–60 minutes to confirm airflow and fan function.
“A short, methodical clean keeps efficiency high and reduces long‑term costs.”
Tip: after reassembly, reset the filter light if applicable and run a quick outlet check for steady flow and normal sound.
For step‑by‑step cleaning tools and an effective wet‑dry option see our recommended cleaning solution.
Troubleshooting performance problems linked to poor upkeep
Small symptoms often point to avoidable faults rather than total failure. We use a simple, ordered approach so the unit returns to normal with minimal cost.
Reduced airflow, higher noise or a struggling fan motor
Restricted flow and louder operation usually mean clogged pathways. The fan works harder, which cuts efficiency and may raise running costs.
Start here: check for blocked vents, inspect the pre-filter, then assess the HEPA and seals. This order avoids needless parts replacement.
Musty smells and persistent odours when carbon becomes saturated
When smells return after a clean, saturated carbon or trapped organic matter is often the cause. Replacing the carbon filter is usually the fastest fix.
If odours persist, check for damp media or mould in the unit and follow a full clean and dry cycle before refitting parts.
Inaccurate readings from dusty sensors and what to clean first
Dusty sensors give wrong inputs and make auto modes behave poorly. Clean sensors gently with a soft swab and avoid solvents.
After sensor care, run a quick pollutant check and observe how the unit reacts. If readings stabilise, restore a regular upkeep plan to prevent repeats.
“Diagnose by symptom, fix in order, and lock in a schedule to stop repeat faults.”
| Symptom | Likely cause | First fix |
|---|---|---|
| Low airflow | Clogged intake or pre-filter | Clear vents; clean pre-filter |
| Loud fan noise | Debris on blades or stressed motor | Inspect fan; remove debris; test motor |
| Musty odors | Saturated carbon or damp media | Replace carbon filter; dry interior |
| Wrong auto responses | Dirty sensor or false readings | Clean sensor; verify pollutant response |
Conclusion
Good upkeep makes a well‑designed unit a steady source of clean air, not just a fan that moves particles around. We recommend a simple plan so performance stays consistent and costs stay low.
Non‑negotiables: keep vents clear, clean pre‑filters often, replace HEPA and carbon on schedule and clean sensors for reliable auto modes. Check the filter status and follow the maker’s guidance for each replacement and cleaning task.
In humid Singapore, neglected components make odours and drop air quality fast. Choose a realistic routine, set reminders and treat small tasks as routine prevention.
Quick actions now—check the filter light, do a tissue airflow test, note the last replacement date—deliver steadier clean air, fewer surprises and a longer‑lasting purifier.

