

We know that devices are not “set and forget”. Neglected components can cut performance, raise energy use and create odours that risk recontaminating indoor air in our homes.
In Singapore, heavy use and humid conditions speed up buildup. We explain what caring for UV parts, pre-HEPA and carbon elements really covers, so the whole unit keeps delivering steady indoor air quality.
Our guide previews a clear, repeatable routine: safe shutdown, cleaning intakes and outlets, careful handling of HEPA and carbon pieces, sensor checks, and simple logging. We also clarify what UV can — and cannot — do, so readers do not assume light replaces particulate capture or odour control.
Follow our realistic cadences and simple checks to keep airflow stable, cut smells and stop contaminants circling back into the home. For a practical cleaning routine we use, see our recommended cleaning routine.
Why air purifier maintenance matters for indoor air quality in Singapore
Long operating hours combined with tropical humidity mean components load up faster here. We need clear reasons why regular care matters for indoor air quality and for the systems we rely on day to day.
How neglected parts become a germ magnet
Trapped moisture and organic debris on dirty filters let mould and spores, bacteria and viruses persist. Over time they can turn a barrier into a reservoir that holds living contaminants.
What clogging does to airflow, CADR and energy use
Restricted airflow forces fans to work harder. That drops CADR, reduces effective air quality and raises energy use for less benefit.
Why stale, musty odours start
Saturated media and trapped organic matter break down and give off stale odours. We often notice more dust, recurring allergy flare-ups and a room that no longer feels fresh despite the unit running.
- Practical takeaway: regular upkeep stops devices from becoming sources of contaminants.
- Symptoms to watch: returning dust, stronger smells, and lower airflow.
How UV air purification works alongside HEPA filters and carbon filters
We explain how germicidal light complements mechanical capture so systems perform as a whole. Combining technologies helps us tackle both living microbes and visible particles in the home.
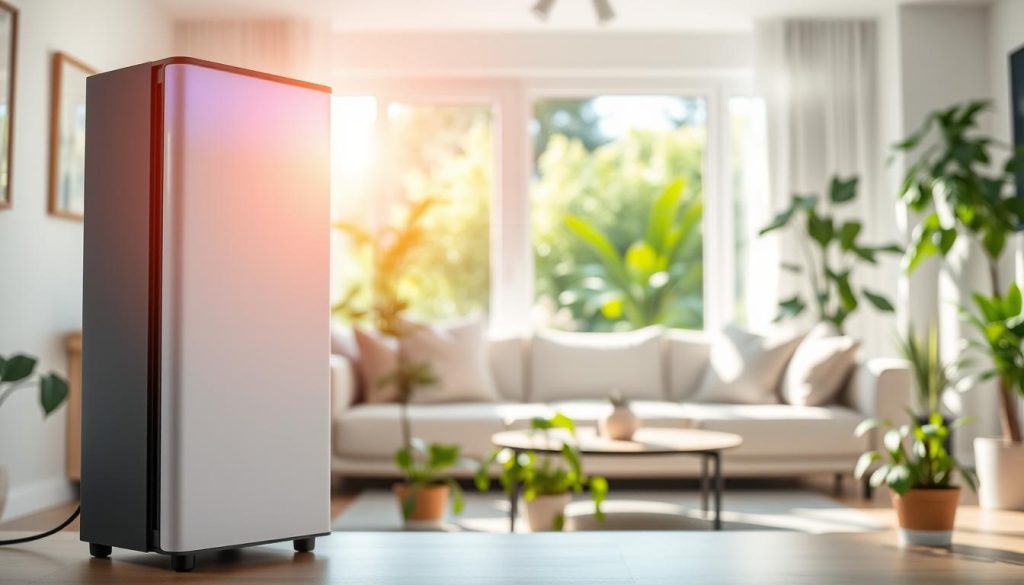
What germicidal light inactivates versus what HEPA must capture
Germicidal light is effective at inactivating bacteria, viruses and mould spores as they pass through an irradiated zone or contact treated surfaces.
By contrast, hepa filters physically trap dust, pollen, pet dander and other particles that light cannot remove without capture.
Common types and where each fits
Standalone units suit bedrooms and living rooms. They offer flexible placement and targeted coverage for specific rooms.
Combination units that pair hepa, activated carbon and germicidal light give broader purification for areas with odours and allergens.
In-duct systems integrate with HVAC for whole-home treatment and need professional installation and servicing.
“A combined system gives more complete protection — but it needs regular checks to keep that promise.”
- When to pick a portable unit: targeted rooms, easy relocation, no duct work.
- When to choose in-duct installation: central coverage, fewer devices, professional servicing.
- Practical note: more technologies mean more components to inspect, but also more complete purification when we keep them in good order.
Air purifier UV filter maintenance: our step-by-step routine
Before we open a unit, we perform a clear shutdown routine to protect both ourselves and delicate components.
Power down safely and let components cool
We switch the device off, then unplug it. We wait for the lamp area to cool to avoid burns and light exposure. Only then do we remove covers.
Clean the exterior casing, intakes and outlets
Dust at vents limits airflow even when internal parts look fine. We wipe the case and use a soft brush on intakes to keep circulation steady.
Pre-filter care and HEPA guidance
Wash or vacuum washable pre-filters every 2–4 weeks in dusty homes, following the manufacturer guidelines.
Do not wash HEPA media. When a HEPA is clogged, replacement preserves performance and avoids damage.
Carbon upkeep, sensors and fan checks
Replace carbon stages when odour control drops; saturated carbon won’t absorb VOCs. Gently clean air quality sensors with a soft brush or cotton bud per the manual.
Where safe, inspect fan blades for dust to reduce noise and imbalance.
Reset indicators and log service dates
After servicing we reset indicator lights and record the date. Consistent logging stops reactive fixes and keeps the system running to spec.
| Task | Frequency | Why it matters |
|---|---|---|
| Power down and cool | Each service | Prevents burns and exposure, protects components |
| Pre-filter wash | 2–4 weeks (dusty homes) | Reduces load on HEPA stage |
| HEPA check/replace | 6–12 months (typical) | Maintains capture efficiency |
| Carbon replacement | 3–6 months (odour shows) | Restores VOC and smell control |
| Sensor and fan check | Each service | Ensures accurate readings and steady airflow |
For a practical, step-by-step cleaning routine and tools we recommend, see our suggested kit at cleaning tools and guide.
Replacement intervals we follow and why manufacturer guidelines should lead
A predictable calendar for part changes prevents surprise drops in performance. We outline typical cadences while reminding readers that the manufacturer remains the final authority for each unit.
Pre-filters: quick checks every few weeks
Pre-filters are the first defence against dust. In real homes we check and clean them every 2–4 weeks so the next stages do not load up quickly.
HEPA: plan for six to twelve months
We replace hepa media on a six to twelve month window depending on run-time and indoor conditions. Reduced airflow is an early sign to act sooner.
Carbon: three to six months for odour control
Carbon filters reach adsorption capacity in three to six months. Odour and VOC control usually drops before the stage looks dirty, so we swap earlier when smells return.
Bulbs and lamps: nine to eighteen months
Germicidal light output falls with time. Many brands advise annual replacement, and we follow a nine to eighteen month cycle where the manufacturer guidelines allow it.
Decision rule: when performance falls, inspect and replace rather than stretching intervals. Following recommended schedules protects the unit and helps control long‑term costs.
Signs your UV filter and system need attention now
Small signs — like rising warmth or stronger sounds — can show a system is working harder than it should. Spotting issues early keeps performance steady and prevents costly wear.
Reduced airflow, louder fan noise and overheating
Restricted circulation lowers CADR and makes the fan run faster. We often hear more noise and feel warmth from the unit.
What to do: check the pre-filter first, then assess HEPA and carbon age. Replace parts or clean as recommended to reduce strain.
Recurring allergy symptoms and faster dust return
If allergens and visible dust come back quickly, the system has lost capture efficiency. This usually means overloaded filters or reduced air changes.
Unpleasant smells that point to saturation or microbial growth
Persistent odours often mean carbon saturation or microbial build-up on media. Treat smells as a priority to avoid mould or bacteria growth.
Sensor readings that no longer match how the room feels
A display that reads “good” while the room feels stale often indicates dirty sensors or an airflow problem. Clean sensors gently and confirm ventilation paths.
| Warning sign | Likely cause | Immediate action |
|---|---|---|
| Lower circulation and heat | Clogged media reducing airflow | Inspect pre-filter, replace HEPA if clogged |
| Return of dust and allergens | Saturated capture stages | Swap aged media; increase cleaning frequency |
| Persistent odours | Saturated carbon or microbial growth | Replace carbon, clean internals, check lamp timing |
| Sensor mismatch | Dirty sensor or obstructed airflow | Clean sensor, confirm fan operation |
Escalation path: inspect the pre-filter first, then assess HEPA/carbon age, and finally confirm lamp timing if biological concerns persist. We treat these checks as part of routine maintenance to catch problems early.
Safety and compliance: handling UV exposure, electrics and lamp disposal
We treat electrical and radiation risks as the first priority before any inspection. Good safety practice keeps people and systems safe and helps preserve performance over time.
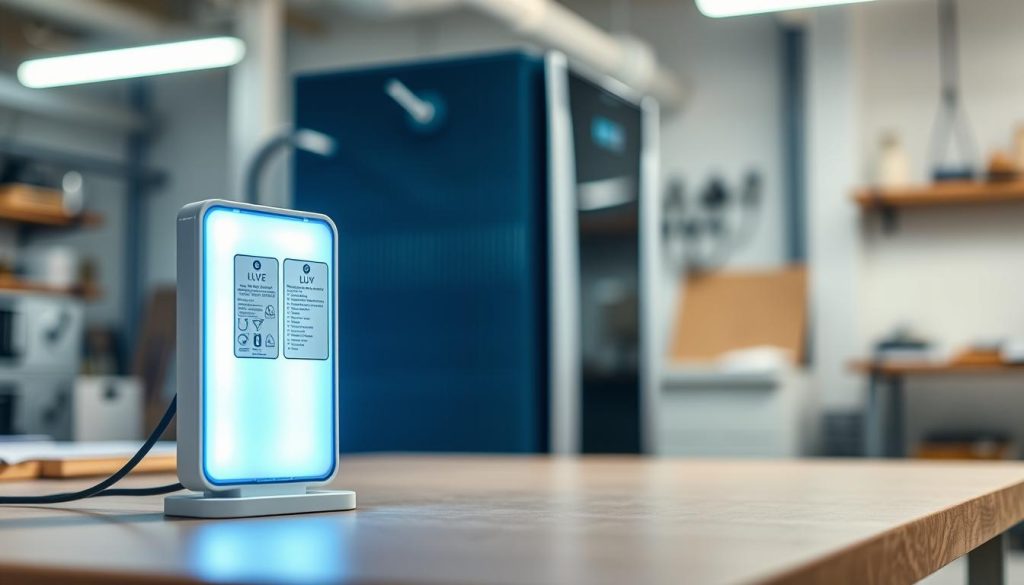
Avoiding direct exposure and securing covers
Germicidal light is effective, but it must not reach occupants. We never view the lamp directly and we confirm all covers and interlocks are in place before powering the unit back on.
Electrical precautions and handling time
We power off, then unplug to reduce surge risk, and we wait for lamps to cool. Hands stay dry and we never operate devices on wet surfaces to avoid shock and fire hazards.
Responsible disposal and in-duct installation steps
Many lamp tubes contain mercury. For safe disposal we use designated collection or recycling points rather than domestic waste.
| Item | Action | Where |
|---|---|---|
| Spent lamp | Recycle | Designated facility |
| Broken tube | Contain and transport | Hazard centre |
| In-duct systems | Isolate at breaker | Qualified technician |
Our rule: we only service lamp areas when the unit is off, unplugged, and cooled, and we keep servicing time efficient to limit exposure risk.
Getting more from your system over time: performance habits that extend lifespan
Small daily habits and correct placement can add years to your unit’s useful life. We adopt a few simple rules at home to protect performance and reduce wear.
Placement tips to prevent blocked circulation and maximise purification
Keep intakes and outlets clear. Aim for roughly two feet of clearance from walls or large furniture where possible.
Never place objects on top of the unit. Blocked airflow reduces performance, raises noise and forces fans to work harder.
When to stop running the unit and contact the manufacturer or a technician
Stop and call if you detect persistent burning smells, odd noises, repeated overheating, failure to power down, or visible housing damage.
We do not run a damaged unit. Contact the manufacturer or a qualified technician for guidance and safe repair.
Scheduling professional inspections for in-duct systems
In-duct installations need periodic professional checks. Technicians verify lamp function, mounting and overall installation within the HVAC system.
We set calendar reminders and subscribe to replacement schedules when available. Good habits keep units efficient, cut avoidable costs and extend useful years of service.
Conclusion
Routine attention prevents systems from becoming sources of the very contaminants they are meant to remove. Keeping a simple, regular care plan, helps us protect performance, cut odours and keep energy use low.
We summarise the division of labour: germicidal light supports biological control, filters capture particles and activated carbon handles smells and VOCs. Our practical routine remains the same — safe shutdown, clean intakes and outlets, service pre-filters, replace HEPA and carbon on schedule, tidy sensors and log dates.
Neglect leads to lower circulation, higher energy draw and re‑circulation of contaminants. Follow manufacturer guidance first, then adapt frequency to real‑world signs. For further maintenance tips and service guidance, contact a qualified team to keep indoor air quality steady.

