
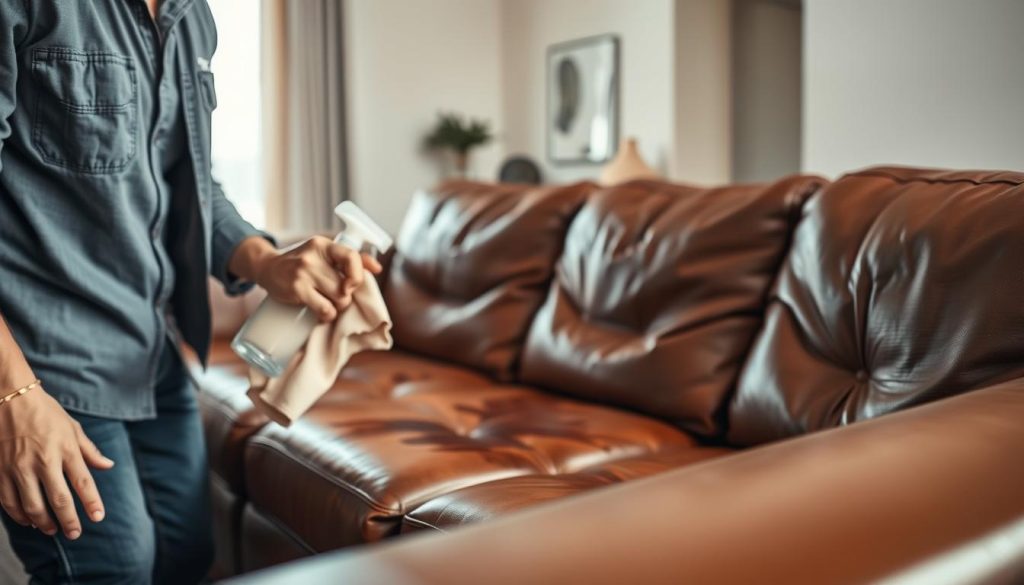
We know that a quick tidy can save hours later. In Singapore’s humid homes, prompt action reduces the chance of permanent discolouration and mould.
This introduction sets clear expectations. Routine cleaning usually takes 10–20 minutes, while a deeper session with conditioner can need 45–60 minutes. We explain what a proper approach looks like and why fabric methods fail on delicate surfaces.
Our guide suits busy households and pet owners. We cover dusting, assessing marks, gentle wiping, careful drying and finishing with conditioner. We show when to do a light tidy and when to take more time for lasting care.
For a practical how-to, see our concise seven-step walkthrough for quick fixes and deeper treatment: cleaning leather sofa stains.
What you’ll learn: safe techniques, timing, and tools so most marks improve with mild soap, soft cloths and steady technique rather than harsh chemicals.
Why leather sofa stains need a different cleaning approach
We act fast because a leather surface reacts to liquids and oils in a way fabric does not. Fresh spills can darken the hide and, if left, lead to permanent discolouration.
Too much water usually makes the problem worse. Excessive moisture can leave tide marks and weaken finishes. In Singapore’s humid climate, dampness may also encourage mould growth if not managed.
How moisture, oils and everyday spills behave
Water-based spills can sit on the surface and create visible rings. Body oils and grime build up on high-contact areas and change the sheen over time.
When quick action prevents discolouration
Our first move is to gently blot fresh spills rather than rub. That reduces penetration and lessens the chance we need harsh products later.
- Watch for early warning signs: darkening, sticky feel or patchy sheen.
- Manage moisture carefully to avoid tide marks and mould risk.
- For step-by-step guidance on how we handle spots safely, see our recommended method at how to clean a leather couch.
Identify your leather type and finish before we clean
Before we begin, identifying the exact hide and finish helps us choose the safest approach.
Common types found in Singapore homes
We commonly see aniline, semi-aniline, pigmented/protected, full-grain, top-grain, nubuck, bonded/reconstituted, pull-up and faux (PU) options in local homes.
Knowing the leather type helps us match tools and avoid damage to high-value furniture.
How finishes change resistance
Aniline has minimal surface protection and will absorb liquids quickly. Pigmented or protected finishes use a polymer coat that resists marks and wear.
We favour purpose-made cleaner for genuine hides and a mild soap solution only where labels allow it.
Where to check manufacturer label and care notes
Look under cushions, on the frame or the product tag for care instructions. Following those notes helps prevent warranty issues.
“Always match your method to the material — a wrong product can cause lasting harm.”
| Type | Typical resistance | Recommended approach |
|---|---|---|
| Aniline | Low | Minimal moisture; professional advice |
| Pigmented/Protected | High | Mild soap or purpose-made cleaner |
| Faux (PU) / Bonded | Medium | Gentle wipe; avoid strong solvents |
We link leather type to tools, water control and conditioning frequency in the next section. For a different method using a carpet unit, see our use a carpet cleaner guide.
What we need to clean a leather sofa safely
A small, well-chosen set of tools makes routine care faster and safer. Gather the kit before we begin so we avoid last-minute substitutes that risk damage.

Essential tools for routine care and spot removal
We keep a few reliable items on hand:
- Microfibre and other soft cloths for dusting and drying. Use separate cloths for wash and rinse.
- A vacuum with a brush attachment to lift debris from seams and crevices.
- An optional soft-bristled brush for stitching and tight joins.
Solutions that stay gentle on the surface
Gentle by default: dilute mild soap in water for light tidying, or use a purpose-made leather cleaner recommended for the finish.
Choose pH-balanced cleaners sold locally in Singapore and read labels to confirm suitability. A mild dish soap may work in a pinch, but test first on a hidden area.
What to avoid
We never use bleach, ammonia or strong all-purpose cleaners. These harsh chemicals strip finishes and dry the hide.
Avoid abrasive sponges or stiff brushes and never over-wet the surface. A damp cloth is fine; a wet cloth is not. Excess water can leave marks and encourage mould.
Tip: keeping the right kit beside the sofa reduces the urge to scrub and helps us follow the step-by-step method safely.
Prepare the area and sofa for cleaning
We begin by preparing the room and the piece of furniture so each step is tidy and efficient.
Clear the space: remove cushions, throws and anything on the floor. This protects rugs and keeps the work area uncluttered.
Remove cushions and vacuum seams
We lift cushions and use a vacuum with a brush attachment to clean seams, tufting and crevices.
Trapped dust acts like sandpaper on the surface and can cause visible damage when wiped. Removing grit first reduces the risk.
Patch-test any cleaner
We always test cleaners on a hidden patch — the back panel, underside of a cushion or a lower rear edge.
Apply a small amount with a soft cloth and wait. Check for colour lift, dulling or finish damage before proceeding.
“Patch-test first — a tiny trial saves a costly mistake.”
- Keep windows open or use a fan to aid drying in Singapore’s humidity.
- Have clean, separate cloths ready for wash and rinse to avoid cross-contamination.
Cleaning leather sofa stains with our quick step-by-step method
A short, repeatable sequence keeps upkeep fast and safe. We can tidy most marks in about 10–20 minutes depending on size. Follow each step and stop if the surface reacts.
-
Dust first with a soft cloth to reduce scratching
We wipe the whole surface with a soft, dry cloth to lift grit. Removing particles first stops them from acting like sandpaper when we later wipe.
-
Spot-check and gently blot fresh spills
For new spills we gently blot with a clean cloth. Do not rub. Blotting stops spread and limits penetration into the finish.
-
Mix a mild soap solution for light cleaning
We make a simple solution: a few drops of mild dish soap in warm water. The cloth must be damp, not dripping. Test the mix on a hidden patch first.
-
Wipe the entire surface with a damp cloth using circular motions
Work in small sections. Use light pressure and smooth, circular motions to avoid patchy sheen. Rinse the cloth often and keep the moisture low.
-
Dry promptly with a dry cloth, focusing on seams and corners
Use a soft dry cloth to remove residual moisture. Pay attention to seams and creases so water cannot sit and risk mould or marks.
-
Condition the leather to restore oils and prevent dry leather
Once fully dry, apply a suitable leather conditioner evenly. This restores oils, improves feel and helps prevent cracking. Stop if colour lifts or a hazy film appears.
Quick judgement call: if the cloth pulls colour, or the finish goes hazy, cease the routine and seek specialist advice. A cautious approach keeps the piece looking its best long term.
“Patch-test any solution first — a tiny trial avoids bigger problems.”
Spot-cleaning techniques for common spill stains
A small, calm response often prevents a simple spill becoming a lasting mark.
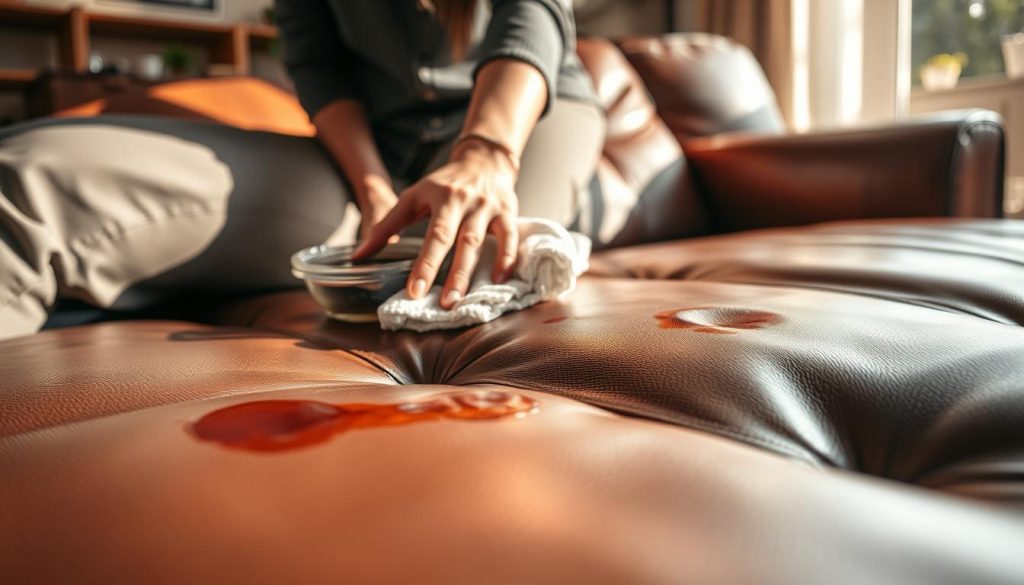
How we triage a mark
We first note what was spilled, how long it has sat and whether the finish looks protected or absorbent.
If the surface looks fragile or the mark is old, we consider a specialist rather than an aggressive attempt.
Water‑based marks: juice and coffee
For water‑based spills we apply a mild soap solution or a purpose-made cleaner to a damp soft cloth.
Gently blot and then wipe in small, circular motions from the outside toward the centre to avoid rings.
Food smudges and everyday grime
Oily food smudges on armrests need patient, light wiping with a soft cloth rather than scrubbing.
Repeat gentle passes, then blot dry to remove excess moisture and let the area air completely dry.
When to use a dedicated leather cleaner
If a mark resists mild methods, or the hide is older, a specialist leather cleaner is safer than DIY soap.
Tip: avoid saturating stitched areas; repeat gentle work rather than one forceful pass.
How we handle stubborn stains without damaging leather
Stubborn marks call for careful techniques that minimise further wear. We define these as oil, grease, ink, wine and older set marks. They often need absorption and minimal contact rather than forceful wiping.
Oil and grease: absorption first
We blot excess with a soft cloth, then sprinkle baking soda to draw out oils. Leave for several hours so it can absorb.
Afterwards, we vacuum gently with a soft brush attachment and reassess before any damp work. Flooding an oily spot with water can drive oils deeper and cause larger dark patches.
Ink and wine: pinpoint, minimal action
Act quickly. For ink we dab very lightly with a cotton swab and rubbing alcohol; keep applications tiny and blot immediately.
For wine we blot from the edge inward to avoid spread. Short contact times and small tools control the area treated.
When to stop and call a professional
- If colour transfers to the cloth.
- If the surface becomes tacky, dull or uneven after work.
- If repeated passes are needed to see improvement.
“Pause when the finish shows adverse reaction; aggressive repeat attempts can cause permanent damage.”
Post-treatment: dry fully, then apply a suitable conditioner to restore oils and reduce a cleaned-spot look. For aniline, nubuck or large set marks, we recommend professional care.
| Problem | First action | Follow-up |
|---|---|---|
| Oil / grease | Blot excess; sprinkle baking soda | Vacuum with soft brush; reassess; condition if safe |
| Ink | Dab with cotton swab + minimal alcohol | Blot; limit passes; condition if no colour lift |
| Wine | Blot edge to centre | Dry swiftly; gentle wipe only if safe; condition |
| Old / set marks | Test small area; avoid aggressive methods | Seek specialist if unaffected or finish at risk |
How to remove mould from a leather sofa in Singapore’s humid climate
A persistent musty smell often signals mould; our response must balance safety with gentleness. In Singapore, poor airflow and trapped moisture let spores take hold, so swift, measured action is essential.
Assess severity and when to stop. Check size, depth and recurrence. If mould covers a large area, seems embedded, or returns quickly, we stop and seek professional help.
Safety essentials: work in a well-ventilated room and wear gloves, a mask and eye protection to reduce exposure to spores.
Cleaning and drying steps
- Vacuum loose spores using a brush attachment to remove surface particles.
- Mix a mild soap and water solution or a suitable mould product. Lightly dampen a damp cloth and wipe in small circular motions; avoid soaking the hide.
- Immediately blot with a dry cloth to lift moisture and spore residues.
- Air dry thoroughly. Complete drying is non-negotiable — lingering dampness invites regrowth.
Prevention habits: keep sofa away from damp corners, run an air‑con or dehumidifier as needed, and avoid pushing sofas flush to walls. Direct sunlight can aid drying briefly, but prefer airflow-first strategies to protect finishes.
“If mould is widespread or appears deep, call a specialist rather than risk further damage.”
Conditioning and protecting the leather after stain removal
A short conditioning ritual after spot treatment protects the surface from drying out. Conditioning replenishes oils and moisture lost during use and any treatment. This step is central to long-term care and prevents cracking.
How often to use leather conditioner based on usage and finish
For frequently used seating we recommend conditioning every 3–6 months. For lighter use, aim for 6–12 months depending on finish and exposure.
High-traffic family pieces need more regular maintenance than lightly used furniture.
Applying conditioner evenly and buffing to restore lustre
Use a small amount of leather conditioner and spread it with a soft cloth in small circular motions. Work in even passes so the leather surface absorbs the product uniformly.
Allow a short dwell time, then buff with a dry microfibre cloth to remove any excess and restore a natural sheen without greasiness.
Protecting high-traffic areas to keep sofa looking new
Focus on armrests, headrests and seat fronts where oils and friction wear the finish fastest. Simple habits help: lightweight throws, armrest covers and regular dusting reduce the need for frequent intervention.
Avoid placing the piece in direct sunlight or close to heating elements. Sunlight fades colour and dries the hide, shortening furniture life.
Tip: make conditioning part of scheduled maintenance so you keep sofa look consistent and avoid patchy repairs.
Mistakes to avoid when cleaning leather sofas
A single wrong move can turn a quick tidy into an expensive repair. We list the common errors we see and explain how to prevent them.
Rubbing or scrubbing instead of blotting
Scrubbing spreads marks and abrades finishes. Always gently blot fresh areas with a soft cloth rather than rub.
Use light, circular passes when you must wipe. Stop if colour transfers to the cloth.
Using wipes, polish or coloured cloths
Baby or wet wipes often contain alcohol or fragrance that dries the hide. Furniture polish and wax can build up and attract grime.
Coloured cloths are risky for pale upholstery; dampness can pull dyes into the surface and create new marks.
Heat, sunlight, over‑conditioning and excess moisture
Do not place seating near heaters or in direct sun. Heat and sunlight dry the hide and cause shrinking or cracking.
Avoid over‑conditioning; too much product makes the surface tacky and draws dirt. Never over-wet a spot—moisture invites rings and mould.
“Patch-test any product, use minimal water, dry promptly and follow sensible maintenance intervals.”
| Mistake | Why it harms | Safe alternative |
|---|---|---|
| Scrubbing | Wears finish; spreads marks | Gently blot with a soft cloth |
| Household wipes / polish | Contains solvents or waxes; dries hide | Use purpose-made products; patch-test |
| Coloured cloths | Dye transfer when damp | Use clean, white soft cloths |
| Heat / sunlight / excess moisture | Drying, cracking, mould risk | Keep cool, air dry, use dry cloth promptly |
Conclusion
Finally, we highlight the straightforward routine that prevents most surface problems. Identify the hide, remove dust, and blot fresh marks quickly. Use minimal moisture and a dry cloth to finish each small job.
Routine attention beats one-off fixes. Most stains stay small when we act fast and avoid harsh products. Good ventilation in Singapore helps drying and stops mould from returning.
Make conditioning part of regular care to restore oils and keep furniture comfortable. Escalate to a specialist for large mould patches, delicate aniline or nubuck, or marks that worsen after attempts.
Next step: assemble a compact kit so the next spill is handled calmly, correctly and within minutes.

