
We built a simple diy water filter vacuum cleaner to tackle fine dust and renovation debris commonly found in Singapore homes. Our aim was practical: keep a machine’s interior neater by trapping debris in a bucket, and improve the feel of exhausted air.
At a glance, we created airflow that pulled dusty air through a single bucket stage. The filter was the water itself, so sediment dropped into the bucket rather than the canister.
We set clear boundaries: this was an experiment, not a certified HEPA solution. We explain safety checks, how we tested seals, and how to handle dirty water disposal in one concise step.
Finally, we preview upgrades and note performance relied heavily on lid seals and back pressure. Later sections show how to build the basic version in one sitting or extend it with separators and screens.
Why we’d build a water-filter vacuum cleaner for Singapore homes
We wanted a clearer way to trap fine renovation dust in humid Singapore flats.
How it traps particles. Air pulled through a bucket creates bubbles and turbulence that wet and weigh down fine particles. That makes heavy particles fall instead of circulating when we empty the bin.
Comparing this to paper bags
Bags and paper filters catch dry dust well but can clog, leak at seams, and need ongoing replacements. A wet stage reduces airborne dust during servicing and feels cleaner to handle.
Lessons from an existing model
The Karcher DS 5500 showed the approach worked, but proprietary parts became costly over the years. Finding replacements in store was harder than with common bag systems like Miele.
Realistic airflow expectations
Adding a wet stage raises static pressure. That can cut suction and reduce the pull at the nozzle if we don’t use a good pre-separator. In short, there is a trade-off between filtration ambition and usable performance.
What we’ll need before we start
Before cutting a lid or tube, we listed exactly what would keep the project simple and safe.
Core parts for a simple bucket-and-lid setup
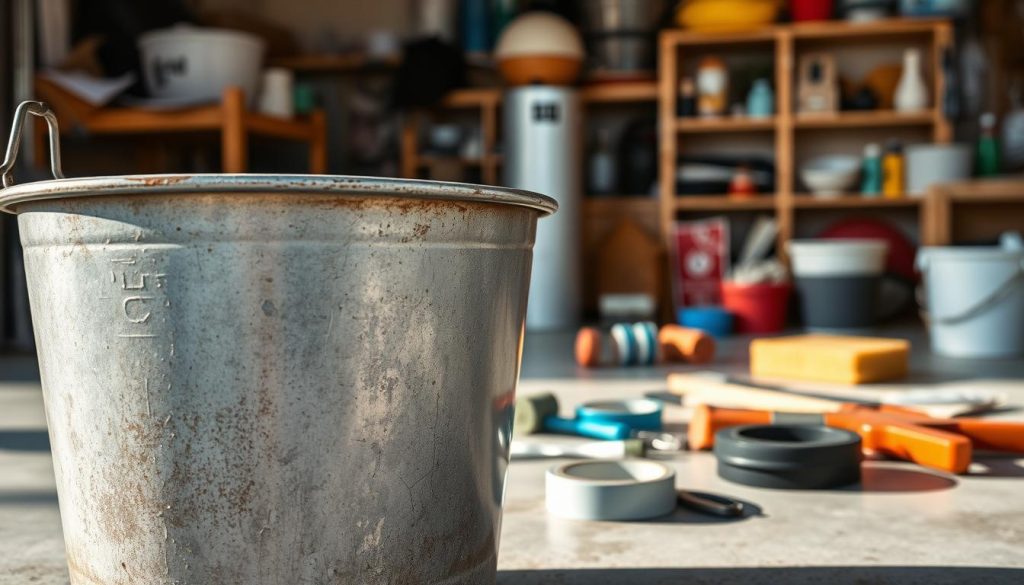
We used a sturdy 15 kg paint bucket with its matching bucket lid. The ash model we had for the motor was compact and common in Singapore, and a spare tube from an old hose formed the submerged inlet.
Look for plastic thick enough that the lid does not flex. Even slight warping can create leaks and kill performance.
Tools and sealants that make the job easier
Marking and cutting were simple: a pencil and a sharp knife. For sealing joints we chose hot glue sticks for speed or silicone caulk for a more flexible, longer-lasting bond.
- Spare hose section creates the submerged pickup so air must travel through the liquid, not across the headspace.
- Prepare mess-control items: old cloths, a shallow tray and a rinse plan to handle slurry in flats.
- Quick-fit checks: confirm tube diameters, check lid curvature and close the bucket lid to ensure no cracking.
| Item | Why it matters | Estimate |
|---|---|---|
| Bucket | Rigid body holds liquid and supports lid | 15 kg paint bucket |
| Bucket lid | Must seal without flexing | Matching lid, firm fit |
| Spare tube | Forms submerged inlet | One section, matched to orifice |
| Glue / Silicone | Seals joints; glue is fast, silicone flexible | Hot glue gun or silicone caulk |
Build time varies: hot glue sets fast so we could continue in one session. Silicone needs hours to cure but gives a more forgiving seal.
How to make a diy water filter vacuum cleaner with a bucket, lid and spare tube
We began by choosing a rigid bucket and matching lid that would hold a steady seal under suction. A firm bucket resists flexing and keeps the system efficient.
Choosing the right bucket and lid
Trace two diametrically opposite positions on the lid using the metal orifice as a template. Separating the openings cuts the chance of air short‑circuiting from one hole to the other.
Cutting and fitting
Score the plastic and cut slowly with a sharp knife. Test-fit in small increments to avoid cracking. Fit the metallic orifice into one hole and the spare tube into the other so both sit snugly.
Sealing, depth and fill level
Seal joints with a dab of hot glue for speed, or use silicone for a flexible gasket. The tube end should sit a few centimetres above the bottom, submerged but not touching the base.
Add liquid below the mid point of the bucket to avoid carryover into the motor. Close the lid firmly — a few measured taps with a wooden mallet helps.
Testing and cleanup
Connect the hose to the orifice, plug into the wall socket and run a short test. Listen for changes in pitch and feel around seals for leaks. Stop immediately if the motor strains.
Good results mean debris settles in the bucket while the vacuum stays drier. Dispose of dirty liquid outside and rinse the bucket thoroughly.
| Step | What to do | Reason |
|---|---|---|
| Pick bucket & lid | Choose thick plastic, matching lid | Prevents flexing and preserves suction |
| Mark holes | Trace two opposite positions | Reduces air short‑circuiting |
| Fit pieces | Insert orifice and spare tube snugly | Ensures safe, efficient airflow |
| Seal & test | Use glue or silicone; test at wall | Detect leaks and avoid motor stress |
For optional pre‑separation ideas, we examined a cyclonic add‑on on Instructables and a practical wet‑dry unit guide at Lura.
Cyclonic pre-separator build · wet-dry unit options
Optional upgrades for stronger filtration and cleaner exhaust air
We added compact stages that reduced sludge, protected the motor and made the exhaust feel less damp. These upgrades are optional but useful if you expect heavy dust or frequent jobs in small flats.
Cyclonic pre-separator: A tiny cyclone from a 50‑CD spindle case and a toy traffic cone works well. Cut the base for a PVC pass, make an oval inlet in the clear wall and glue a spiral ramp from a CD centre. Fit the inlet pipe halfway in, glue the outlet and cap with the cone. The cyclone removes heavier particles before they reach the bucket and cuts the lot of wet sludge.
Motor housing box and tidy connections
Measure the motor diameter and build a slightly larger airtight box. Wedge the motor on spacer blocks and glue a 1¼” PVC coupler to the inlet. Drill for the switch and cord, wire the motor, then seal seams with screws and adhesive. Mount the box to a disc fixed to the bucket lid so the part sits secure.
Inline guards and a basic wet scrubber
Add PVC couplers, elbows and a simple screen in the pipe run to catch large particles before the motor. For exhaust cleaning, a submerged elbow assembly with a concentric bottle tube and splash cap forms a basic wet scrubber. Submerge elbows about half‑full and test for leaks and performance.
Trade-offs and maintenance: Each added stage raises static pressure and can reduce suction. An efficient pre-separator helps preserve flow. We wipe components, air‑dry fabric seals, and check for mould—especially important in humid Singapore—to keep the system healthy. Without a certified hepa unit, treat these upgrades as improved rather than medical‑grade filtration.
Conclusion
In practice, the sealed bucket stage collected most of the sediment and left the motor housing noticeably cleaner. That simple build kept the vacuum’s own canister drier and made disposal straightforward.
Airtight seals around the lid penetrations proved the single most important factor. Small leaks killed suction and let mist reach the motor, so test and reseal until the system holds steady.
Operate conservatively: keep the water level low, set tube depth correctly, run short tests and stop at the first sign of strain or moisture. If you expect heavier work, consider upgrades — a small cyclone, motor box or wet scrubber — but expect higher back pressure and more maintenance.
Next steps: repeat the build with improved seals, log results for your floors and dust, and treat each change as part of the airflow system.

