

We explain what a proper clean involves — a light refresh, targeted stain treatment, deodorising and deeper extraction when needed. Our method suits Singapore homes where humidity can trap smells and slow drying.
We prioritise controlled moisture and airflow so the surface dries quickly and stays intact. Gentle action preserves dye, texture and any protective finish, which is why vigorous scrubbing is not part of our approach.
Before we start, we check the manufacturer label and patch test any product. We then follow a clear sequence: vacuum, loosen debris, wipe high-touch zones, dry and re-vacuum. This simple plan helps avoid watermarks and mould.
When a routine refresh suffices and when to call for deep work is part of our advice. We want readers to feel confident to do a careful DIY job or to know when professional help is the safer option.
Why fabric sofas get dirty so quickly in Singapore homes
Daily life in a busy living room causes marks and grime to build up faster than many expect. Drinks, crumbs and kids’ activity rub into fibres and lead to visible stains and discolouration, while oils from hands and headrests dull the surface over time.
Everyday causes: spills during snacking, pet hair and skin oils are the top sources we see. Fine debris settles in seams, creases and under cushions, so a quick wipe rarely removes it all.
How humidity worsens odours and slow drying
Singapore’s humidity makes evaporation slow. That allows damp areas to hold odours and encourages mustiness if airflow is poor. Slow drying also raises the risk of lingering smells after a spill.
Simple prevention tips help a lot: vacuum high-use zones regularly, blot fresh spills promptly and deodorise now and then to keep the living area fresher between deeper maintenance. These steps prepare you for the next stage—checking care codes so we don’t set stains or harm fibres.
Before we start: check the sofa fabric label and cleaning codes
We begin by locating the care tag—usually under a seat cushion or on the sofa base. This small label carries vital instructions that decide which method is safe for your upholstery.
What “W” means for water-based methods
W permits water-based cleaner use. We limit moisture, blot rather than rub and rinse lightly to avoid tide marks. Minimal wetting and good airflow are essential in Singapore flats.
What “S” means for solvent-only products
S means solvent cleaners only. We use low-odour solvents, ensure ventilation and keep flammable items away. Extra caution prevents fumes and colour shift.
How we decide on “WS/SW”
WS/SW allows either water or solvent. We test a small patch and pick the gentlest solution that lifts the stain while preserving dye and texture.
What “X” requires
X forbids liquids; we rely on vacuuming and dry methods only. Guessing the wrong cleaner can set stains or cause permanent harm, so we never skip this step.
For step-by-step spot advice, see our guide on removing stains safely.
What we prepare for sofa cleaning
We set out our kit before any work begins. This keeps the task continuous and prevents damp patches from sitting while we hunt for supplies. It also helps us control moisture in Singapore’s humid flats.
Tools we use
- Vacuum cleaner with an upholstery nozzle or brush head—this lifts hair and grit from seams and creases without snagging the weave. Kärcher research shows the right attachment improves dirt removal from cushions.
- A soft-bristled brush to loosen dry debris, plus microfibre cloths for gentle wiping.
- A dry vacuum cleaner or handheld for quick debris pickup after treatments.
Basic supplies
- Distilled water — we prefer it to reduce mineral residue and avoid watermarks.
- Mild dish soap and white vinegar for gentle stain lifting.
- Baking soda for deodorising and oil absorption.
Optional machines
When fabric codes and moisture control allow, we bring a steam cleaner or a spray extraction / wet & dry vacuum. We use them only when they suit the upholstery and drying plan.
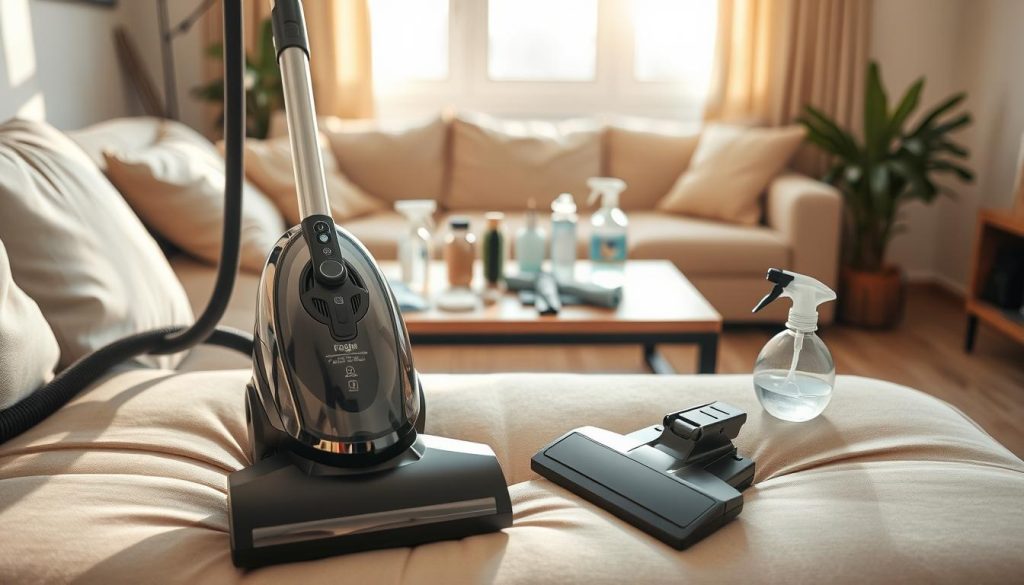
For step-by-step guidance on how to care for upholstery, see our guide on how to clean a fabric sofa.
Our step-by-step method for a light refresh
For routine care we follow a short, repeatable process that lifts grit and restores appearance fast. This step-by-step routine is our safest baseline to brighten and freshen without a deep treatment.
Top-to-bottom dry vacuum
We vacuum from the top down, using a dry vacuum cleaner. Focus on seams, creases and under cushions where crumbs and hair collect.
Tip: Repeat passes on heavily soiled areas to loosen trapped particles.
Loosen dried debris, then vacuum again
We use a soft, dry brush to loosen dried debris so we lift particles out rather than grind them in. After brushing, we vacuum the area again to remove loosened dirt.
Wipe high-touch surfaces with minimal moisture
Armrests, headrests and front edges get a quick wipe with a barely damp cloth. We wring the cloth thoroughly and work in small sections to avoid wet patches.
Air dry and final vacuum pass
Allow the piece to air dry fully in a well-ventilated spot. Once dry, we give a final vacuum to lift the pile and help the clean fabric look even.
“Vacuuming top-to-bottom and re-passing after drying restores texture and keeps the surface looking refreshed.”
How we handle spills and fresh stains without setting them
When a spill happens, our first move is speed — acting within seconds makes removal far easier. Quick action reduces the chance the mark bonds with fibres and helps the piece keep a clean sofa appearance.
We follow a simple, repeatable routine that limits spread and avoids permanent damage. The aim is to remove the problem with the least moisture and the gentlest motion possible.
Blot, don’t rub
Press and lift with a clean white cloth. We avoid rubbing because that pushes the stain deeper and widens the area.
Technique: hold the cloth on the spill, then lift and replace until no more liquid transfers.
Solids first
For solids we lift debris or use a handheld vacuum before any liquid touches the surface. Removing solids prevents trapping grit and reduces the risk of grinding dirt into the weave when we treat the mark.
Dried stains
For crusted marks we work gently with a very dry, stiff brush to loosen crusts. After brushing we vacuum the loosened particles away. This avoids abrasion that can make a faint stain permanent.
“Act fast; blot liquids immediately with a clean white cloth; do not rub; vacuum solids; for dried substances use a very dry stiff brush to loosen then vacuum.”
| Type of mark | Immediate action | Why it matters |
|---|---|---|
| Liquid spill | Blot with white cloth | Stops spread and reduces dye migration |
| Solid debris | Lift or vacuum first | Prevents grinding grit into fibres |
| Dried crust | Brush dry, then vacuum | Loosens particles without pushing dirt deeper |
| Uncertain or spreading colour | Stop DIY and call pros | Prevents worsening and irreversible damage |
We always work from the outer edge inward to avoid ring marks. If colour transfers to the cloth, or fibres look distressed, we stop and seek professional help rather than risk making the stain permanent.
Spot cleaning stains with a safe, fabric-friendly solution
Small, targeted spot work often saves time and prevents larger treatments later. We use a simple, practical solution when the care code allows, and we always keep moisture to a minimum.
Our go-to mix and why it works
Our default solution is white vinegar : mild dish soap : water at a 1:1:2 ratio. This blend lifts oils and light marks while keeping agitation gentle.
Patch testing before you treat a visible area
We test in a hidden spot for up to 24 hours. If there is no discolouration or texture change, we proceed. If dye transfers or the surface looks stressed, we stop and seek a pro.
Blotting, rinsing and avoiding watermarks
We apply the mix sparingly to a clean cloth, not directly to the upholstery, and blot — never rub. After lifting the stain, we rinse with a separate cloth dampened with plain water to remove soap residue.
When to repeat and when to stop
We repeat short cycles only a few times, using gentle pressure. We stop if dye shifts, fibres show wear, or a watermark begins to form. Protecting the piece is our priority.
“Apply the mix to a cloth, blot inward from the edges, rinse with clean water and let air circulate.”
Deodorising and lifting embedded dirt with baking soda
A light layer of baking soda is a low-risk, effective way to lift trapped odours and light oils from high-use areas. We use this dry method to freshen armrests, headrests and seat faces without adding moisture.
How long we leave it on to absorb oils and smells
For a routine freshen we leave the powder for about 15–20 minutes. For stronger smells we may leave it longer, even overnight if practical.
Vacuuming the crystals away for a cleaner, fresher finish
We sprinkle a thin, even layer so it sits on the surface rather than clumping. Use a soft brush to spread gently if needed.
When removing, we run a slow pass with a vacuum cleaner, then repeat with crevice attention so no residue hides in seams. Take careful, slower passes rather than fast strokes to lift all crystals.
“Dry deodorising lifts embedded dirt and oils and brightens a clean fabric sofa finish without extra wetting.”
| Step | Timing | Why it matters |
|---|---|---|
| Light sprinkle | 15–20 minutes | Absorbs odours and light oils |
| Overnight dwell | Overnight | Best for persistent smells |
| Vacuum passes | 2–3 slow passes | Removes powder from pile and seams |
| Humidity caution | Apply only to dry fabric | Prevents gritty residue in Singapore flats |
Deep cleaning options for a truly clean fabric sofa
When a routine refresh no longer lifts grime, or odours persist, we move to machine-led methods. These options remove embedded dirt and restore pile while keeping moisture under control in Singapore flats.
Spray extraction: spray, dwell, then slow extraction
Our process: vacuum first, then apply warm water (up to ~50°C) with a suitable cleaner. For heavy soil we let the mix dwell for at least 5 minutes.
We run slow extraction passes so the machine recovers more moisture. A slow pass pulls suspended dirt out and leaves the upholstery less wet. If residue remains, we follow with a rinse pass using clean water only.
Steam for chemical-free sanitising
We use a steam cleaner only when the care code permits. After vacuuming, we apply controlled steam to sanitise surfaces, allow the piece to air dry, then vacuum again to lift the pile.
Avoiding overwetting to prevent mould
- Limit passes and use nozzle control to reduce moisture.
- Stop if cushions feel heavy with water; extract again or swap to a wet & dry vacuum.
- Dry for several hours or overnight with good airflow.
“Slow extraction increases moisture recovery and reduces drying time — a safer way to deep clean.”
For a practical guide to using a carpet-style machine at home, see our spray extraction steps.
Drying the sofa properly after cleaning
Fast, effective drying turns a wet treatment into a lasting refresh rather than a new problem. In humid Singapore flats, trapped moisture breeds musty smells and mildew, so drying is not an “extra” step — it is essential to protect the piece and the room.
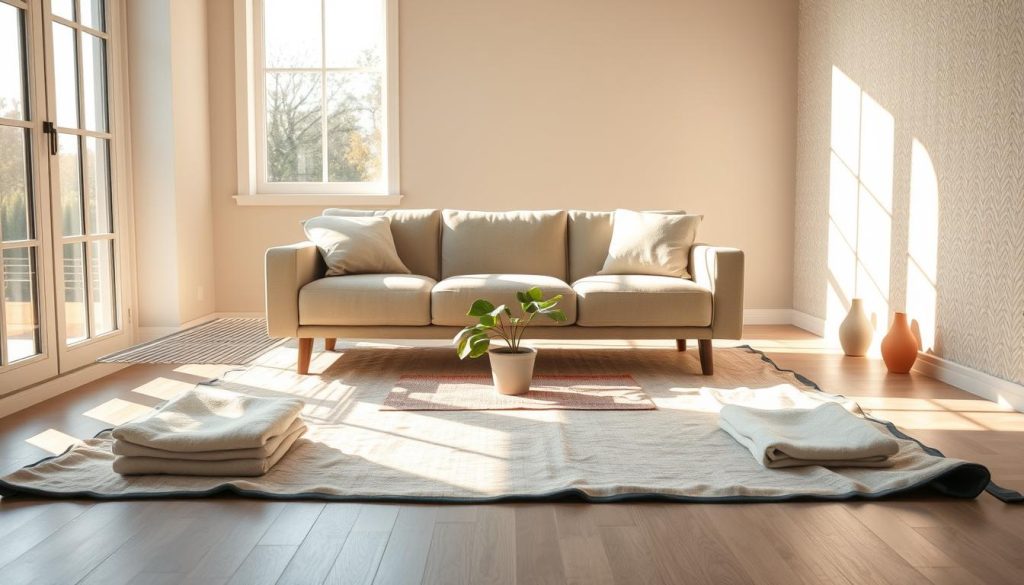
How we speed up drying with airflow and ventilation
After extraction or spot work we blot the surface with a dry cloth to remove surface water and stop wicking into the foam. We never leave puddles to evaporate on their own.
We then increase airflow: fans, open windows where safe and spacing cushions to expose more surface area. A fan can cut drying time to a couple of hours; for deep work we allow overnight, per Kärcher guidance.
Signs the sofa is still damp and what we do next
Check for cool patches, a darker tone in the pile, or a faint musty smell. These show the piece is not fully dry. Sitting too soon can re-compress moisture into cushions and prolong odour.
If drying is slow we increase ventilation, rotate cushions and pause further cleaning so we do not compound moisture. Once fully dry we give a light vacuum to reset pile and keep a consistent clean sofa finish across all sofas.
“Allowing adequate drying time prevents mildew and keeps results long-lasting.”
Ongoing maintenance we recommend to keep fabric sofas looking their best
A few simple habits each week make a big difference to how a living room feels and looks. Consistent upkeep prevents dirt build-up and keeps a clean fabric sofa ready for everyday use.
Weekly vacuum sofa routine
We vacuum sofa surfaces once a week. Use an upholstery attachment and focus on seams, creases and under cushions to remove debris and trapped dirt.
Tip: Work top-to-bottom and take extra passes on high-use zones. A good vacuum cleaner reaches seams without rough brushing.
Monthly deodorising
Monthly, we deodorise with a light dusting of baking soda. Leave for 15–20 minutes, then vacuum away to lift odours and oils.
This step keeps the living area fresher and supports a long-lasting clean fabric sofa finish.
Deep cleaning frequency for busy households
For homes with pets, children or heavy use, we recommend deep cleaning every 6–12 months. Choose the interval nearer six months for busier households.
Why: Singapore humidity makes drying discipline essential. Controlled moisture and thorough extraction prevent mustiness.
Quick post-entertaining reset
After guests, do a full vacuum, fluff and rotate cushions, then spot-check for new marks. This quick reset keeps the piece presentable and avoids escalation to tougher treatments.
“Regular, light maintenance is the most cost-effective way to protect your investment and reduce the need for aggressive sofa cleaning later.”
- Weekly vacuum sofa routine to keep debris and allergens low.
- Monthly deodorising to refresh the living area.
- Deep cleaning every 6–12 months, adjusted for household activity.
- Post-event reset: vacuum, fluff cushions and spot-check.
Conclusion
Here we wrap up the simple, repeatable way to protect your sofa and avoid costly repairs.
Start by checking the care label and patch testing. Remove dry dirt first with a vacuum, then use the mildest effective solution and a soft cloth to blot stains — never rub.
Use steam or machine-led deep cleaning only when the code permits, limit moisture and speed drying with fans. Monthly deodorising and weekly vacuuming keep the piece fresh, while deep cleaning every 6–12 months suits busy homes.
If a stain persists, colour transfers, or the material reacts during testing, stop and reassess rather than risk permanent damage.
For more on long-term care, see our guide to upholstered couch care.

