

We explain what mattress sanitization means at home and why it matters. Regular care removes debris and allergens, treats stains safely and reduces odours so you can enjoy a healthier sleep. This saves an expensive item and keeps your bedroom more comfortable.
In Singapore, humidity makes drying and mildew prevention a priority. We set clear expectations: simple cleaning steps, low moisture methods and thorough drying. Our aim is a reliable routine that fits one session and helps you get a better good night.
We follow basic stages—prep, strip, vacuum, spot-treat, deodorise, and dry—and always check manufacturer guidance. Our core rules are low moisture, gentle blotting rather than scrubbing, and testing on hidden areas to avoid colour change or fabric damage.
Why sanitising your mattress matters for a good night’s sleep in Singapore
Every night, tiny particles and residues work against a truly restful sleep. Over months, our bed layers collect dust mites, dead skin, sweat, hair and fine debris. These irritants can make breathing harder and reduce overall night sleep quality.
The tropical climate and frequent air-conditioning in Singapore help dust and allergens circulate. Quilting, seams and edge piping trap particles wherevacuuming alone may miss them. Removing dust and debris is the basic step in any effective routine.
“A clean sleeping surface is the foundation of allergy relief and better sleep.”
Prioritise cleaning when we have allergy flare-ups, pets sharing the bed, recent spills or obvious smells. Do-it-now signs include itchy eyes at night, persistent odours or fresh accidents. For routine care, schedule vacuuming twice yearly and wash bedding more often.
| Trigger | Immediate Action | Routine |
|---|---|---|
| Pets on bed | Wash covers; vacuum seams | Monthly checks |
| Spills or odour | Spot clean; air dry | Treat stains promptly |
| Allergy symptoms | Deep clean and launder bedding | Biannual deep clean |
We remind readers to make sure they treat both the surface and surrounding bedding or protectors so irritants are not reintroduced. Deeper sanitization is optional and should be needs-based.
What we prepare before mattress cleaning at home
Preparing the right tools stops delays and protects the fabric during cleaning. We set out a clear kit so we can work steadily and keep moisture low.
Vacuum and attachments
We bring a reliable vacuum cleaner with an upholstery attachment and a crevice tool. The attachment lifts fine dust while low suction prevents pulled threads and fabric stress.
Basic cleaning staples
Our starter kit is simple: baking soda, cold water and several clean white cloths. These let us blot without dye transfer and reduce odour before deeper work.
Choosing your cleaner
We pick an enzyme cleaner for organic accidents, and a mild dish soap solution for general grime. Always follow product instructions and test on an inconspicuous area first.
Optional add-ons
For deeper care, a steam cleaner with a wand reaches seams and crevices. A fabric-safe sanitiser or 70% rubbing alcohol helps targeted disinfection where needed.
“Gathering the right tools up front keeps cleaning efficient and drying achievable.”
| Item | Purpose | Usage tip |
|---|---|---|
| Vacuum with upholstery attachment | Lift dust and debris | Use low suction and slow passes |
| Baking soda | Deodorise surface | Sprinkle lightly, wait, then vacuum |
| Enzyme cleaner or dish soap solution | Spot treatment | Enzymes for organic mess; mild soap for general stains |
| Clean white cloths & cold water | Blotting and rinse | Blot; avoid scrubbing and excess moisture |
| Steam cleaner / fabric-safe sanitiser | Deeper cleaning and disinfection | Use sparingly; follow label instructions |
Our baseline for a clean mattress is controlled surface cleaning, not soaking. For a step-by-step on handling tougher accidents, see our detailed guide on safe cleaning methods here.
Strip the bed properly to start clean
Before we touch the sleeping surface, we remove all sheets, pillowcases and top layers to stop dust and debris resettling. Take each item off carefully and place used textiles together so particles stay contained.
We wash sheets and covers following care instructions. Hot water can reduce dust mite counts, but we only use higher temperatures when the fabric allows. For delicate bedding, we select gentle cycles to avoid damage.
Don’t forget protectors and pads
Remove protectors, pads and encasements too. These items trap spills and odours, so washing them stops contaminants returning when the surface is cleaned. Replace or repair a worn mattress protector to extend the life of the sleeping surface.
Practical tips: bag laundry when carrying it through the home and keep clean textiles apart from used ones. Plan timing so the bedding finishes washing while the surface dries. That way we make sure the bed is ready without delays.
“Treat textiles as part of the system — cleaning the surface alone will reintroduce smells and allergens.”
Vacuum mattress surfaces thoroughly to remove dust and allergens
Starting with dry soil removal prevents dust from embedding when moisture is introduced. We always begin by vacuuming the whole sleeping surface to lift loose particles before any spot treatment.

Technique that works
Use a low suction setting and an upholstery attachment for gentle, effective passes. Move slowly from head to foot with overlapping strokes to cover every area.
High-build-up zones to target
Pay close attention to tufting, quilting, edge piping, seams and crevices. These spots trap dust and hair where simple brushing cannot reach.
Using tools correctly
Fit a crevice tool for tight gaps and keep the nozzle moving to avoid fabric stress. A steady, methodical approach lifts fine particles without damage.
“A dry vacuum step preserves fabric and keeps later treatments from turning dust into grime.”
| Step | Focus area | Frequency |
|---|---|---|
| Dry vacuum whole surface | All areas, slow overlapping passes | Monthly without encasement; twice yearly with encasement |
| Crevice and tufting pass | Seams, quilting, edge piping | Every session |
| Inspection | Look for stains or wear | Each time we vacuum |
Mattress sanitization for stains without soaking the mattress
Tackling a visible mark means precise action, not heavy dousing. We treat stains while keeping moisture low so the core dries quickly and construction materials are not harmed.
Spot clean stains the safe way: blotting over scrubbing
Blot, don’t scrub. Use clean white cloths to lift residue. Work from the outside of the stain toward the centre to avoid spreading the mark.
Blood and sweat marks: cold water and minimal moisture control
For blood, we use cold water on a cloth and dab gently. Warm water can set protein stains, so cold water preserves the chance of removal.
DIY dish soap foam method for gentle stain lifting
Create foam and pick it up with a cloth. Dab the foam onto the stain and lift—do not flood the area with liquid. Follow with a light blot of cold water if needed.
Hydrogen peroxide spray bottle solution for stubborn stains and germ reduction
For tough marks we mix 1 tbsp salt, 1 tbsp warm water, 1 tbsp liquid dish soap and ¼ cup hydrogen peroxide in a spray bottle. Apply sparingly and target the spot, then blot. This solution can reduce germs and lighten urine, sweat or blood stains.
Vinegar-and-water option with cautions
A 1:1 vinegar-and-water spray can neutralise odours. Spray very lightly and blot immediately. Avoid deep saturation to prevent long drying times or damage to foam layers.
When to use enzyme cleaner and testing
We choose an enzyme cleaner for organic accidents such as pet urine. Enzymes break down the molecules that cause odour and stain. Always test any solution in an inconspicuous area and check the mattress manufacturer guidance before use.
“Go sparingly — targeted treatments get results without soaking.”
| Stain type | Best approach | Drying tip |
|---|---|---|
| Blood | Cold water blotting; enzyme cleaner if needed | Blot dry; air with fan |
| Sweat / urine | Enzyme cleaner or hydrogen peroxide mix (spot only) | Minimal liquid; use fans and open windows |
| General grime | Dish soap foam; lift with cloth | Quick blot; vacuum when dry |
Deodorise with baking soda to freshen your mattress
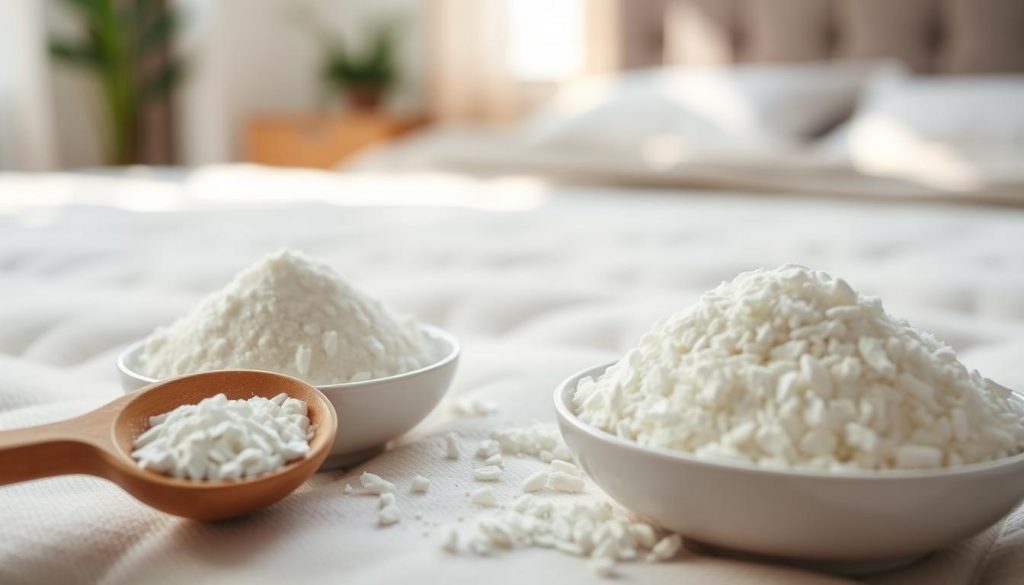
A light dusting of baking soda is our simplest trick to lift lingering smells and excess moisture from the sleeping surface. We use this step after any stain lifting and once the area is mostly dry.
How we apply baking soda across the full area
We sprinkle baking soda evenly, not just on obvious spots. Cover the whole surface to avoid patchy clean zones and trapped odours in seams or quilting.
Leave time, then vacuum
Let the powder sit for at least 15 minutes for routine freshening. For stronger smells, we leave it for several hours or up to a day where practical.
After dwell time, we vacuum slowly with overlapping passes. Move carefully over seams and tufting so powder and trapped smells lift cleanly.
Ventilation helps. Open windows when possible, run a fan across the surface, and keep airflow moving to carry away residual odours and moisture.
“A uniform dusting and slow vacuum pass remove trapped smells without adding moisture.”
For further tips on effective deodorising methods, see our practical guide on how to deodorise a sleeping surface.
Disinfect and dry the mattress completely to prevent mildew
Complete drying combined with careful disinfection keeps fibres healthy and prevents musty odours from returning.
We disinfect only when it matters — after illness, accidents or when a second-hand unit arrives — not as a daily step. For deeper work we prefer a steam clean, using a wand to reach edges, seams and crevices with controlled passes.
Steam cleaning to sanitise and speed drying
Steam cleaning sanitises effectively and loosens trapped grime. Choose a machine with a wand to access piping and tufting while keeping moisture low.
Do this on a sunny day where possible. Sunlight and airflow help the core dry faster and reduce damp smells in humid Singapore conditions.
Targeted disinfection options
For targeted disinfection we use a gentle, fabric-safe sanitiser for broad compatibility. For quick evaporation after illness incidents, 70% rubbing alcohol is effective on surface areas.
“Allow the surface to air completely before remaking the bed to avoid trapped moisture and mildew.”
Dry mattress checklist before remaking the bed
- No cool or damp spots when you touch the surface.
- No lingering scent of cleaner or disinfectant.
- Fabric feels fully dry across seams and edges.
- Room ventilated with fans and open windows; sunlight used safely.
- Avoid flipping or tucking damp foam against the frame — this can hold moisture and invite mildew (Stuart Carlitz, Eclipse International).
| Action | Why it matters | Tip |
|---|---|---|
| Steam clean with wand | Sanitises seams and crevices | Use short, controlled passes |
| Use fabric-safe sanitiser / 70% alcohol | Targeted disinfection after illness | Apply sparingly; allow full evaporation |
| Airflow and sunlight | Speeds drying; reduces musty odours | Run fan and open windows; use indirect sun |
| Check surface before remaking | Prevents trapped moisture and mildew | Touch test and scent check |
Conclusion
, A short, consistent routine keeps your sleep space fresh and ready each night. We advise a simple cycle: strip the bed, vacuum thoroughly, spot-treat stains, deodorise and dry fully before replacing bedding.
Make a habit of vacuuming the mattress at least twice a year and more often without an encasement. Spot clean marks promptly and keep moisture to a minimum to avoid mould and mildew in Singapore’s climate.
Once the surface is completely dry, add a mattress protector to reduce future spills, dust build-up and smells—especially useful for families with children or pets.
Plan a day with good ventilation, prepare supplies in advance and follow manufacturer guidance. Consistent care brings fewer night irritants and a better, healthier sleep over the long term.

