

We set clear expectations for this practical how‑to. In Singapore’s humid climate, regular cleaning keeps sofas looking good and lasting longer. We focus on fabric safety, stain removal and everyday ease of use.
Before any method, we check care tag codes (W/S/WS/X) and always test on a hidden patch. We explain when to use sprays, extraction machines, steam, dry granules or enzyme options so you can match the method to the mess and fabric.
Our approach is fabric‑first: we pick a product that suits the material to avoid colour loss, rings or texture damage. We also cover moisture control in humid weather and when to move from DIY to professional cleaning.
Outcome: a cleaner-looking seat, a fresher living room and fewer allergens where families relax. This guide is written for everyday life—snacks, drinks, children and pets—and designed for step‑by‑step use.
Why we clean sofas regularly in Singapore homes
High daily use and tropical humidity mean we must clean seating regularly to protect appearance and hygiene. In Singapore, frequent meals, children and pets speed wear. Humidity also traps odour and helps grime set if we delay.
Loosening stubborn dirt before it sets into the fabric
We start with light work to loosen dirt before it compacts. Quick vacuuming and brushing lift grit and loose particles. That prevents deeper abrasion that roughens the fibres over time.
Removing unsightly stains, pet hair and dust mites
Fresh stains are easier to treat, so prompt action reduces permanent marks. Regular cleaning also removes pet hair and dust mites that affect comfort and allergy risk. Small, frequent steps keep these problems visible and manageable.
Extending sofa life and keeping the living room feeling fresh
Routine care extends life by cutting down on abrasive grit and repeated scrubbing. We pair frequent spot work with occasional deep cleaning to keep the whole room feeling fresh. The same approach helps other upholstered items such as mattresses and car seats.
Check your sofa fabric before we choose any cleaner
Start by locating the fabric care label; it tells us which cleaning route is safe and which to avoid. We usually find this tag under a cushion seam, beneath the base pad or behind a removable cover. The code on that tag is our first go/no-go decision.
We read the codes as practical instructions:
- W — use water-based products.
- S — use solvent-based products only; avoid water.
- WS — water or solvent are acceptable.
- X — vacuum only; consider professional work.
We always test on an inconspicuous spot first. Apply a small amount, blot with a white cloth, and watch for dye transfer or patchy colour. That colour-fastness check protects the whole piece.
We also test water resistance to avoid tide marks. If water rings appear, we switch to low-moisture or dry methods. Delicate finishes, like silk-like or velvet-style fabric, often need dry care or pros.
“Choosing the right method before cleaning reduces the risk of damage and saves time later.”
| Care Code | Allowed Method | When to hire a pro |
|---|---|---|
| W | Water-based products | Large, set-in stains |
| S | Solvent-only products | Delicate dyes or finishes |
| WS | Water or solvent | Extensive soiling |
| X | Vacuum / professional care | Any wet treatment |
For detailed stain steps and to learn how we remove set marks, see our guide to remove stains from fabric seats. This safety checkpoint keeps our clean process effective and lowers the chance of rework.
What makes the best sofa upholstery cleaner for your needs
We define the best product as one that matches the fabric code, the stain type and how fast we need the seating back in use. In small Singapore homes this balance matters for comfort and drying time.
Sprays for quick spot and odour removal
Spray formulas are our first step for fresh spills and light marks. Oxygen-based sprays penetrate and loosen coloured stains without heavy scrubbing, helping prompt stain removal and reducing the chance of tide marks.
Portable extraction machines for deep cleaning
For deep cleaning a fabric sofa we use portable extractors. They spray solution then vacuum moisture back out. That cuts dry time versus hand washing and lifts embedded grime efficiently.
Steam options
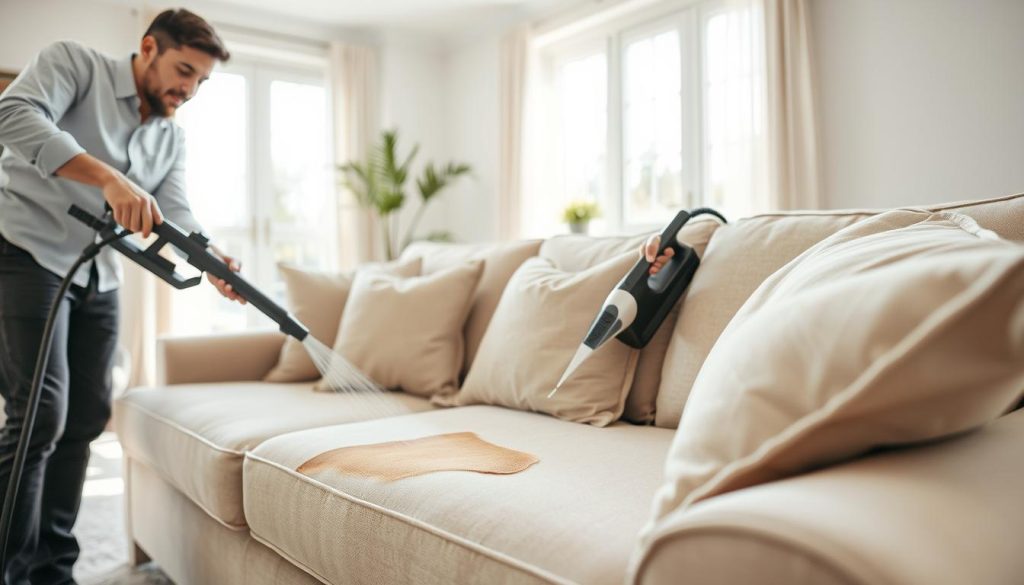
When fabric passes a heat test, a steam cleaner sanitises and loosens dirt. We use a detail nozzle with a microfibre cloth to avoid over-wetting and protect delicate finishes.
Low-moisture and enzyme choices
Dry granules suit heat‑sensitive fabrics and poor drying conditions. Enzyme formulas break down pet urine and odour-causing bacteria so smells do not return.
| Category | Best for | Quick cue |
|---|---|---|
| Oxygen sprays | Fresh spills, coloured marks | If one fresh spill — choose spray |
| Portable extractor | Overall grime, periodic deep cleaning | If dull and dirty — choose extraction |
| Steam | Sanitising, embedded dirt | If heat‑safe fabric — choose steam |
| Dry granules / Enzymes | Delicate fabrics; pet stains | If pets or poor drying — choose enzymes |
Tools we keep ready for sofa cleaning at home
We keep a compact kit at hand so spills are dealt with within minutes. Fast action limits staining and reduces the need for heavy remedies later. Our kit is simple and chosen for gentle results.
Vacuum and turbo nozzle
We use a reliable vacuum cleaner with an upholstery tool for daily removal of surface dirt and crumbs. An air-powered turbo nozzle helps lift stubborn dust, pet hair and mites from seams and piping.
Cloths and blotting
For wet marks we always blot immediately with a clean, dry cloth and never rub. We follow a two-cloth rule: one cloth for initial blotting and a second clean cloth to protect surrounding areas from over-wetting.
- Routine: vacuuming once or twice weekly in busy homes to reduce grime build-up.
- Cloth choice: use white or colour-fast, lint-free material to avoid dye transfer and stray fibres.
- Prep habits: clear cushions, check seams and remove loose items before we start.
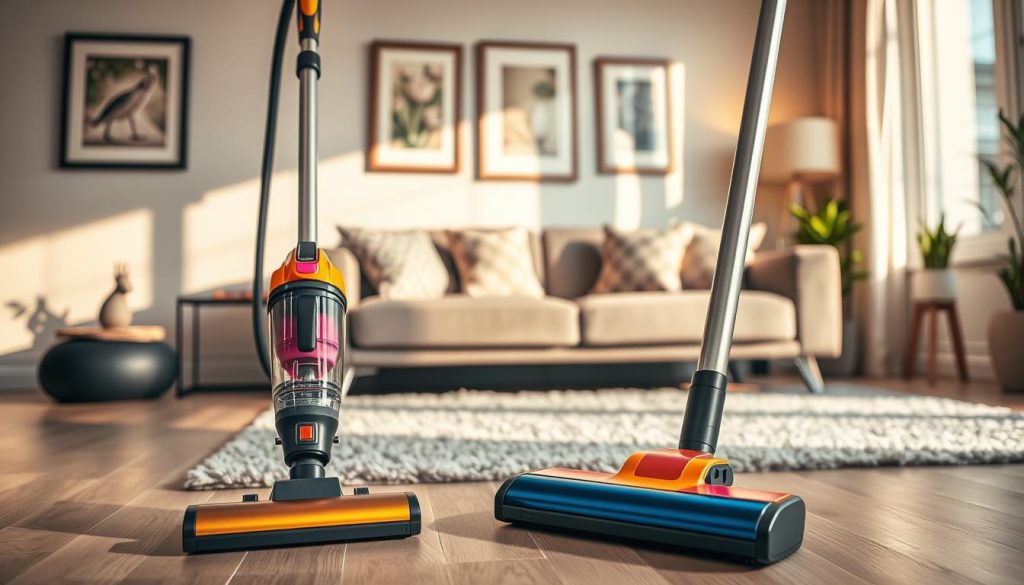
These tools support gentle spot care and stain control, not aggressive scrubbing. They keep fabric looking fresh between deeper cleans and make home cleaning faster and safer.
Our step-by-step sofa cleaning process for everyday dirt
We follow a simple, repeatable sequence so daily cleaning stays effective and predictable. This process prevents patchy results and keeps high-contact zones looking consistent across the whole seating area.
Dry vacuuming first
Start with dry vacuuming to remove dust, crumbs and surface dirt. Vacuuming first stops loose debris from being pushed deeper when we use wet methods.
Work by seating area
We clean one section at a time — seat, armrest, headrest — to control how much moisture we add and to keep the finish even. Focusing on an area also helps us target the parts that collect the most oils and dirt.
Manage moisture and drying
Humidity matters in Singapore. We use minimal solution, avoid over-saturation and plan cleaning earlier in the day for maximum drying time.
Open windows where possible, use fans or air‑conditioning and avoid immediate use so the fabric dries fully and smells do not return. If we spot colour transfer, water rings or a persistent damp odour, we stop and reassess the fabric before continuing.
How we remove stains without damaging upholstery
Acting fast gives us the best chance to save a stained area without leaving marks. We begin by blotting immediately with a clean, dry cloth and never rub, because rubbing pushes liquid deeper into the fibres.
Next we test for water-solubility using a white cloth and lukewarm water. About 90% of stains will transfer in this quick test. If colour lifts, we continue with minimal water.
Safe lifting technique
We use gentle, rotating dabbing movements from top to bottom to lift the mark. This avoids spreading the stain and stops fraying on delicate fabric.
When to use a universal product
If the mark resists water, we apply a small amount of universal stain remover to a colour-fast cloth, then dab—never spray directly. After treatment we rinse residue by blotting with clean water or using a spray extraction device to avoid tacky deposits.
“Quick blotting and careful testing protect colour and texture more than aggressive scrubbing.”
| Step | Action | Why |
|---|---|---|
| Immediate blot | Use dry cloth | Stops liquid soaking in |
| Test | Lukewarm water + white cloth | Checks water-soluble stains |
| Lift | Rotate dabs top→bottom | Prevents spread and fraying |
| Escalate | Product on cloth, then rinse | Controls application and removes residue |
Deep cleaning with a spray extraction cleaner
Using a spray-extraction machine lets us flush soils from the fabric then vacuum them away in the same pass. This approach gives a reliable deep cleaning result without lengthy washing that soaks the padding.
Preparing the tank
We fill the tank with warm water and the manufacturer’s detergent, measuring carefully to avoid excess suds. Follow dosing instructions exactly so residue does not remain in the fibres.
Spray technique and dwell
Hold the nozzle about 10 cm from the surface and spray evenly. Allow a short dwell of a few minutes so the solution loosens grime but does not saturate the cushion core.
Slow extraction and coverage
We vacuum slowly and steadily to pull moisture and dirt out. Move the nozzle in straight, overlapping passes so the machine extracts rather than simply wets the fabric.
Avoiding water marks and repeating passes
Wet connected panels evenly — treat entire seat panels or arm areas, not isolated spots. Repeat passes until extracted water runs clear. If detergent residue looks likely, we rinse once or twice with clear water.
Drying and protection
Ventilate well and plan cleaning time so the piece can become sofa dry before use. We make sure airflow is strong and leave extra time in humid Singapore conditions.
“Spray extraction removes deep soils and can even lift detergent residue left from earlier spot treatments.”
- Finish: once fully dry we vacuum again and apply a textile impregnator to help keep the upholstery cleaner for longer.
Steam cleaning a fabric sofa safely
Steam can refresh small marked areas quickly when we use it with care and control. In humid Singapore, the method suits targeted refreshes and small stains on a fabric sofa rather than steaming the whole piece indiscriminately.
Technique to lift small stains
Use the detail nozzle at an angle and hold a microfibre cloth beside the steam outlet. The angled nozzle directs moist heat so the steam drives the stain into the cloth without blasting moisture deep into cushions.
Heat-sensitivity and spot testing
Always test first. We try a short burst on an inconspicuous spot to confirm heat tolerance. If colour or texture alters, we stop and choose a lower-heat or dry method.
Moisture control and when to stop
Work in short bursts, blot immediately with the cloth and space passes to avoid over-wetting. Success looks like loosened dirt and faded marks without flattened pile, surface shine or damp patches.
- Best use: targeted stain removal and quick refreshes, not full-surface steaming.
- Safety cue: if the fabric feels too warm, changes colour or the microfibre shows dye transfer, cease steaming.
- Drying tip: allow airflow and avoid sitting on the area until fully dry.
“Controlled steam applied with a cloth catches lifted soil and protects the fill from excess moisture.”
Household remedies we use for common tough stains
Simple kitchen staples often tackle common marks without strong chemicals, provided we follow fabric-safety rules and test first on a hidden patch.
Bicarbonate of soda for lifting marks
Bicarbonate of soda is versatile. For light coffee or wine marks we sprinkle powder and leave it overnight, then vacuum the residue the next day.
For targeted work mix 1 tbsp powder with 1 tbsp water into a paste, apply gently, wait a short time and dab away with a clean cloth.
Red wine triage: dilute, absorb, treat
First we dilute fresh red-wine marks with mineral water and dab. If liquid remains, we scatter salt or cornflour to absorb it.
For dried red-wine marks we apply vinegar or lemon juice for about 15 minutes, then dab with cold water to finish.
Blood and dried protein marks
Always use cold water for fresh blood—the cold prevents proteins setting. For dried blood we make a lemon-and-salt paste, leave for ~30 minutes, then dab with cold water.
Grease and oil handling
For greasy marks we use warm water with a few drops of washing-up liquid or neutral soap. Work from the edge inward, then remove residue with a clean water dab.
- We present household methods as sensible for fresh or moderately set stains; test first every time.
- Use minimal water, blot often and allow full drying to avoid rings in humid Singapore conditions.
- For stubborn stains that have bonded to fibres, consider a specialist product or professional cleaning.
“Household remedies save time and chemicals, but careful testing and minimal moisture are the keys to success.”
Leather sofas need a different cleaning and care routine
Leather demands a gentler regime than fabric; we treat it as its own cleaning class.
We begin by removing loose dust and crumbs. A soft dust cloth followed by careful vacuuming in seams clears grit that abrades the surface.
Dusting, gentle vacuuming and a damp wipe
After dusting and vacuuming, we wipe the leather with a lightly damp cloth. Use minimal moisture and work in small panels so the area dries fast.
Why we avoid grease‑removing detergents
Grease‑cutting detergents, such as washing‑up liquid, strip natural oils and leave leather dry and cracked. We favour a mild, neutral soap in lukewarm water applied sparingly.
Use distilled or boiled water to reduce lime spots
Local tap hardness can leave pale spots, especially on dark finishes. Using distilled or freshly boiled and cooled water reduces lime marks and patchy colour.
| Task | Method | Why it matters |
|---|---|---|
| Daily | Dust with soft cloth | Prevents surface abrasion |
| Weekly | Light vacuuming in seams | Removes trapped crumbs and grit |
| Spot cleaning | Neutral soap, minimal water | Clears grime without drying leather |
Less moisture, more care: wipe spills immediately, dry promptly and avoid strong sun in the room. Regular gentle maintenance keeps sofas looking and feeling better and saves on costly restoration later.
When we choose professional sofa cleaning instead of DIY
If a piece has delicate finishes, heavy soiling, or persistent odours, we choose an on-site service for better results. Professional help reduces the risk of damage and brings equipment we cannot easily use at home.
Decision triggers: delicate care codes, large-area soiling, pet accidents, lingering smells, or DIY attempts that left rings or residue make us look for a pro.
What a typical on-site service includes
Most visits begin with sanitise sprays and a dry vacuum. Technicians then shampoo and scrub problem zones.
They may follow with hot water and steam treatment, finishing with deep extraction to remove soil and reduce drying time.
Planning time and drying
A standard three-seater appointment often takes around 1 to 1.5 hours on site. We schedule work when rooms can stay ventilated.
Many fabrics become sofa dry in roughly 4–6 hours with good airflow, but humidity and thickness can extend this.
Setting realistic expectations for stubborn stains
We make sure clients know that stubborn stains may lighten rather than vanish. Older, deep-set marks sometimes resist full removal even with professional deep cleaning.
“Professional service is as much about results as it is risk management for delicate or heavily soiled furniture.”
To speed assessment, we ask customers to send photos or videos beforehand and to clear the area so the team can bring the right kit and set accurate expectations. For a comparison of pros vs DIY approaches, see our guide on professional vs DIY couch cleaning.
Conclusion
Our practical framework is simple: check care codes, test a hidden patch, and match the method to the fabric and stain.
Blot fresh marks, avoid over‑wetting, and use spray extraction for deep fibre cleaning with correct dosing and even passes. Consider a steam cleaner only after a heat test.
Keep to a steady routine: vacuum regularly, treat spots quickly, and schedule periodic deep cleaning or pro help when fabrics or stains demand it.
Decide with confidence — if results, time or fabric safety matter, compare DIY with professional cleaning vs DIY. As a next step, choose one simple cleaning step today: vacuum with the right tool, assemble a blotting kit, or book a deep clean to keep your living space fresh.

