

We open with a clear definition. By “water vacuum cleaner” we mean a wet/dry machine that uses a motor and suction plus filtration to pick up both liquid and dry messes. The device routes debris into a collection tank so the motor stays protected from moisture and grit.
In this guide we explain the key parts: motor, intake, separator tank and filters. We show why that design cuts passes over the floor and improves hygiene compared with mopping with reused mop water.
We also set practical goals for Singapore homes. Expect advice on mode selection, spill handling, edge technique and simple maintenance to avoid mould in humid conditions.
For hands‑on upkeep and filter tips, see the Lura Wet & Dry Vacuum guide. Our aim is fewer repairs, safer use and smarter cleaning outcomes.
Why water and wet dry vacuum cleaners are becoming go-to cleaning tools in Singapore homes
A single device now handles spilled drinks, muddy shoes and crumbs with less fuss. In tight Singapore homes this cuts the back‑and‑forth between mop, bucket and a dry system.
Everyday messes are simpler to manage. Coffee spills and rainy‑day puddles can be picked up and the floor left nearly dry. Dual‑tank designs keep clean solution separate from dirty water, so we aren’t spreading filth back over tiles.
Where a dry vacuum falls short: it collects dust and crumbs but is not built for liquids. That gap is a common pain point in kitchens and dining areas.
- One‑pass vacuum‑and‑mop cuts cleaning time and bending.
- Smaller storage footprint suits HDB flats and condos, reducing clutter.
- Less mop rinsing and quicker turnaround when family members move between areas.
For a deeper look at choosing the right model for compact living see wet and dry vacuum cleaners — do you really need.
How water vacuum cleaner works in real terms
We begin by tracing the path debris and liquids take from the floor into the collection container. This simple view explains why suction matters more than raw power in many cleaning tasks.
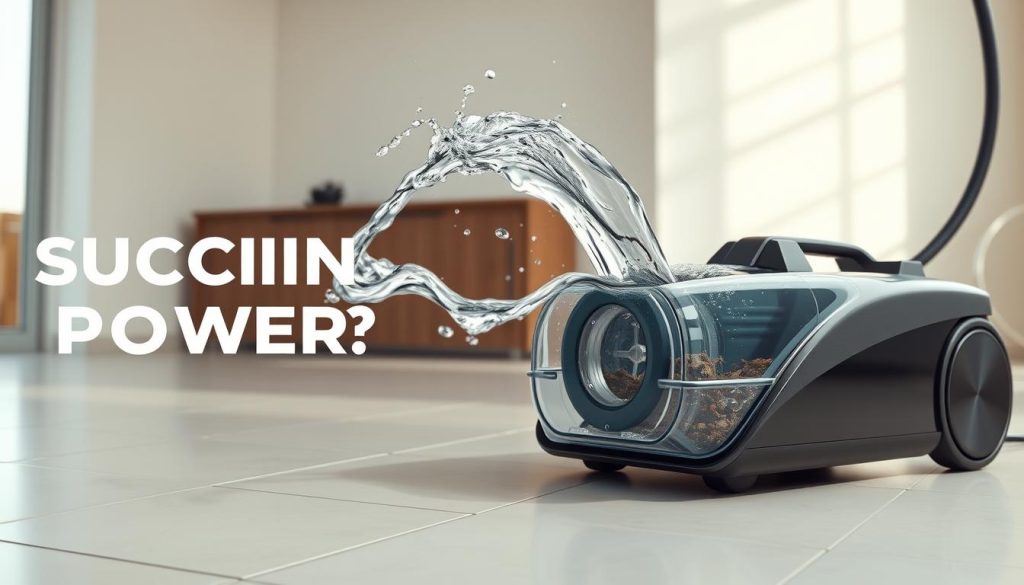
Suction, the motor and delivery
The motor creates negative pressure that drives airflow. That airflow carries dust, debris and liquids into the intake, and the machine’s suction power decides whether heavier wet mess lifts cleanly or is pushed around.
Tank and container separation
The mess drops into a durable tank or container while air continues through the system. A well‑designed tank prevents splashes from reaching the motor and keeps dirty water separate from clean areas.
Filtration and moisture control
Filters trap dust so air exiting is clean. Wet‑dry designs use different filter types or positions to cope with moisture and avoid rapid clogging.
Seals, gaskets and mode changes
Seals and gaskets act as protection, stopping moisture from causing motor damage. Switching between wet and dry modes alters the airflow path, filter setup and sometimes adds a float shutoff to prevent overfilling the tank.
- Tip: Using the correct mode and avoiding overfilling keeps suction steady and reduces maintenance.
Key parts to know before we switch on
Before we plug in, it helps to know which parts make cleaning faster and safer. A little familiarity prevents spills and keeps the device running longer.
Intake heads and brush or roller systems
Choose the intake head to suit the floor. A squeegee head lifts liquid quickly, a brush picks grit from grout lines and a roller scrubs while it mops.
Rollers and brushes agitate sticky dirt so suction can remove residue. Some models add self‑cleaning features that rinse the roller after use, saving time and reducing odour.
Clean-water and dirty-water tanks
Many designs use dual tanks — one for clean solution and one for dirty water — so each pass uses fresh solution. This layout keeps dirty water away from the cleaning path and improves hygiene in small homes.
Practical tip: Check the tank locks and float indicators before use to avoid leaks and overfilling.
Hoses, wands and attachments for tight areas
Hoses and wands let us reach behind appliances, around toilets and into balcony tracks. The right attachment prevents splashing and missed debris.
“We found that matching tools to areas reduces cleaning time and prevents repeat passes.”
- Match heads to floors: squeegee for spills, brush for grit, roller for scrubbing.
- Inspect seals: good gaskets stop leaks and protect the motor.
- Attachment choice: narrow crevice tools reach tight gaps without spreading dirt.
| Component | Main benefit | When to use | Feature to check |
|---|---|---|---|
| Intake head | Effective pickup on floors | Daily spills and dust | Seals and nozzle width |
| Brush / roller | Agitation of sticky dirt | Kitchen messes, stubborn residue | Self‑cleaning option |
| Dual tanks | Hygienic separation | One‑pass cleaning and rinsing | Tank locks & float indicators |
| Hoses & attachments | Access to tight areas | Behind appliances, corners | Flexible length and fitting tightness |
Wet dry vacuum vs dry vacuum: choosing the right device for the job
Choosing the right unit comes down to the messes we expect and the level of protection we need.
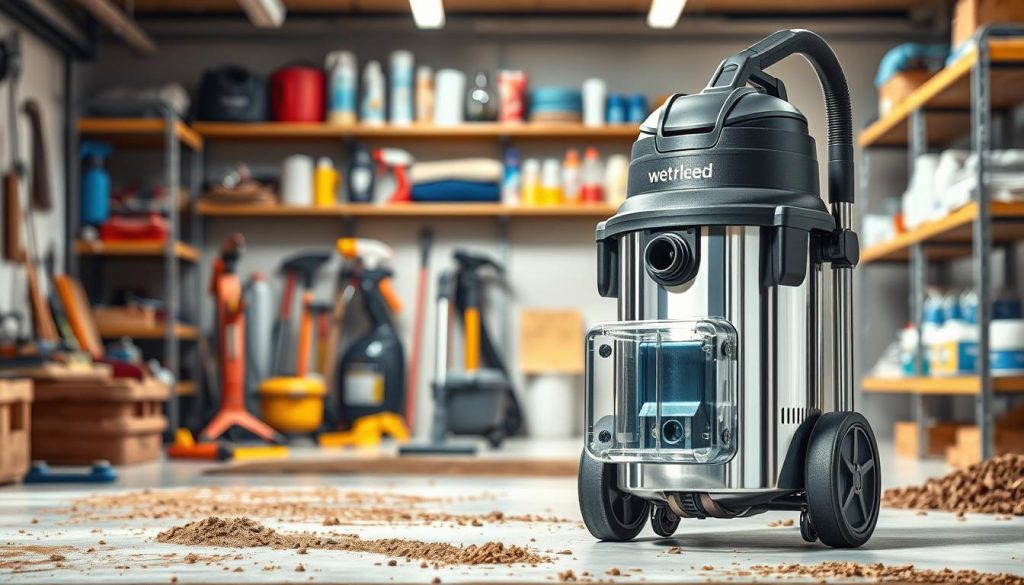
What a traditional dry system cannot handle safely
A dry vacuum cleaner uses bags or a dry canister that fine dust prefers. It is not built for liquid spills.
Risk: liquids can ruin a bag, clog filters and cause internal damage if moisture reaches the motor housing.
Why wet dry models manage liquid debris without harm
Wet dry vacuum designs use a dedicated tank and sealed airflow paths. Gaskets and float shutoffs give extra protection for sensitive parts.
“We choose a wet dry device when spills are frequent; it protects the motor and cuts cleanup time.”
Bagged systems versus tanks: practical choices
Bag systems suit fine dust and tidy removal, while a clear tank is quicker for mixed spills and debris.
Consider costs, odour control and emptying frequency when deciding which type fits our Singapore home.
| Choice | Best for | Pros | Cons |
|---|---|---|---|
| Bagged unit | Allergy‑prone homes | Tidy disposal, good filtration | Ongoing bag cost |
| Tank system | Mixed spills and quick cleans | Versatile, no bags | Requires rinsing and drying |
| Wet dry vacuum | Frequent liquid spills | Designed for liquids, motor protection | Larger storage need |
For a deeper comparison of model choices see wet dry vacuums vs regular vacuums.
How to use a water vacuum cleaner for best cleaning results
To get the best results, we set up the machine and pick a workflow that matches the mess and the floor type.
Pre-flight checks
Confirm wet dry mode and ensure the correct filters are fitted. Check the tank is seated and latched.
Top up clean solution for the planned area and verify floats and seals are clear.
Pick the fastest workflow
When grit or hair is heavy, dry-vacuum first to avoid clogging filters. For light daily dirt, one-pass wet dry vacuum-and-mop saves time.
Handling everyday spills
For coffee, perform steady passes and let suction lift the stain; avoid hot liquids. Muddy footprints benefit from a short pre-rinse then a slow, overlapping pass.
In kitchens, control flow with minimal solution and use the squeegee head for pooled messes.
Edges and narrow gaps
Approach skirting boards at a shallow angle and slow your pace. Use a narrow attachment for tight gaps so suction can capture trapped debris.
Don’ts: Do not overfill the tank, do not pick up hot liquids, and empty dirty water promptly to stop odour and mould.
| Task | Best setting | Tool | Tip |
|---|---|---|---|
| Heavy grit or hair | Dry mode | Brush head | Vacuum first, then mop if needed |
| Light daily clean | Wet dry mode | Roller / squeegee | One-pass cleans and dries faster |
| Pooled spill | Wet dry mode | Squeegee head | Slow, overlapping passes for full pickup |
| Edges & corners | Approach shallow | Crevice tool | Slow movement for suction to capture debris |
Surfaces and areas we can clean safely
Choosing the correct pass for each surface protects finishes and speeds drying across mixed-floor layouts.
Tiles and vinyl: everyday floor cleaning with quick dry times
Tiles and vinyl are the safest surfaces for regular wet dry use. They tolerate brief exposure to water and usually dry fast when suction recovery is strong.
Practical tip: Use a squeegee head and a steady, overlapping pass to remove dirt and leave the floor nearly dry. This reduces slip risk and downtime.
Sealed hardwood and laminate: controlling moisture to reduce risk
Sealed hardwood and laminate can take a cautious wet dry pass if we control moisture. Avoid puddling and choose lower solution flow.
Always test a small, inconspicuous patch first to check finish sensitivity before cleaning an entire room. If the finish darkens or swells, switch to a dry mode and spot clean edges.
- For mixed-floor areas, work from sealed laminate into tile and reduce solution at transitions to keep results consistent.
- Plan a short edge pass for dust and dirt after the wet stage; fine dust often collects along skirting and needs one dry sweep.
Maintenance and hygiene in Singapore’s humid climate
Moisture is the unseen enemy of wet dry systems in tropical homes; a short routine prevents odour and mould. Prompt action after a wet pickup avoids trapped dampness in tanks, containers and hoses.
Empty the dirty tank promptly. After use we always dump the collection tank, rinse the container and wipe lid seals. Leaving dirty water overnight invites mould and stale smells.
Keep filters and airflow clear. Clean or tap filters and inspect airflow paths regularly so suction and power stay stable. Clogged filters strain the motor and reduce performance during everyday cleaning.
Self‑cleaning systems help, but don’t replace manual care. They rinse rollers at the press of a button, yet we must still remove hair, check scrapers, rinse tanks and let parts dry fully.
- Post‑clean routine: empty tank, rinse seals, remove debris, air‑dry all parts.
- Storage tips: stand the unit where air circulates; do not seal damp containers in cupboards.
- Protect the system: regular maintenance reduces internal damage and keeps wet dry performance consistent over time.
For a step‑by‑step rinsing and filter guide, follow our easy cleaning steps to keep your wet dry unit running at full power.
Conclusion
Our final takeaway focuses on simple choices that make cleaning faster and safer at home.
Understanding how water vacuum cleaner works lets us select the correct wet dry mode, protect the motor and keep floors cleaner with fewer passes.
Practical comparison: dry vacuum cleaners excel at dust and dry debris, while wet dry vacuum models handle liquid and mixed messes without risking internal damage.
Singapore tip: a single wet dry device saves storage and speeds spill response. Regular rinsing and full drying after use prevent humidity‑related odour.
Quick checklist: pick the right device for each surface, set the correct mode and filters, empty and rinse tanks promptly, and air‑dry components before storage. Apply these steps room by room for consistent, realistic cleaning results.

