

We explain practical upkeep for busy Singapore homes. This guide is for homeowners who want safe, effective care that protects texture and finish. We set clear expectations for routine dusting and occasional deeper work.
We outline a simple step-by-step journey. Start with microfibre cloths and a vacuum brush attachment. Use circular motions and a mild cleaner, then wipe residue and, if needed, condition to restore oils and lustre.
Safety matters: we avoid harsh chemicals, excess water and rough scrubbing. Different types such as aniline, pigmented/protected, bonded and nubuck need varying caution and products.
Singapore’s humidity, pets and frequent spills make regular care essential. We preview fast routines for tight schedules, targeted stain removal, and when professional help is the smarter option for stubborn marks or mould.
Why we prioritise regular leather sofa care in Singapore homes
A steady routine keeps our sitting areas hygienic and helps us avoid damage that builds up over time. In busy homes a little attention goes a long way.
How dirt, dust, allergens and odours build up
Day-to-day use lets dust and dirt settle into seams and creases. Allergens and bacteria collect in high‑traffic spots before visible marks appear.
Pets, spills and residue can create lingering odours that a quick wipe rarely removes. Left unchecked, these issues harm indoor air quality and can affect sensitive family members.
What Singapore’s humidity means for moisture and mould risk
High humidity encourages moisture retention in upholstery and under cushions. Trapped damp raises the chance of mould and makes odours worse.
We recommend good ventilation and airflow to reduce this risk and keep the resting areas dry.
How the right process protects appearance, texture and long-term quality
A consistent, gentle process prevents dulling, uneven discolouration and premature wear. Regular upkeep preserves appearance and texture so our leather sofa keeps its comfort and quality for years to come.
Prevention beats repair: small habits cut the need for heavy intervention later and extend the life of your investment.
What to check before cleaning leather upholstery
Before any work begins, we read the manufacturer’s label and inspect hidden panels. This confirms the type and finish so our cleaning process matches the surface and avoids damage.
Patch test and product trial
We run a discreet patch test on the back or underside. A small application tells us if a product causes colour transfer, dulling, or a sticky residue.
Spotting high-use areas and sources of wear
We map common areas that collect oils and dirt: armrests, headrests and seat cushions. These spots carry the highest stain risk and need gentler methods.
- Check seams, crevices, tufting and the gap between cushions for grit that can scratch the surface.
- Look for flaking, cracking or colour loss — these signs change which products or methods we use.
- If stains are set-in, ink has spread, or the surface feels compromised, we stop DIY and seek professional help.
| Check | Why it matters | Action |
|---|---|---|
| Manufacturer label | Identifies type and approved care | Choose compatible products and methods |
| Patch test area | Reveals adverse reactions | Test on underside; wait 24 hours |
| Seams & crevices | Debris accumulates and abrades surface | Vacuum with brush attachment first |
For more detailed guidance on technique and safe products, we reference an expert guide on how to care for an upholstered couch: how to clean a leather couch.
Tools and products we prepare for safe leather cleaning
Before we start any work, we gather a compact kit so every pass is precise and safe. The right items make a measurable difference to the finish and reduce the risk of damage.
Essentials for a damage-free clean
- Microfibre cloths — minimise scratching and lift oils gently.
- Vacuum with a brush attachment — remove grit from seams before any wiping.
- Soft‑bristled brush — work along stitching and creases without abrading.
Why we choose mild, pH‑balanced cleaners
We use a pH‑balanced product formulated for upholstery. It breaks down grime while protecting the protective layer so the finish stays even and supple.
Avoid bleach, ammonia, strong solvents and generic wipes — these can strip oils and discolour the surface.
Optional add-ons that improve the finish
For light spot work we sometimes mix a mild dish soap with warm water to form a gentle solution; the cloth must be well wrung out. A quality conditioner replenishes oils and lifts the overall finish. We also use protective covers or throws in family rooms to reduce wear from pets and children.
For step‑by‑step technique and an easy reference, see our guide to easy cleaning steps.
Know your leather sofa type to avoid damaging the surface
Knowing the exact material beneath the surface guides every safe care decision we make. Identifying the type lets us choose gentle products and appropriate methods that protect texture and long‑term quality.
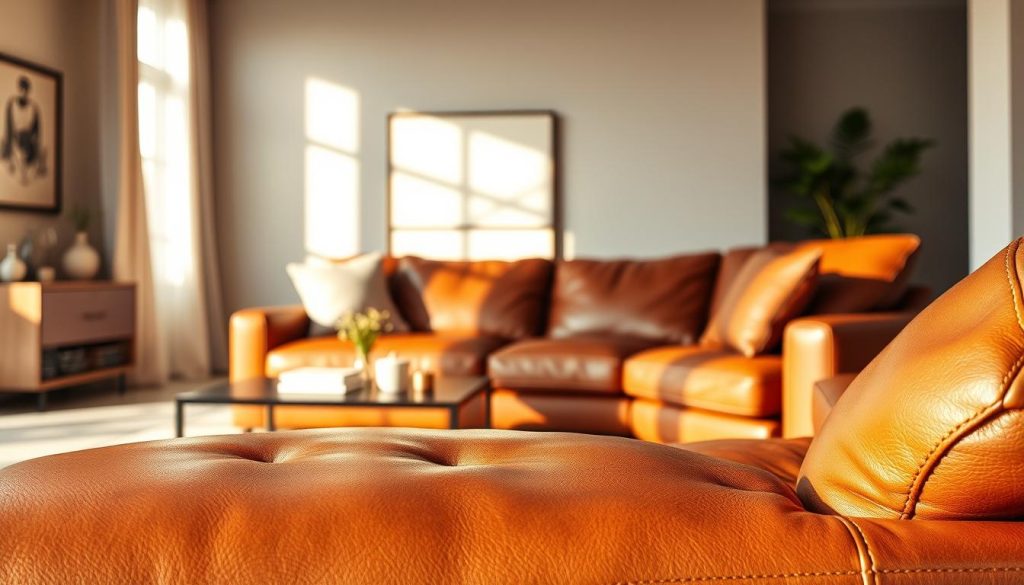
Aniline and nubuck: high caution required
Aniline and nubuck are very absorbent and stain easily. We use minimal moisture, blot spills at once and test any product on a hidden area.
Semi-aniline, full-grain and top-grain: balance and durability
Semi‑aniline offers a light coating that aids removal of everyday grime while keeping natural texture. Full‑grain and top‑grain give greater durability; regular gentle upkeep and occasional conditioning preserve patina and quality.
Pigmented/protected and bonded: what to expect
Pigmented/protected finishes are easiest to maintain but can crack if neglected. Bonded material looks uniform but may peel; we avoid over‑wetting and abrasive rubbing.
| Type | Care note | Stain strategy |
|---|---|---|
| Aniline | Very natural; avoid water | Blot; specialist removal if set |
| Nubuck | Velvety; high absorbency | Dry sponge; no liquids |
| Semi‑aniline | Light protection; versatile | Mild soap solution; gentle wipe |
| Full/top‑grain | Durable; develops patina | Regular vacuuming; condition lightly |
| Pigmented / Bonded | Easy wipe care; bonded may peel | Wipe with mild cleaner; avoid scrubbing |
Leather sofa cleaning for routine upkeep versus deep cleaning
We balance short, effective refreshes with a longer process for restoration and protection. This helps us save time while keeping surfaces in good condition.
Quick refresh when guests arrive
When we have only minutes, a fast routine works well. We dust, check for visible marks, do a gentle soapy wipe and dry immediately.
This takes about 10 minutes and makes the sofa presentable without heavy work. We focus on high-touch areas and skip deep stain removal.
Planned deep care and conditioning every months
Deep cleaning is a longer session. It includes crevice work, even product application and full drying control.
We aim to deep clean and condition every months depending on use—busy homes or those with pets may need it more often. For many households, a 3–6 month schedule is practical; some prefer a 6–12 month interval.
When we call professionals
If time is short, stains are stubborn or we want a thorough reset, we opt for professional cleaning. This saves time and often restores condition more reliably than trial and error.
| Task | Frequency | Approx. time |
|---|---|---|
| Quick refresh (dust & wipe) | Weekly / as needed | 10–15 minutes |
| Deep clean & condition | every months (3–12 months based on use) | 30–60 minutes |
| Professional cleaning | As required or yearly for heavy use | Varies; saves personal time |
Leather sofa cleaning step-by-step for a thorough, pristine finish
This concise step plan shows how to achieve a pristine result while controlling moisture and texture.
Step 1 — Gentle dusting and vacuuming: we remove cushions and accessories first. Then we vacuum with a brush attachment, focusing on seams, crevices and tufted areas where crumbs and dirt collect.
Why this first: rubbing a damp cloth over grit can scratch the surface and dull the finish. Dusting and vacuuming remove loose debris safely.
Applying cleaner and lifting grime
Step 2 — we apply a mild cleaner to a microfibre cloth, never directly onto the material. Using circular motions, we work evenly to lift grime and reduce patchiness.
For small stains we make several light passes rather than scrubbing. If colour shifts or the surface feels stressed, we stop and reassess to avoid damage.
Residue removal and moisture control
Step 3 — wipe away residue with a clean cloth. Blot gently rather than rub, and keep the surface only lightly damp.
We check seams for trapped moisture and allow full air drying in a ventilated room to reduce mould risk.
Hydration and conditioning
Step 4 — once dry, we apply a conditioner evenly to replenish oils and restore lustre. This final pass keeps the texture supple and helps prevent drying or cracking.
“Done right, the result is an even finish, no sticky residue, no water marks, and a soft, resilient feel.”
| Stage | Key action | Why it matters |
|---|---|---|
| Prep | Remove cushions; vacuum seams | Removes crumbs and grit that cause scratches |
| Main clean | Cleaner on cloth; circular motions | Even removal of dirt and stains without patching |
| Dry & condition | Blot dry; air dry; apply conditioner | Controls moisture and restores finish quality |
Fast cleaning leather sofa method when time is tight
When we have only ten minutes, a focused routine restores appearance and freshness without fuss.
Our ten-minute wipe-down sequence follows a clear, timed pattern so we work quickly and safely.
- Wipe off dust — 1 minute: use a dry microfibre to lift surface grit. Dusting first prevents grinding dirt into the surface.
- Check for stains — 1 minute: spot any marks that need later attention. Light marks are fine for this session; deep stains need more time.
- Mix a mild soap solution — 2 minutes: combine a small amount of soap with warm water and wring the cloth well.
- Clean with a damp cloth — 3 minutes: wipe in gentle, circular steps on armrests, seat cushions, headrests and front edges.
- Dry with a soft cloth — 2 minutes: blot fully to avoid water marks and trapped moisture.
- Condition (optional) — 1 minute: apply a light layer if the surface looks dry or dull.
Why this works: small, timed passes control moisture and stop dirt from embedding. We keep the cloth damp, not wet, to protect the finish.
“A quick, consistent ten-minute routine makes a visible difference without risking damage.”
Limitations: this is a fast refresh. For set-in stains, mould or heavy soiling we reserve extra time or seek professional help.
Spot cleaning and stain removal without damaging leather
When a spill hits a seating area, prompt action keeps marks small and prevents lasting damage. Our aim is a controlled spot process that restores appearance without damaging the surface.
Why we blot spills immediately instead of rubbing
We always blot fresh spills rather than rub them. Rubbing spreads the liquid and can abrade the finish, which risks a larger mark.
Blot, then reassess: use a dry microfibre to lift as much as possible before any damp work.
Water-based stains and discolouration
For juice, coffee or other water-based marks we use a tiny amount of warm water with mild soap to form a light solution.
Apply the solution to a cloth, not to the surface, and work in gentle circles from the outside towards the centre to avoid a halo.
Ink and stubborn stains: when to stop
For ink or stubborn stains we make short, repeated passes with a specialised product or a damp cloth. Stop immediately if colour transfers, the grain looks stressed, or the surface darkens.
“Repeat lightly, then pause — if the mark resists, the next step is restraint.”
When we recommend professional cleaning
We advise professional cleaning for large spills, set-in marks, recurring discolouration or any attempt that risks changing the finish.
Final step: always blot dry and air the area fully before use to prevent mould and ensure proper removal.
How we remove mould from a leather sofa safely
Tackling mould requires both safety measures and a calm, stepwise approach. In damp Singapore homes, mould affects health and the finish of our leather seating. We treat the issue as both a hygiene and furniture problem.
Assessing severity and when to call professionals
First we inspect the affected area. If mould covers a large patch, smells musty or seems embedded, we recommend professional cleaning to avoid permanent damage and recurrence.
Protective steps before we start
We set safety controls: open windows, wear gloves, a mask and eye protection. Good ventilation limits airborne spores and keeps the home safer during the work.
Our gentle mould removal method
- Vacuum loose spores with a brush attachment; avoid spreading them.
- Wipe using a very mild soap and water solution applied to a cloth — never soak the surface.
- Blot excess moisture and allow the area to air dry completely; drying is non‑negotiable to prevent regrowth.
“Gentle methods beat force — avoid harsh scrubbing that can damage the finish.”
Prevention: control moisture with airflow and dehumidification. Good habits protect the furniture and reduce future mould risk.
Conditioning leather after cleaning for long-term protection
After a careful clean, the final protection step secures the surface and restores suppleness. Conditioning replaces oils that cleaning can remove and reduces the risk of drying or cracking.
How often we condition to keep the finish healthy
We typically condition every 6–12 months. In high‑use homes or where humidity is high, we tighten the cadence to every 3–6 months.
Applying product evenly and buffing for a natural shine
Use a small amount on a clean microfibre. Apply in gentle circular motions to avoid patchy shine. Let the product absorb for a few minutes, then buff with a dry cloth for a soft, natural finish.
Focus on high‑use areas and avoid over‑conditioning
Concentrate on arms, seat cushions, headrests and edges — these areas lose oils fastest. Avoid over‑conditioning: too much product attracts dust and harms the long‑term quality.
“Conditioning is the protection step that keeps appearance consistent and extends life.”
Maintenance habits we follow to keep leather sofas looking new in Singapore
Simple placement and airflow choices help us avoid fading and unwanted moisture. These small steps suit busy homes and cut the need for frequent deep work.
Preventing fading and discolouration
We position sofas away from direct sunlight and heat sources. Use curtains or blinds during strong afternoon sun to protect the surface and keep texture even.
Managing humidity and airflow
Air circulation is vital. We use air‑conditioning, fans or a dehumidifier to keep moisture near 40–60% and reduce mould risk.
Routine dusting and vacuuming
Weekly dust removes grit that abrades finish. Each month we vacuum crevices with a soft brush to lift trapped dirt and extend the life of the furniture.
Practical protection for families and pets
Throws and protective covers stop oils, spills and claw marks from reaching the material. We also keep keys, belt buckles and sharp objects off seating zones.
These habits cut time spent on repairs and mean the occasional deep session keeps sofas presentable for longer.
When we choose professional cleaning services for leather sofas
We choose professional help when household methods no longer remove deep grime or persistent odours. That decision often comes when stains, mould risk or allergy concerns need more than trial-and-error.
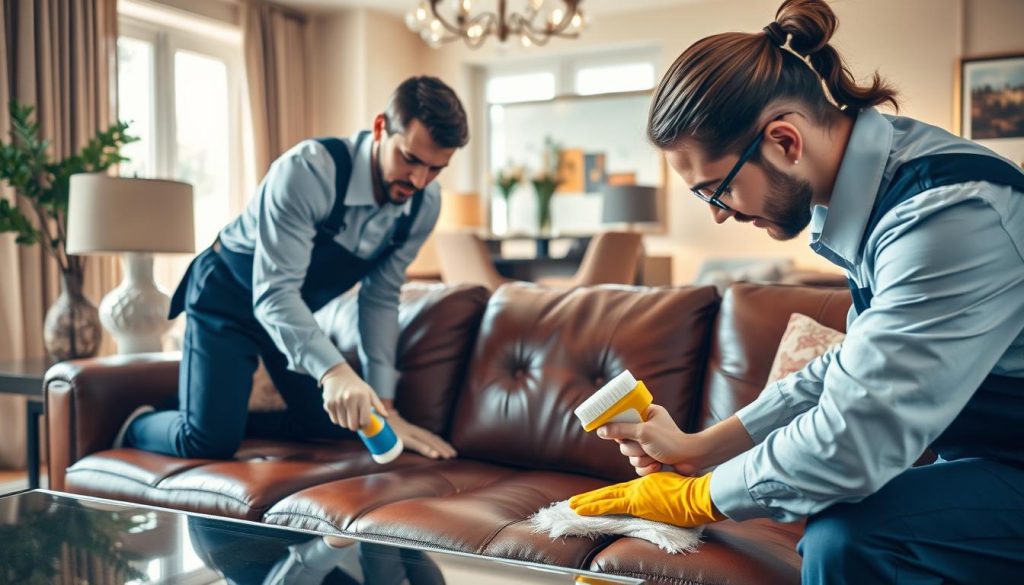
Benefits versus DIY: deeper results, time-saving and longevity
Professional cleaning delivers deeper dirt and allergen removal than surface wipes. Extraction and sanitising reduce odours and improve indoor air quality, which matters in busy Singapore homes.
Time is saved: technicians finish in hours what might take us days and trial products. Correct methods also protect the finish and extend furniture life, saving cost over time.
How often we schedule deep cleaning in busy households
For heavy use—kids, pets or allergy sufferers—we book a deep cleaning every three to six months. For lighter use, a six‑to‑twelve month cycle is often enough.
What a professional cleaning process typically includes
Typical steps include pre‑inspection, dry vacuuming, sanitising, shampooing and shampoo scrubbing, hot water or steam treatment, then power‑deep extraction.
Leather-specific care pairs cleaning with conditioning to prevent cracking and preserve look. For more on trained services we recommend a reputable upholstery reference such as upholstery cleaning.
“A professional process resets condition and supports ongoing maintenance rather than replacing it.”
| Stage | Key benefit | Outcome |
|---|---|---|
| Inspection | Matches methods to material | Safer, targeted work |
| Sanitise & extraction | Removes embedded dirt & allergens | Better air quality & odour removal |
| Condition | Restores oils and suppleness | Longer lasting quality |
Common leather cleaning mistakes we avoid
One careless pass with the wrong method can change the finish for good. We list the frequent errors and explain why they harm the material so readers in Singapore can avoid costly repairs.
Using too much water and leaving moisture behind
Over‑wetting risks water stains and warped finish. Excess water soaks into fibres, invites mould and can make stains set rather than lift.
We always wring cloths well, blot spills first and allow full air drying after any damp work.
Scrubbing with abrasive materials
Rough brushes or scouring pads scratch texture and mar the surface. Dirt trapped in seams becomes worse if we rub grit across the grain.
We use soft microfibre and gentle strokes to protect the look and feel.
Using bleach, ammonia, wipes or unsuitable household products
Harsh chemicals strip protective coatings and cause discolouration or sticky residue. Baby or wet wipes can contain alcohols that dry the finish.
We recommend pH‑balanced products designed for upholstery and always patch test first.
Skipping conditioning or over-conditioning
Cleaning removes oils; failing to condition leaves the material dry and prone to cracking. Conversely, too much conditioner leaves a greasy layer that attracts dirt.
We follow manufacturer guidance, apply conditioner sparingly and perform a patch test before broad application.
“Read the label, patch test, and choose gentle methods — prevention saves repair.”
Conclusion
We finish by reaffirming the simple routine that preserves appearance and comfort.
Summary: careful prep, pH‑balanced products, prompt blotting, controlled moisture and regular conditioning form the full approach for a clean, resilient leather and fabric surface.
In Singapore we prioritise humidity control, airflow and routine dust removal to lower mould risk and surface abrasion. These small steps make a big difference.
Our rule is clear: frequent light maintenance plus periodic deep work keeps any sofa in good condition. Match methods to material, patch test and follow manufacturer guidance.
If stains, strong odours or visible mould appear, we opt for professional cleaning. The right habits now help the piece stay comfortable and presentable for years to come.

