

We open with a clear promise: we will show a simple, safe routine for using a leather sofa cleaner so your seating looks fresh without risking premature ageing.
Our approach is practical for busy Singapore homes. First dust or vacuum, then apply a suitable leather cleaner to a microfibre cloth and clean in gentle circular motions.
We then wipe away residue with a second clean cloth and let the piece air dry. Optionally, we apply a conditioner to restore moisture and reduce drying and cracking over time.
What to expect: balanced results that protect texture, colour and long-term durability. We avoid harsh scrubbing and excessive water so the finish stays even and comfortable.
Key takeaways: use microfibre, minimal water, no harsh chemicals, regular gentle upkeep, and sensible conditioning to extend life for years.
Before we start, prepare your sofa and cleaning area
Before we touch a single panel, we set up a clear, tidy work area so every step runs smoothly.
Tools and products we keep on hand
- Mild leather-safe solution or a dedicated mild product and a small bowl.
- Microfibre cloths—use light or white to avoid dye transfer; keep at least two cloths ready.
- Soft-bristled brush, vacuum with a brush attachment and an optional conditioner.
- Mild dish soap or baking soda for spot use; avoid bleach, ammonia or abrasive tools.
Why we patch-test and follow the manufacturer
We always try a small hidden patch, wait a short time, and check for colour transfer or finish change.
This protects warranties and prevents costly mistakes. Following the manufacturer’s care label keeps finishes intact and saves time later.
Setting up for Singapore homes with limited ventilation
Open windows where possible, run a fan or air‑con to keep air moving, and work in small sections so each area dries quickly.
Quickly remove dust before any wet step—dust acts like an abrasive and speeds wear on high-contact areas.
For moisture control, wring cloths thoroughly and use minimal water. We use one cloth to apply solution and a second clean cloth to lift residue for an even finish.
For extra guidance on safe methods, see our short guide on how to clean a sofa with a carpet.
Identify your leather type so we don’t damage leather
Knowing the precise material under the surface stops many common mistakes before we start cleaning. We always confirm the leather type so we choose products and methods that match the finish and texture.
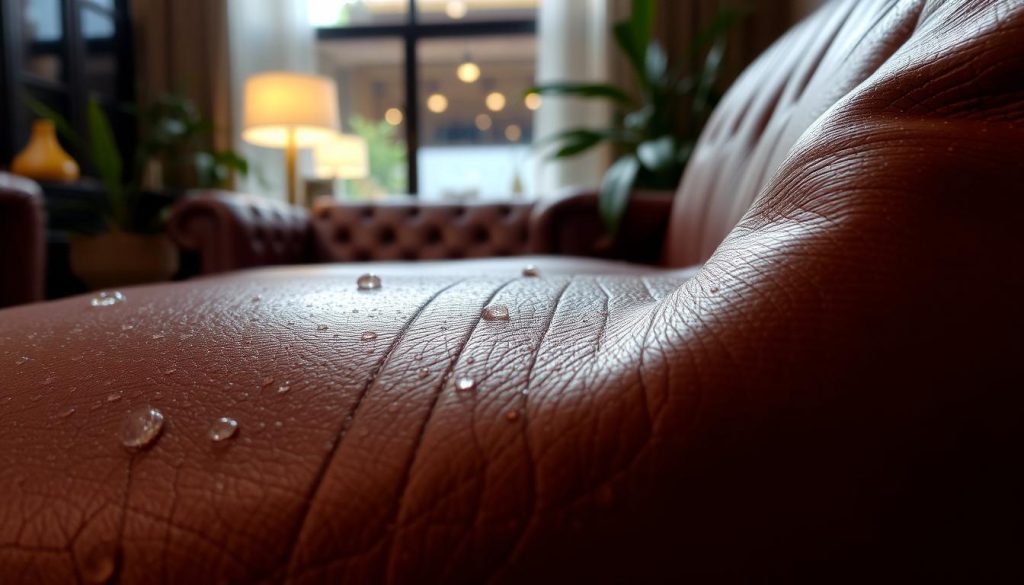
Aniline leather and why it needs the mildest approach
Aniline is unprotected and shows a natural texture. It feels soft but stains easily.
We use the mildest solution, very little moisture, and expect a temporary darkening that fades as it dries.
Semi-aniline for a balance of beauty and durability
Semi-aniline has a light protective layer. It keeps much of the natural look while tolerating gentle cleaning better than pure aniline.
We select a product labelled suitable for this type to avoid any surprise changes to the finish.
Pigmented leather and protected finishes that are easiest to clean
Pigmented leather (protected/finished) is the most forgiving. Wiping with a barely damp cloth usually works.
Strong chemicals can strip colour or dull the layer, so we avoid aggressive solvents.
| Type | Key trait | Safe method | Risk |
|---|---|---|---|
| Aniline | Natural, soft texture | Mild solution, minimal moisture | Darkening, stains |
| Semi-aniline | Light protective layer | Gentle wipe, compatible product | Finish change if harsh |
| Pigmented / Protected | Durable finish | Wipe with damp cloth | Colour strip from strong chemicals |
| Nubuck / Bonded / Top-grain | Varied texture and layers | Brush or very mild wipe; avoid saturation | Peeling, cracking or texture loss |
Top-grain, nubuck and bonded considerations
Top-grain and full-grain benefit from regular gentle care and conditioning to protect the outer layer.
Nubuck has a velvety texture; we brush and air dry rather than wet wipe to protect the nap.
Bonded types contain a polymer layer. Unsuitable products and heavy rubbing can cause peeling or cracking, so we keep friction and product strength low.
Tip: Check tags and product descriptions. When in doubt, view a short guide on types of leather before you proceed.
Our quick clean leather routine for day-to-day upkeep
We recommend a fast, repeatable ritual that removes surface dirt without risk. This is our go‑to way when we need the seating to look tidy in a short time.
Lift dust and loose dirt
Remove cushions and use a vacuum on a gentle setting with a brush attachment. We focus on seams, crevices and under cushions where dust and dirt collect.
Wipe with a barely damp cloth
Use a soft cloth barely dampened with water to wipe sealed surfaces. Keep pressure light and work in small sections so you do not over‑wet the material.
Refold the cloth to a clean side often to avoid re‑depositing grime. Use one clean cloth for the wipe and a second dry cloth to blot if needed.
Drying and final steps
Blot any damp spots immediately and then allow the piece to air dry fully before use. In Singapore’s humidity, this step prevents water marks around seams.
| Step | Time | Tip |
|---|---|---|
| Vacuum | 2–3 minutes | Gentle brush head for seams |
| Wipe | 3–5 minutes | Barely damp cloth, light pressure |
| Dry | 5–20 minutes | Blot then air dry before sitting |
How we use leather sofa cleaner for a deeper clean
If surfaces show stubborn marks or greasy build-up, we shift from quick upkeep to a focused deep clean.
Choosing a mild, pH‑balanced product and avoiding harsh chemicals
We select a mild, pH‑balanced product (close to pH 7) that is marked safe for sensitive finishes.
Avoid bleach, ammonia and strong alcohols. These strip protective layers and can change the finish or colour.
Apply to a microfibre cloth and work in circular motions
After vacuuming, we put a small amount of solution on a microfibre cloth — never directly onto the seating.
We clean small areas with light pressure and circular motions. This lifts dirt from the grain without over‑wetting.
Manage residue with a second clean cloth
We always follow with a dry, second cloth to remove residue. Leftover product attracts dust and leaves an uneven sheen.
If a mark resists, we repeat the process gently and treat that area as a stain: blot first, then target-clean.
How often we deep clean versus normal cleaning
For normal upkeep we wipe lightly each week or as needed. For a deeper refresh, we clean every 3–6 months.
Homes with heavy use or warm, humid conditions in Singapore may need deep cleaning more often.
After deep cleaning, we include conditioning in the cycle to restore moisture and protect the surface layer. For extra guidance see how to clean a couch.
Conditioning after cleaning to restore moisture and sheen
To protect the surface and extend lifespan, we always finish deep cleaning with a conditioning treatment.
When we use a leather conditioner and how it extends lifespan
Cleaning can remove natural oils. Conditioning replaces those oils and helps prevent drying and cracking over the years.
We use a leather conditioner after a deep clean, when the surface looks dull, or when arms and seats feel slightly dry.
How we apply conditioner evenly, focus on high-traffic areas, and buff
Apply a small amount of conditioner to a clean cloth and spread a thin, even layer. Work in light, circular motions.
Start with high-traffic zones first, allow a few minutes to absorb, then buff with a dry cloth for an even sheen.
Conditioning frequency guidance for modern homes and sun-exposed rooms
For busy households we condition every 3–6 months. Lower-use rooms can go 6–12 months between treatments.
Rooms with direct sunlight usually need more frequent care, as UV and heat speed drying and colour fade.
“A light, regular conditioning routine protects texture and keeps upholstery comfortable.”
| Situation | Frequency | Tip |
|---|---|---|
| High use / Sun-exposed | Every 3–4 months | Use thin coats; move away from direct sunlight where possible |
| Normal use | Every 3–6 months | Condition after a thorough clean for best results |
| Low use / controlled environment | Every 6–12 months | Monitor surface dryness and treat as needed |
Spot treatments: how we remove stains without spreading them
Spills happen fast, so our first move is always to stop the mark spreading.
Our blot-first rule for spills, coffee, juice and other water-based marks
We blot immediately with a soft, absorbent cloth. Do not rub — rubbing spreads stains and forces liquid deeper into the surface.
If the spill is water-based (coffee, juice, soft drinks), quick blotting often lifts most of the mark. Time is critical: the sooner we act, the higher the chance to remove stains.
Using mild soapy water or a specialised product for stubborn marks
Start with a barely damp cloth and reassess. If the spot remains, mix a few drops of mild dish soap in warm water and dampen a second cloth.
Work from the outside toward the centre using gentle circular motions. Re-wet the cloth sparingly to avoid water lines. Repeat gentle passes rather than scrubbing hard.
Ink and set-in stains: when we stop DIY and call the pros
Ink and deeply set marks can resist home methods. Strong solvents risk colour transfer and stress the finish.
We stop if heavy colour moves onto the cloth or the surface looks strained, blot dry with a clean cloth, and consider professional cleaning.
| Problem | First step | When to call pros |
|---|---|---|
| Water-based (coffee, juice) | Blot with soft cloth; mild soapy water if needed | If mark persists after gentle repeats |
| Oily or greasy | Dab with a barely damp cloth; use specialised cleaner if needed | If residue remains or colour shifts |
| Ink / set-in | Blot; avoid solvents | Immediate pro help recommended |
Handling mould safely and preventing it from coming back
We start by checking how far the mould has spread so we can choose the safest way to treat it.
Assess severity and protect ourselves
If the growth is widespread or has penetrated deeply, we seek professional help. For small areas we wear protective gloves, a mask and eye protection and work in a well‑ventilated area.
Remove spores, clean gently and let it air dry
We vacuum loose spores with a brush attachment first to reduce airborne spread. Then we wipe the surface lightly with a mild solution or a specialised mould product.
Blot rather than rub, remove residue with a clean cloth and allow the treated zone to air dry fully before use.
Control humidity and improve airflow
In Singapore’s climate we focus on ventilation and dehumidification. Use fans or air‑conditioning, avoid placing the sofa in damp corners and give space so air can reach the back panels.
Routine care helps prevent return: regular cleaning, dust removal and prompt treatment of spills reduce the organic matter mould feeds on.
Conclusion
In closing, we give a compact checklist so maintenance fits busy Singapore homes.
Key steps: prepare and dust first, identify the type leather, apply product to a cloth and use gentle circular motions, then wipe residue and let areas fully air dry.
Keep water minimal, avoid harsh chemicals and abrasive tools, and always patch‑test new products on a hidden spot.
For routine care, follow quick weekly upkeep and schedule deeper sessions every few months. Act fast on spills—blot, don’t rub—to remove stains and reduce long‑term risk.
Final thought: consistent, gentle habits are the best defence. They help you clean leather safely and keep seating looking fresh in everyday use.

