

We introduce what practical mattress care looks like at home and what results we can expect from a simple routine. Our focus is on straightforward cleaning and sensible habits that support better sleep and overall health.
In Singapore’s warm, humid climate, sweat, dust and moisture build up fast. This increases the chance of unwanted growth and odours, so we favour actions that increase airflow and cut down dampness.
Our step-by-step method moves from easy wins — fresh bedding and ventilation — to deeper work such as vacuuming, deodorising, gentle sanitising and steam where suitable. We list the home tools to use and note when professional services may be helpful.
Who is this for? Families, pet owners and anyone who wants a cleaner sleeping surface. We keep the guide practical, present-tense and immediate, with a clear caution: avoid over-wetting, as trapped moisture can make problems worse.
Why mattress hygiene matters in Singapore’s warm, humid climate
Warm, humid nights in Singapore make beds prime spots for dust accumulation and mite activity. We spend about 6.5 hours a night in bed, so what settles there affects our comfort and health.
How sweat, dust, skin cells and moisture build up
Each night we shed skin and oils. Body sweat and household dust mix with these skin cells and sink into fabric and seams.
That retained moisture keeps the environment friendly for dust mites and other tiny organisms. Even air-conditioned rooms do not stop this process completely.
What dirty surfaces can trigger
- Allergen build-up from dust mites can worsen itchy eyes and runny noses.
- Poor hygiene often links to irritated airways and chest tightness during sleep.
- Pets, children, frequent sweating and limited air flow raise the risk at home.
| Factor | Why it matters | What we can do |
|---|---|---|
| Humidity | Increases moisture retention | Air circulation and dehumidifying |
| Skin cells & oils | Food source for dust mites | Regular washing of bedding |
| Hidden dust | Settles deep in layers | Vacuuming and protectors |
| Household habits | Pets and closed rooms increase load | Consistent cleaning routine |
We aim to reduce contaminants, not create a sterile space. For a practical routine and step-by-step tips to sanitise effectively, see our guide to sanitize like a pro.
What we mean by deep cleaning, sanitising and disinfecting
A thorough clean goes beyond a quick surface wipe and targets grime lodged in seams and layers. We separate three steps so each task works properly and does not interfere with the next.
Deep cleaning describes physically removing dirt, dust and allergens from the surface and high-build-up zones. This is where vacuuming, spot cleaning and protective covers matter most.
Sanitising follows cleaning. Once we remove as much grime as possible, sanitising reduces bacteria to safer levels. Dirt can block sanitisers, so we always clean first.
Disinfecting is a stronger action aimed at killing germs on contact surfaces. We note that porous cores absorb products, so product choice and minimal wetting matter.
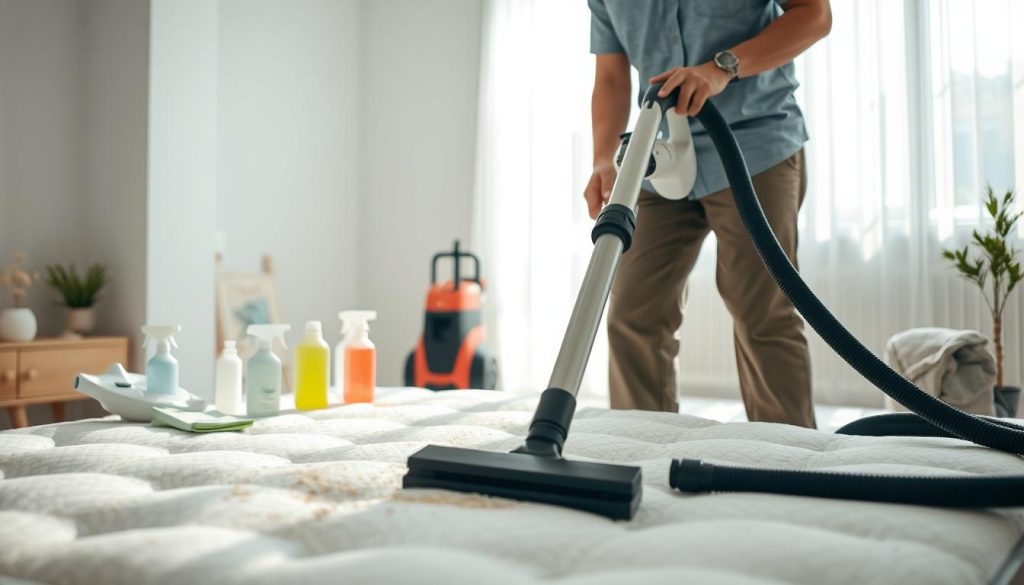
- Common hiding places: seams, tufts, crevices, edges and the head area where skin cells gather.
- Dust mite and dust mite allergen load can persist deeper than surface routines reach.
- Mould risk rises when moisture stays in the core after spills or over-wet cleaning.
- Odours often come from absorbed sweat and organic matter; deodorising alone only masks the issue.
“We treat cleaning as extraction first, then sanitising or steam cleaning to reach deeper layers.”
| Step | What it targets | When we use it |
|---|---|---|
| Deep cleaning | Dirt, dust, allergens on surface and seams | Regular routine and before sanitising |
| Sanitising | Reduces bacteria on cleaned surfaces | After cleaning and spot treatment |
| Steam cleaning | Deeper mites, allergens and microbes | When deeper action is needed; professional or careful DIY |
| Disinfecting | Germs on contact surfaces | Targeted use; avoid over-wetting |
For step-by-step methods that follow preparation, vacuuming, stains, odour control and final sanitising or steam cleaning, see our fuller guide on how to sanitise effectively.
Prep the bed for a proper clean
We begin by stripping down the bed so airflow and access improve right away.
Strip everything: remove sheets, pillowcases, protectors and toppers to reduce cross-contamination. Check care labels on foam and hybrid types so our cleaning choices stay safe.
Let it breathe: we leave the core to air for 15–20 minutes. This release of trapped warmth and early moisture cuts drying time during later cleaning steps.
Set up airflow
Open windows where possible and switch on a fan to improve air circulation. Better air helps moisture evaporate quickly and limits damp smells returning after cleaning.
- Move clutter away so we can vacuum edges and sides without missing high-contact zones.
- Plan the time: prep first, wash bedding while the bed airs, and complete cleaning within a few hours.
Wash and disinfect bedding to cut down dust mites and allergens
A focused bedding routine stops most contaminants at the surface and keeps our sleep space fresher.
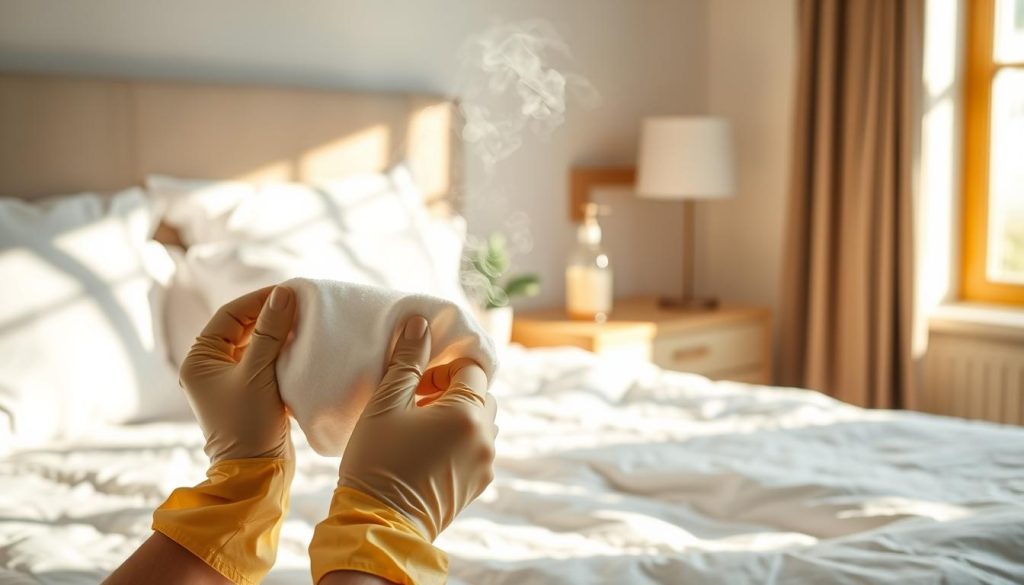
Hot-water washing guidelines for sheets, pillowcases, protectors and toppers
We treat bedding as the first line of defence because it holds sweat, dust and allergens before they reach the mattress.
Wash sheets and pillowcases weekly using detergent. Follow the care label and, where the fabric allows, use hot water at least 60°C to reduce dust mites and most allergens.
Include mattress protectors, toppers and washable pillows when the label permits. Use a full rinse and a good spin to cut drying time.
Sun-drying as a natural way to freshen and help reduce bacteria
Thorough drying is essential. Damp linen can reintroduce moisture and odour to the core.
When possible, sun-dry bedding. Direct sunlight freshens fabric and helps lower surface bacteria and dust mite activity naturally.
- Weekly wash: aligns with our cleaning schedule to avoid undoing progress.
- Detergent and heat: remove oils and reduce allergen load.
- Complete drying: prevents trapped moisture and odours.
For stain-specific steps that complement this routine, see our clean bed stains guide.
Mattress bacteria removal with vacuuming and targeted stain treatment
We start by using a strong vacuum to lift dry debris and loose particles from the sleeping surface. Vacuuming first reduces the dirt and dust that feeds odours and microbes. This makes later cleaning and spot treatment more effective.
Vacuum technique: upholstery tool, seams, crevices and high-contact areas
Use an upholstery tool across the full surface, moving slowly in overlapping passes. Then switch to a crevice attachment for seams, tufts, piping and edges where dust and lint gather.
Focus on high-contact areas such as the head and shoulder zone. These zones collect the most skin cells and oils, so give them extra attention.
How often we vacuum to keep dust and contaminants under control
We vacuum every two weeks in typical Singapore homes. For households with pets or heavy dust, weekly vacuuming is better.
Equipment note: strong suction and clean attachments matter. A HEPA filter helps trap fine particles instead of returning them to the room air.
Spot-cleaning stains safely without soaking the core
Act quickly on fresh stains. Mix a mild detergent with warm water to make a gentle solution. Dampen a clean cloth—barely wet—and blot the stain. Repeat blotting rather than rubbing.
For step-by-step stain guidance and best practices, see this concise guide: how to clean effectively.
Why excess water can lead to mould growth and more dust mites
Do not soak the product. Excess water and trapped moisture slow drying and raise the risk of mould and dust mites, especially in humid climates.
Drying rule: use minimal liquid, blot thoroughly and allow good airflow until fully dry.
| Task | Tool | Tip |
|---|---|---|
| Surface vacuum | Upholstery tool | Slow, overlapping passes |
| Seams & tufts | Crevice attachment | Work seams edge-to-edge |
| Stain care | Mild detergent & cloth | Blot; do not saturate |
| Frequency | Routine schedule | Every 2 weeks; weekly if needed |
Deodorise and lift lingering odours without leaving residue
Odours can persist because soft upholstery soaks up organic scents and holds them tight.
We begin after vacuuming and spot cleaning. Deodorising is a follow-up step, not a substitute for cleaning.
Vinegar-and-water misting for light freshening
Mix equal parts distilled white vinegar and water in a spray bottle. Lightly mist the surface so it is barely damp.
Avoid over-wetting: too much liquid traps moisture and can worsen odours. Allow full air drying before proceeding.
Baking soda dwell time for deeper neutralising
Sprinkle baking soda evenly across the area. Leave it for several hours or, ideally, overnight so it can absorb smells and trace dampness.
The next day, we remove all powder with a thorough vacuum. Leftover baking soda can attract dust and feel gritty under sheets.
| Step | Why | Timing |
|---|---|---|
| Vinegar mist | Neutralises surface odours | Light mist; air dry fully |
| Baking soda | Absorbs lingering smells and moisture | Several hours to overnight |
| Final vacuum | Removes powder and residues | Next day, thorough pass |
Sanitise the mattress surface and deep-clean with steam when needed
Once vacuuming and stain care are complete, we sanitise the surface before any deeper work. This order matters: sprays perform best on a clean, dry fabric and are part of a sensible deep cleaning routine.
Fabric-safe sprays: how we apply them
Choose a fabric-safe antibacterial spray and test a hidden patch first. We apply a light, even mist across the cover and then wipe with a warm cloth that is thoroughly wrung out.
Avoid over-wetting. Excess liquid soaks layers and risks trapped moisture and mould.
When and how to use steam
Steam cleaning targets dust mites, allergens and microbes deeper down. We use steady high-temperature steam above 100°C, but avoid long, repeated bursts that saturate the product.
Drying, ventilation and realistic timing
After steam, drying usually takes 2–4 hours with good air flow. We open windows and run a fan in Singapore’s humid air to speed evaporation.
When to call professional cleaning services
We recommend professional cleaning services for allergy-prone households, after illness, for stubborn odours or visible infestations, and during prolonged high humidity. Professional steam can reach deeper layers and is often the safest option for sensitive homes.
- Frequency: deep clean every 3–6 months; every 2–3 months for allergy or asthma sufferers.
- Goal: reduce contaminants while protecting materials and avoiding excess moisture.
Conclusion
Small habits — airing, washing and gentle vacuuming — deliver steady improvement over time. Our way keeps cleaning simple: prep and airflow, hot-water bedding care, fortnightly vacuuming, careful stain treatment, deodorising and targeted sanitise or steam when needed.
We do this to cut dust, reduce allergens and limit dust mites, dirt and bacteria that affect sleep. The key rule throughout is to control moisture so mould risk stays low.
A practical rhythm works best: wash bedding weekly, vacuum every two weeks and plan a deep cleaning every few months. Act quickly on spills to avoid lingering odours and stains.
For long-term results, keep ventilation strong, use protectors and consider professional mattress cleaning if problems persist. Make hygiene a regular habit — it protects the bed we use every night.

